There’s nothing quite like homemade ice cream! With an ice cream maker, you can customise your flavours, spoil yourself with high-quality ingredients and experiment with all sorts of delicious combinations. This guide will walk you through the basic process of using an ice cream maker, from preparation to storage, so you can enjoy freshly made ice cream right at home.
Types of ice cream makers
When it comes to ice cream makers, there are several types to choose from, each with its own advantages. Here’s a quick rundown:
Freeze-first ice cream makers: These are the most common machines around. They require you to pre-freeze the freezer bowl before use, which can take 24 hours. Once the bowl is frozen, you’re ready to churn your ice cream.
Self-freezing ice cream makers: These models have a built-in compressor, so you don’t need to pre-freeze the bowl. They’re more expensive but let you make ice cream on the fly.
Stand mixer ice cream maker attachments: If you already have a stand mixer, you can purchase an ice cream maker attachment. It's a simple addition that lets you make ice cream without sacrificing more precious counter space.. You can also use something like a Ninja food processor.
Hand-cranked ice cream makers: These are the traditional options that require a bit more effort. They can be a fun family activity, and you'll certainly feel like you've earned your cone!

New ice cream makers to check out!
Here are two new ice cream makers from Ninja - Ninja Creami Ice Cream & Frozen Dessert Maker and Ninja Creami Deluxe 10-in-1 Ice Cream & Frozen Dessert Maker. They’re both designed to make homemade ice cream super simple, quick and endlessly customisable. Watch the Creami Deluxe in action below…
How to use an ice cream maker
Assemble your ice cream ingredients and get ready churn! Here’s how to do it:
Setup: First, make sure your ice cream maker is set up correctly. For freeze-first models, check that the freezer bowl is pre-frozen. For compressor-based models, just make sure the machine is plugged in and ready to go!
Pouring in the mixture: Pour the chilled ice cream base into the machine, being careful not to overfill it. Overfilling can lead to uneven churning and a less smooth texture.
Churning process: Turn on your ice cream maker and let it work its magic. The churning process typically takes between 20 to 40 minutes, depending on the machine and the type of ice cream you’re making. The machine will mix and freeze the base simultaneously, creating a smooth and creamy texture.
Texture check: Keep an eye on the texture of your ice cream as it churns. It should become thick and creamy. If it’s not thickening, you might need to adjust the churning time or check if the base was properly chilled.
Adding mix-ins: If you’re using mix-ins like chocolate chips or fruit, add them during the last 5 minutes of churning. This will help them stay intact and not get crushed by the machine.
After the ice cream is made
Once your ice cream is churned, it’s almost ready to serve. Here’s what to do next:
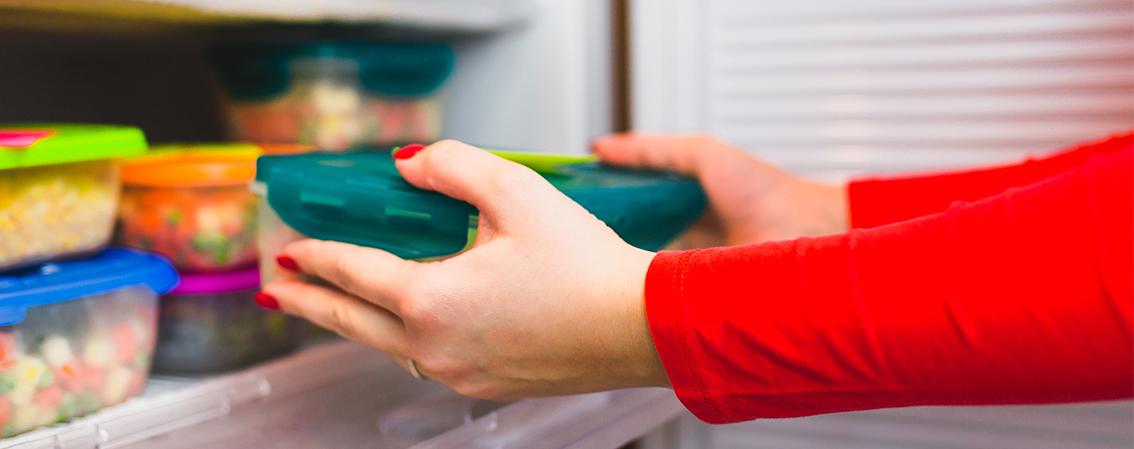
Freezing to firm up: The ice cream might be soft after churning, so transfer it to an airtight container and freeze it for 2–4 hours to firm it up to a scoopable consistency.
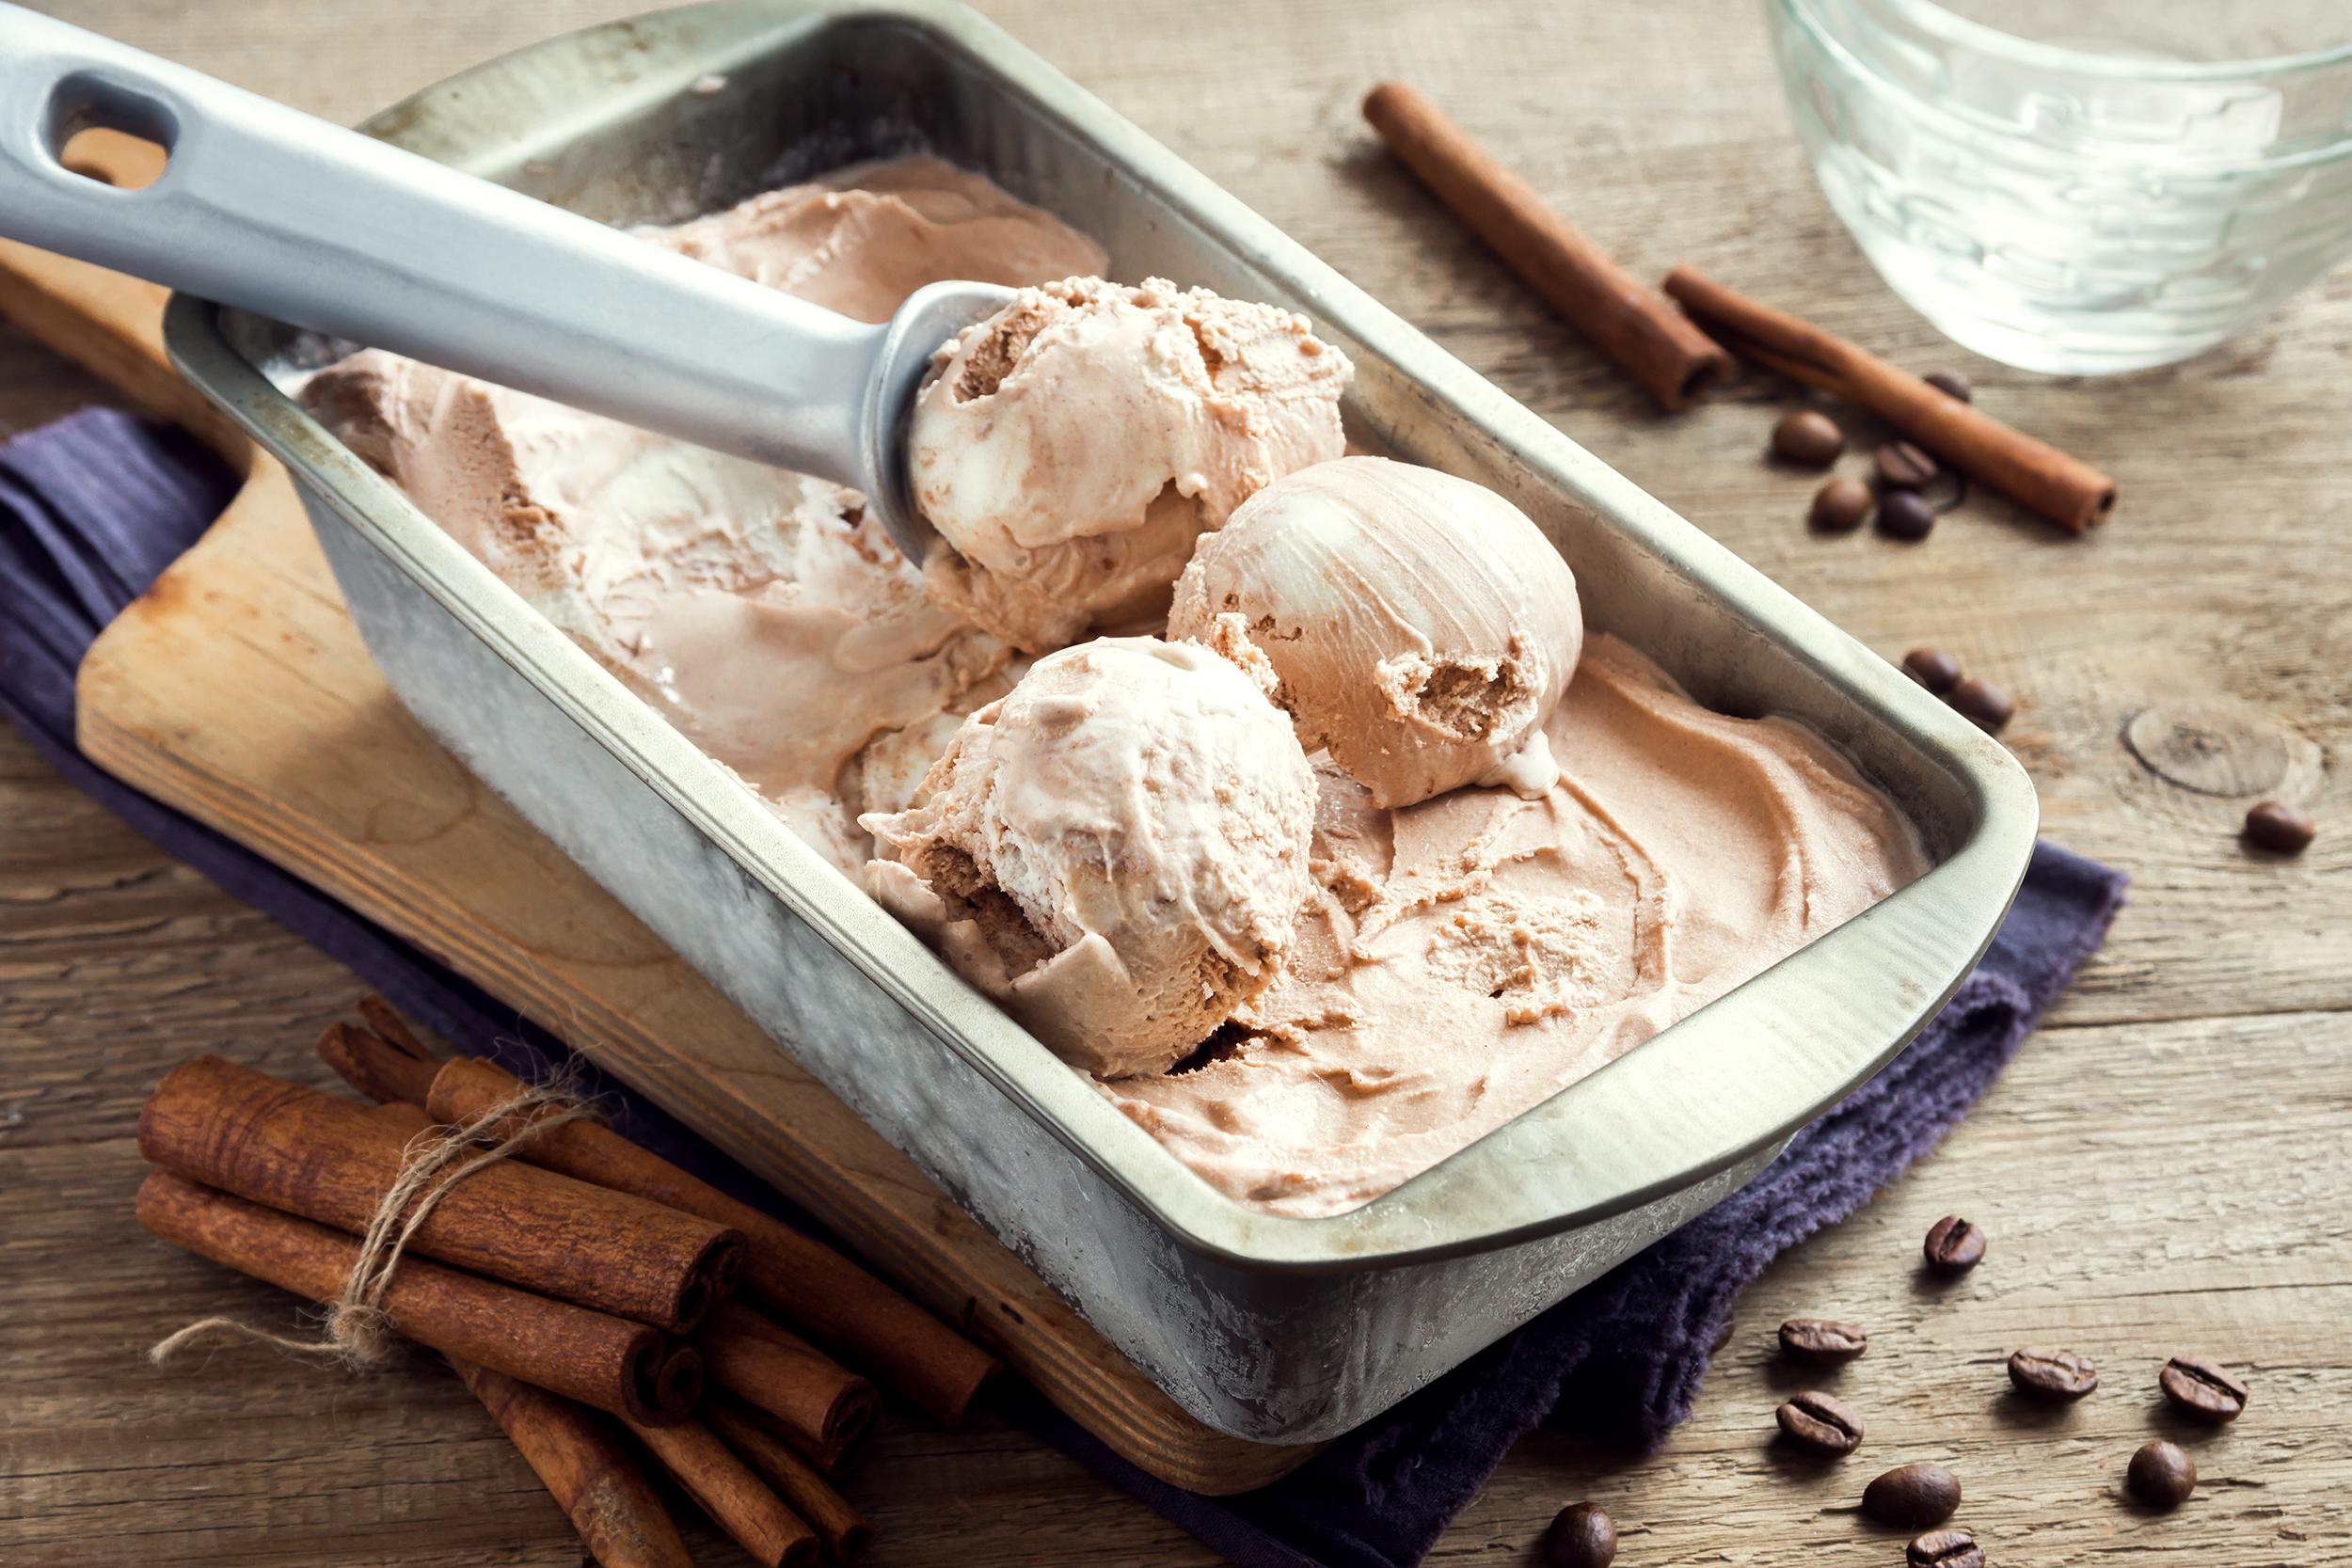
Serving tips: Serve your homemade ice cream with warm toppings, in cones or paired with other desserts like pies or cakes. You can’t go wrong!

Troubleshooting common ice cream maker issues
Sometimes things don’t go as planned. Here are some common issues and how to fix them:
Ice cream too soft: If your ice cream is too soft, it might be because the base wasn’t chilled properly or the machine was overfilled. Make sure to chill the base thoroughly and don’t cram too much into the machine.
Ice cream hard as a rock: If your ice cream needs an ice pick, let it sit at room temperature for a few minutes before scooping. This will make it easier to serve.
Ice cream freezing unevenly: To avoid uneven freezing, ensure the mixture is properly chilled and the machine is set up correctly. A well-chilled base and a properly functioning machine will help you achieve a uniform (and perfect) texture.
Ice cream makers FAQs
How long does it take to make ice cream with an ice cream maker?
The churning process usually takes between 20 to 40 minutes. After churning, you may need to freeze the ice cream for 2–4 hours to firm it up.
Can you make ice cream without an ice cream maker?
Yes, you can! Freeze the ice cream base in a shallow dish and stir it every 30–60 minutes to prevent large ice crystals from forming. It’s a bit more effort, but it’s a great alternative.
Can you make frozen yoghurt in an ice cream maker?
Absolutely. Frozen yogurt is made similarly to ice cream, but with yoghurt as the main ingredient. It’s tangier and has a lower fat content, making it a lighter option.
Can you make gelato in an ice cream maker?
Yes, you can make gelato in an ice cream maker. Gelato is churned at a slower speed and has a lower fat content, resulting in a denser and creamier texture. Adjust your recipe accordingly and enjoy!
Can I add mix-ins like chocolate chips or fruit to the ice cream during the churning process?
Go for it! Add mix-ins during the last 5 minutes of churning to keep them intact.
Can I make dairy-free ice cream in an ice cream maker?
Definitely! Substitute regular milk and cream with coconut milk, almond milk, or cashew cream. There are plenty of dairy-free ice cream recipes to try.
How do you clean an ice cream maker?
To clean an ice cream maker, first make sure it’s turned off and unplugged.
For freezer bowl models, remove the bowl and any removable parts like the paddle, and wash them with warm, soapy water using a soft cloth or sponge. Rinse thoroughly and allow the parts to air dry completely.
For compressor-based models, wipe down the motor base with a damp cloth, being careful not to get any water into the electrical components, and clean any vents with a soft brush or dry cloth.
Always refer to the manufacturer’s manual for specific cleaning instructions, and make sure to clean the ice cream maker after each use to prevent buildup and ensure it operates effectively for future batches.
What’s next?
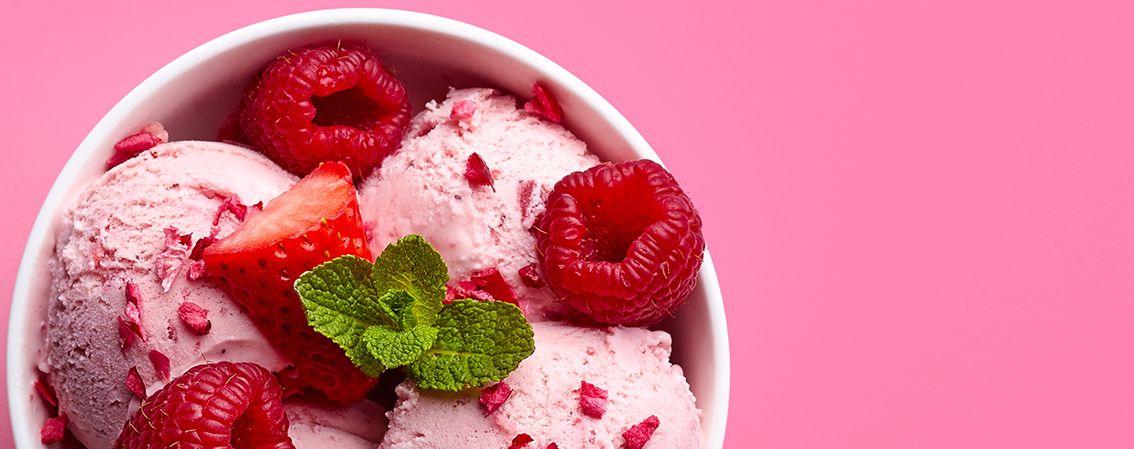
Here are 3 simple ice cream recipes for you to try. And while having a nice ice cream maker makes ice cream so much easier, you can make it in other ways too. Check out this simple no-churn ice cream recipe too.