

Got a new iPhone? One of the first jobs to think about is transferring data from your old phone - everything from photos and videos to contacts and apps. Move it all over to your new iPhone and you can pick up where you left off straight away.
If you’re wondering how to transfer data to a new iPhone, there are a few simple ways to do it. We’ll show you how to move iPhone to iPhone using Quick Start, iCloud, a Mac, or a PC. We’ll also explain how easy it is to move your data from an Android phone to an iPhone. But first, you need to be prepared…
Before you transfer your data
It’s worth checking a few things before you start the transfer:
Check that both your old and new iPhone are connected to Wi-Fi.
Make sure both iPhones are fully charged or plugged in during the transfer.
Check that you know your Apple Account password. You’ll be asked for it later.
Make sure your old iPhone is updated to the latest version of iOS.
How to transfer data from iPhone to iPhone using Quick Start

If you want to transfer iPhone to iPhone, Quick Start is usually the easiest way to move everything across.
Quick Start is Apple’s built-in transfer tool that copies your photos, messages, apps, settings and more directly between your two iPhones. It’s the simplest way to set up a new iPhone from old iPhone transfer.
The biggest benefit is that you don’t need a computer or an iCloud backup. Your new iPhone can be set up to feel almost exactly like your old one, with your familiar layout and apps ready to use.
Here’s how to transfer everything from one iPhone to another using Quick Start.
Turn on your new iPhone and place it next to your old iPhone.
A Quick Start screen should appear on your old iPhone. Tap Continue.
An animation will appear on your new iPhone screen. Use your old iPhone’s camera to scan the pattern.
Enter your old iPhone’s passcode on your new device when prompted.
Follow the instructions to set up Face ID or Touch ID.
When asked how you want to transfer your data, choose Transfer from iPhone to copy everything directly from your old device.
Keep both iPhones close together and connected to power until the transfer finishes.
The time it takes depends on how much data you’re moving. A smaller transfer might only take a few minutes, while an iPhone full of years of photos, videos and messages will naturally take longer.
How to restore a backup to a new iPhone using iCloud

Using iCloud is another simple way to transfer everything from one iPhone to another. It’s especially useful if you don’t have your old phone available. Instead of copying directly between two devices, it restores your saved backup from iCloud. Here’s how to do it:
Turn on your new iPhone and follow the setup instructions.
Connect to a Wi-Fi network when prompted.
On the Transfer Your Apps & Data screen, choose From iCloud Backup.
Sign in using the same Apple Account as your old iPhone.
Choose the most recent backup from the list.
Keep your new iPhone connected to Wi-Fi while the restore completes.
Your iPhone should start becoming useful quite quickly, with apps and content continuing to download in the background while you get started.
Top tip: If your iCloud storage doesn’t have enough room for a full backup, Apple will offer temporary iCloud storage when you’re moving to a new iPhone. You’ll be prompted during the setup or backup process if your iCloud storage isn’t enough. The extra storage is free and available for up to 21 days.
How to restore a backup to a new iPhone using a Mac or PC
Do you have lots of data to transfer? If you have a large photo library or tons of videos, transferring your data using a Mac or PC can be a useful alternative to iCloud. It lets you create a local backup on your computer and move everything across using a physical cable, without needing extra cloud storage. This method is also handy if you prefer having a copy of your iPhone data saved on your computer. Here’s what to do:
Using a Mac
Connect your old iPhone to your Mac using a compatible cable.
Open Finder and select your iPhone from the sidebar.
Choose Back up all of the data on your iPhone to this Mac.
Select Encrypt local backup before starting the backup.
Click Back Up Now and wait for the process to finish.
Connect your new iPhone to your Mac.
During setup, choose Restore from this backup and select the backup you created.
Using a PC
Connect your old iPhone to your PC using a compatible cable.
Open the Apple Devices app (or iTunes if you’re using an older version of Windows).
Select your iPhone and choose the backup option.
Tick Encrypt local backup before creating the backup.
Select Back Up Now and wait for it to complete.
Connect your new iPhone and choose Restore from this backup during setup.
Top tip: Don’t be tempted to skip the Encrypt local backup option. Without it, important information like saved passwords, Health data and Activity history won’t transfer to your new iPhone.
How to transfer data from Android to iPhone
If you’re switching from Android to iPhone, Apple’s Move to iOS app makes it easy. Before you begin, download the Move to iOS app from the Google Play Store on your Android phone and make sure both devices are connected to power. Then do this:
Turn on your new iPhone and begin the setup process.
On the Transfer Your Apps & Data screen, choose From Android.
On your Android phone, open the Move to iOS app.
Follow the instructions and enter the code shown on your iPhone.
Choose the content you want to transfer.
Leave both phones alone while the transfer takes place.
Finish setting up your iPhone and check that your important data has moved across.
How to set up your SIM card or eSIM
Once your data has moved across, make sure your new iPhone can connect to your mobile network.
Newer iPhones let you set up your mobile plan using eSIM, so you don’t need to move a physical SIM card. With Apple’s eSIM Quick Transfer, you can move your phone number and mobile plan from your old iPhone to your new one while you’re setting it up. All you need to do is:
1. Follow the onscreen instructions for setting up your mobile plan.
2. Select your existing number.
3. Complete the transfer.
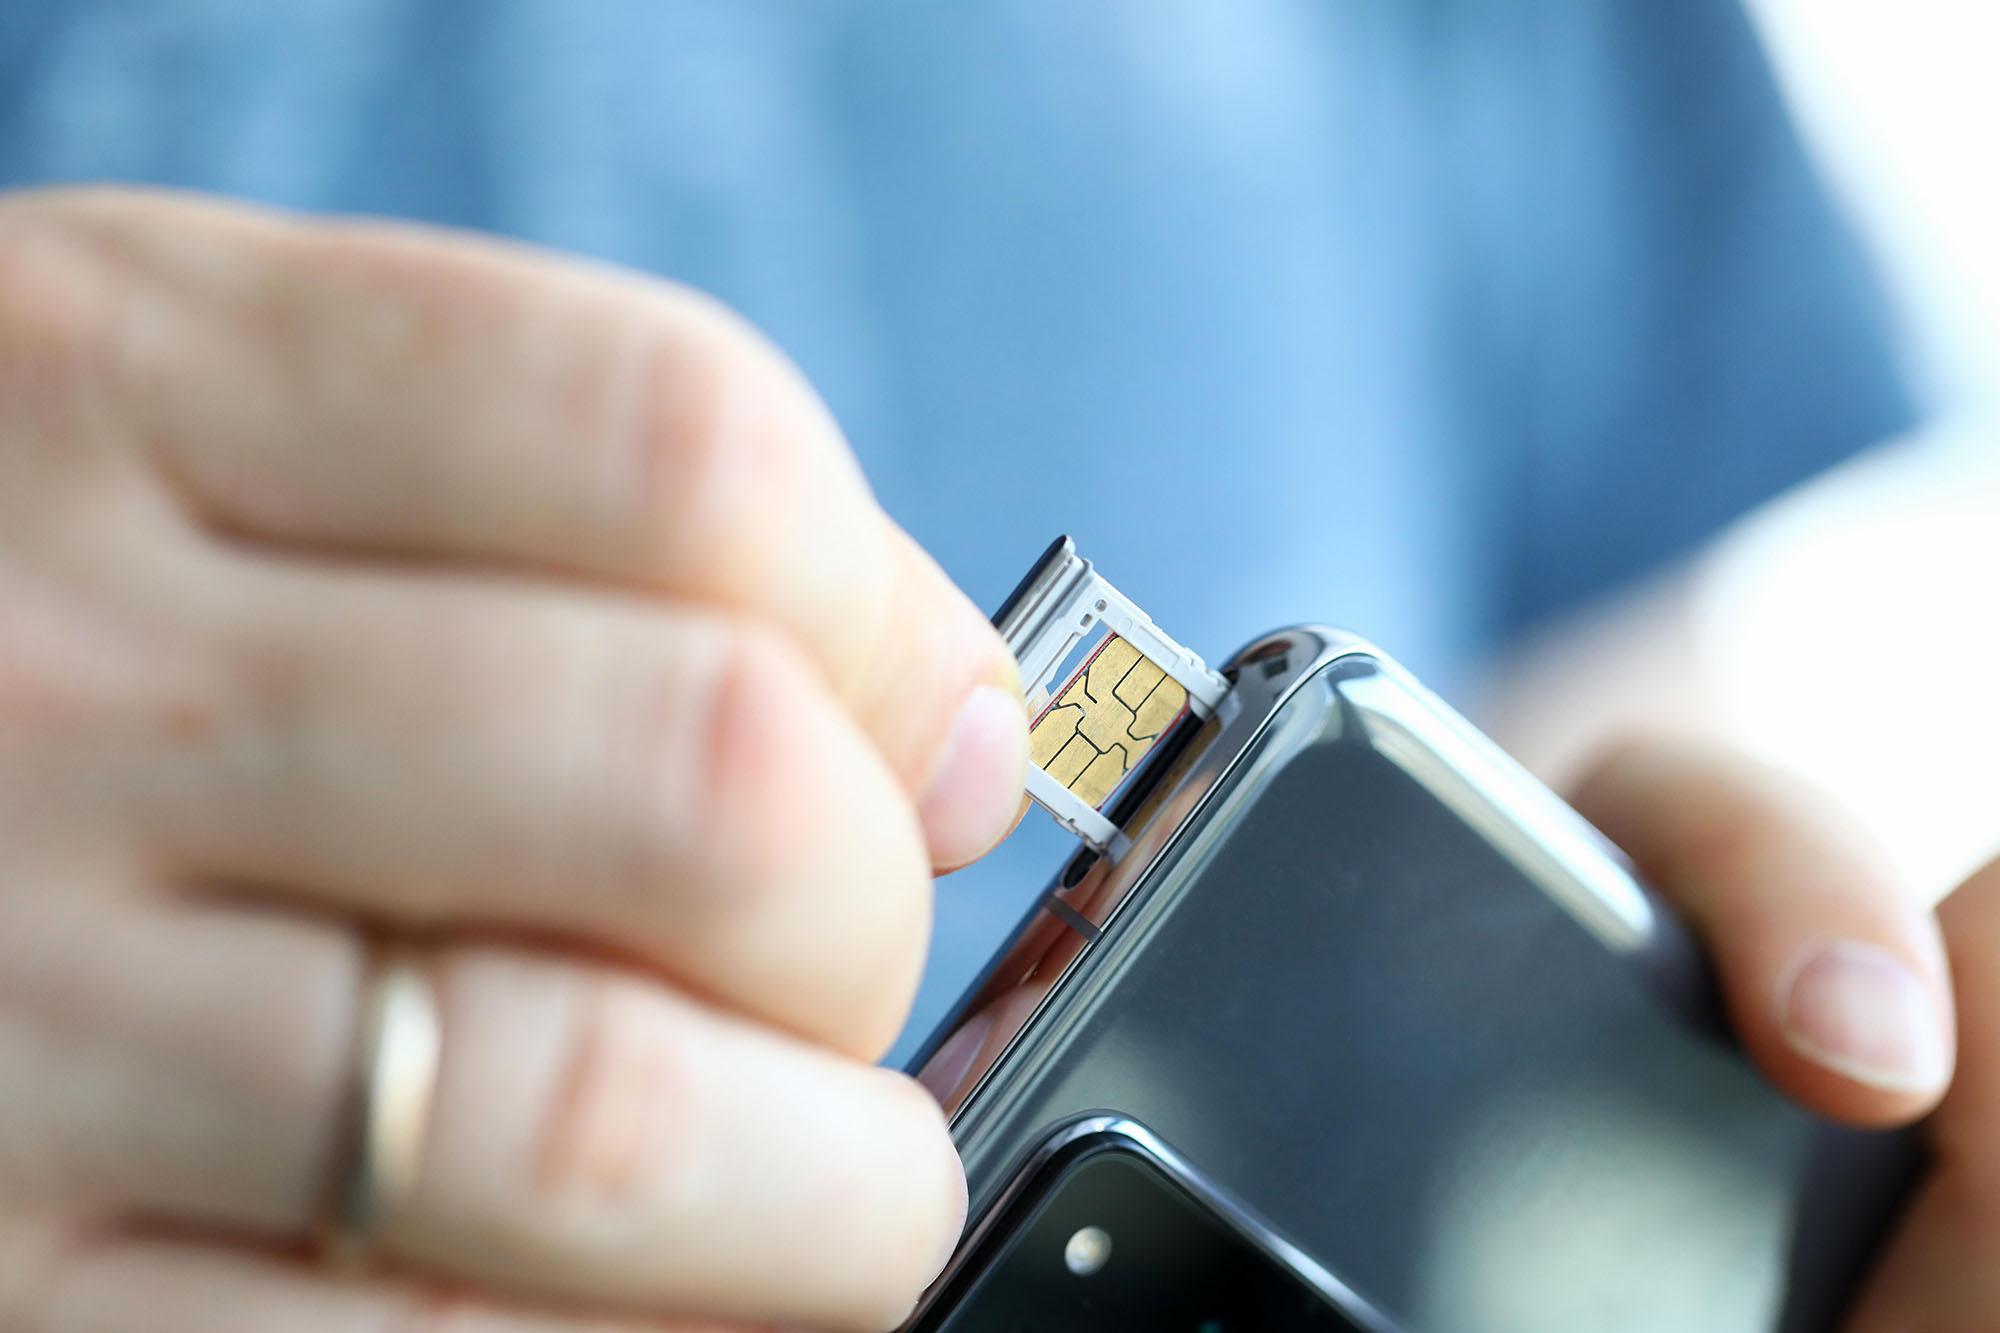
The iPhone 14 and older models still use physical SIM cards. And it’s easy to move one of these nano-SIM into a new iPhone. Simply use the SIM tray tool to remove the card from your old iPhone, then place it carefully into your new iPhone’s SIM tray.
Make the most of your new iPhone
With your data transferred, your new iPhone should now feel familiar. Want to personalise it even more? A case and screen protector are a good way to help keep it looking its best from day one, so take a look at our range of iPhone accessories.
And if you still have your old phone, don’t leave it sitting unused in a drawer. You can give it a new lease of life with Currys mobile phone recycling.
Any more questions?
If you’re still deciding which iPhone is right for you, check out our iPhone comparison tool and mobile phone buying guide. We’ve also got advice on setting up a new phone, including how to activate a new SIM card, and how to keep your number when you change phones. If you’d rather talk about things face to face, pop into one of our stores and speak to one of our experts.
FAQs
Do I insert the SIM card before setting up my new iPhone?
Physical SIM cards can be inserted into your new iPhone before or after setup. It’s totally up to you. If you use an eSIM, your mobile plan can be transferred digitally during setup.
Does iPhone Quick Start transfer photos?
Yes. iPhone Quick Start transfers photos, along with apps, messages, settings and other data. Your photos should appear on your new iPhone once the transfer finishes.
What is the quickest way to set up a new iPhone?
The quickest way to set up a new iPhone is usually Apple’s Quick Start feature. Place your old iPhone next to your new one and follow the instructions to transfer your data directly. The process typically takes 10–30 minutes, depending on how much data you’re moving.