Starlink Internet
Discover the Starlink range
Discover the Starlink range
Explore Starlink
Starlink
Engineered by SpaceX, Starlink delivers high-speed, low latency internet to the most rural and remote locations around the world. Stream movies, make video calls, game and more—no matter how remote. Designed for self-install, the Starlink Kit has everything needed to get online in minutes.
What's included in the Starlink Kit?
It includes everything you need for a trouble-free connection right out of the box. And don't forget your Starlink subscription too!
SERVICE PLAN REQUIRED
Activate Starlink by selecting a service plan that is customised to meet your personal needs. Select from plans suited for households or travel.
USE IN ONE LOCATION OR ON THE GO
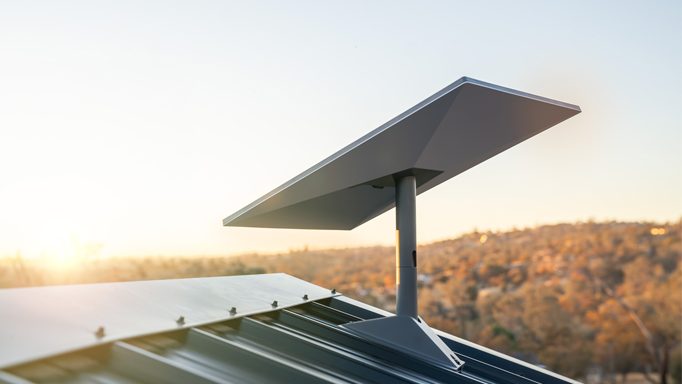
Starlink service plans support one location or on the go use. Starlink installation can be customised for permanent, fixed install using Starlink official mounts and accessories available for purchase in the Starlink app.
GET ONLINE IN MINUTES
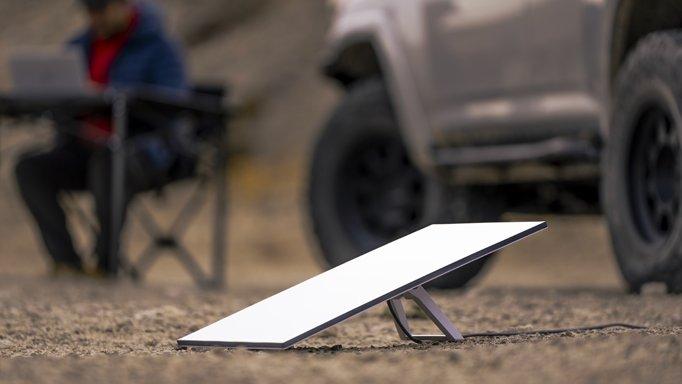
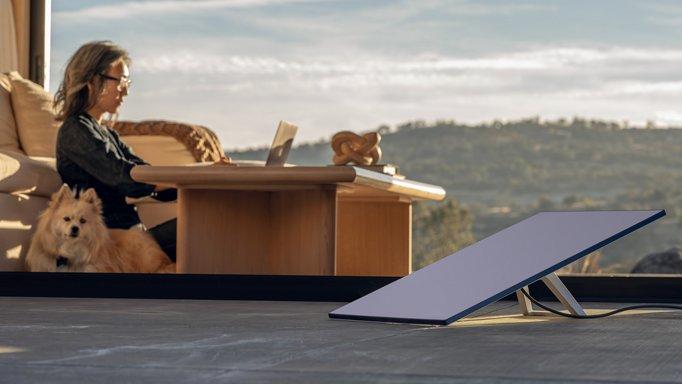
Set up Starlink with just two steps. Plug it in and point at the sky. Starlink comes with everything needed to get online including a kickstand, Gen 3 Router with 2 ethernet ports, cables and power supply.

STREAM MOVIES, MAKE VIDEO CALLS, GAME & MORE
With Starlink, users can engage in activities that historically have not been possible with satellite internet.

NO CONTRACTS
Pause and un-pause service at any time.

REQUIRES A CLEAR VIEW OF THE SKY
Starlink requires a clear view of the sky to connect to satellites.
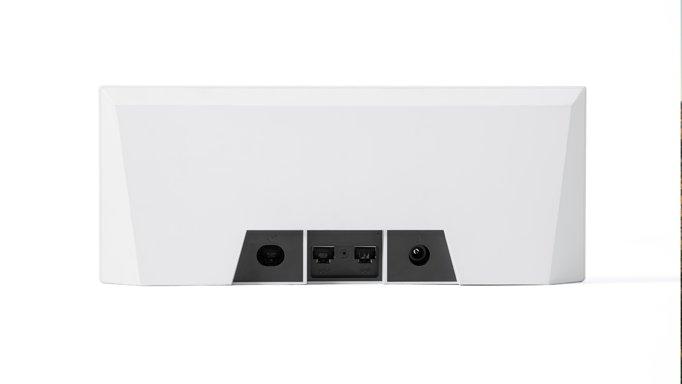
GEN 3 Wi-Fi ROUTER
The Starlink Standard comes with a Gen 3 Router which boasts 2 ethernet ports, Wi-Fi 6, a range of up to 297 m2, and the ability to connect up to 235 devices.
WEATHER RESISTANT
Designed to endure the elements - it can melt snow and withstand sleet, heavy rain, and harsh winds.

DOWNLOAD THE STARLINK APP
Find an unobstructed view of the sky, determine the best install location, explore mounts and accessories, and manage your account all in the Starlink App.
Starlink set-up guide
Once you unpack your kit, it’s really easy to get set up and get connected.
Step 1
Find the right location for the dish
Choosing a great spot for the dish is crucial. You’ll need an open area with a clear view of the sky to help the antenna establish a strong connection with the satellites. Avoid an area with overhanging trees or tall buildings. For some extra help, the Starlink app can help you find the perfect spot.
Step 2
Assemble the dish and mounting base
Following the instructions provided, attach the Starlink cable to the mast. Once it’s connected, slot the Starlink dish into the mounting base.
Step 3
Connect to WiFi
Once the hardware setup is sorted, follow the guide to connect your devices to the Starlink Wifi Router. Plug the power cable and the Starlink cable into the router.
You’ll know when your Router has power when a white light switches on at the bottom. Your Starlink will automatically tilt upwards to search for a connection. This may take up to 15 minutes.