So, you’ve gone and treated yourself to a JVC Fire TV Edition Smart TV. First off, nice one! You'll be spoilt for choice, as Fore TV has popular services like Prime Video, Netflix, YouTube, Discovery, BBC iPlayer and lots more!
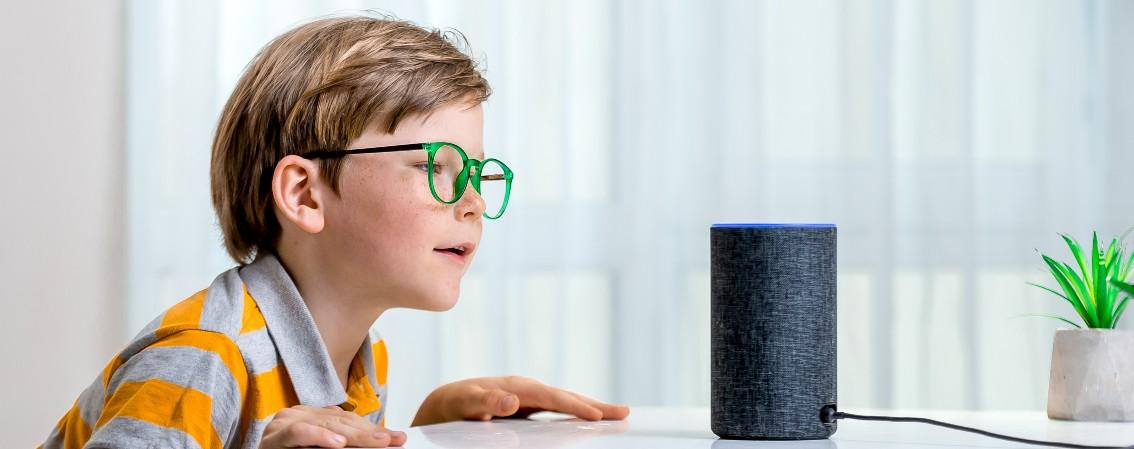
Plus, you'lll have the power of Amazon Alexa to control your smart TV with your voice. That’s smart! So, just follow our simple set up guide and you’ll be kicking back with your fave shows in no time.
You will need
• A phone or computer connected to the internet
• Your JVC remote

Step-by-step guide
Once your TV is unpacked and hooked up, here’s how to set it up.
1. Pairing the Remote
Before you can start enjoying your new JVC Fire TV, you’ll need to pair the remote with the TV. Don’t worry - it’s super simple!
Step 1. Make sure your remote has batteries. If it doesn’t, pop in a fresh pair.
Step 2. Turn on your TV by pressing the power button on the TV itself.
Step 3. Now, hold down the Home button on your remote for about 10 seconds. You’ll see a message on the screen letting you know that the remote is connecting.
Step 4. Once the pairing is complete, your remote is ready to go.
Troubleshooting tip. If the remote doesn’t pair, first check that the batteries are correctly inserted and have enough power. If that’s not the issue, try restarting your TV by unplugging it for a minute, then plug it back in and repeat the pairing steps.
2. Connecting to the internet
Getting your TV connected to the internet is key to unlocking all those smart features. Here’s how to do it.
Option 1. Wi-Fi
Step 1. On the setup screen, select Wi-Fi.
Step 2. Choose your Wi-Fi network from the list.
Step 3. Enter your Wi-Fi password using the on-screen keyboard and select Connect.
Option 2. LAN (Ethernet)
Step 1. If you prefer a wired connection, grab an Ethernet cable.
Step 2. Plug one end into the Ethernet port on the back of your TV and the other into your router.
Step 3. The TV should automatically detect the connection and go online.
Option 3. WPS (Wi-Fi Protected Setup)
Step 1. Select WPS from the network options on the setup screen.
Step 2. Press the WPS button on your router.
Step 3. The TV will automatically connect to your network.
Troubleshooting tip. If the TV fails to connect, double-check your password or try moving the router closer to the TV.
3. Signing in to Amazon
Now that you’re online, it’s time to sign into your Amazon account to access all the Fire TV goodies.
Step 1. On the sign-in screen, enter your Amazon account email and password.
Step 2. If you don’t have an account, don’t sweat it! Just select Create an account and follow the prompts to set one up.
Step 3. Once signed in, your Fire TV features are unlocked, and you’re ready to stream.
4. Syncing previous Fire TV settings
If you’ve had a Fire TV device before, you can easily sync your previous settings.
Step 1. After signing in to your Amazon account, you’ll see an option to Restore your previous Fire TV settings.
Step 2. Select Yes, and the TV will automatically sync your apps, preferences, and more from your previous device.
5. Adding apps
Make your TV experience uniquely yours by adding your favourite apps.
Step 1. From the Fire TV home screen, navigate to the Apps section.
Step 2. Browse or search for your favourite apps like Netflix or YouTube.
Step 3. Select the app and choose Download or Get.
Step 4. Once downloaded, the app will appear on your home screen, ready to use!
Expert tip. You can rearrange your apps on the home screen by selecting them and pressing the Options button on your remote, then choosing Move.
How to tune your TV
Before you start binge-watching, you might need to tune your TV. If you’re using a set-top box, you might be fine, as it handles most of the tuning for you. But if you’re connecting directly to an antenna, you’ll need to scan for channels. Here’s how to do it.
Scanning for channels
Navigate to settings. Grab that remote, press the Home button, and scroll over to the Settings gear icon.
Access Live TV. From Settings, go to Live TV and then select Channel Scan or Scan for Channels—depending on your model.
Start the scan. Hit the Start or Scan button, and let the TV work its magic. This process might take a few minutes, so go grab a snack while your TV hunts down all the available channels.
Check Your signal strength. If you’re not picking up as many channels as you'd like, consider adjusting your antenna’s position. Higher locations, near a window, or pointing in different directions can sometimes work wonders.
Rescan if necessary. If channels are missing, or if you’ve recently moved the antenna, try rescanning. Some channels might only pop up after a couple of tries.
Final set up tips
You’re almost there! But before you get too comfy, there are a few final steps to make sure your TV is ready to go.
Check for firmware updates. Keeping your TV’s software up to date ensures you have the latest features and fixes. Go to Settings > Device & Software > Check for System Updates.
Set up parental controls. Got kids? Head over to Settings > Parental Controls to manage what content they can access. This way, you won’t have to worry about them stumbling onto something they shouldn’t.
Adjust picture and sound. Your TV’s default settings might not be to your liking. Tweak the picture settings under Display & Sounds to get the perfect brightness, contrast, and colour balance. Don’t forget to adjust the sound settings too - you deserve that cinema-like experience right in your living room.
And there you have it. Your JVC Fire TV Edition smart TV is all set up and ready for action. Time to kick back and enjoy the show!