

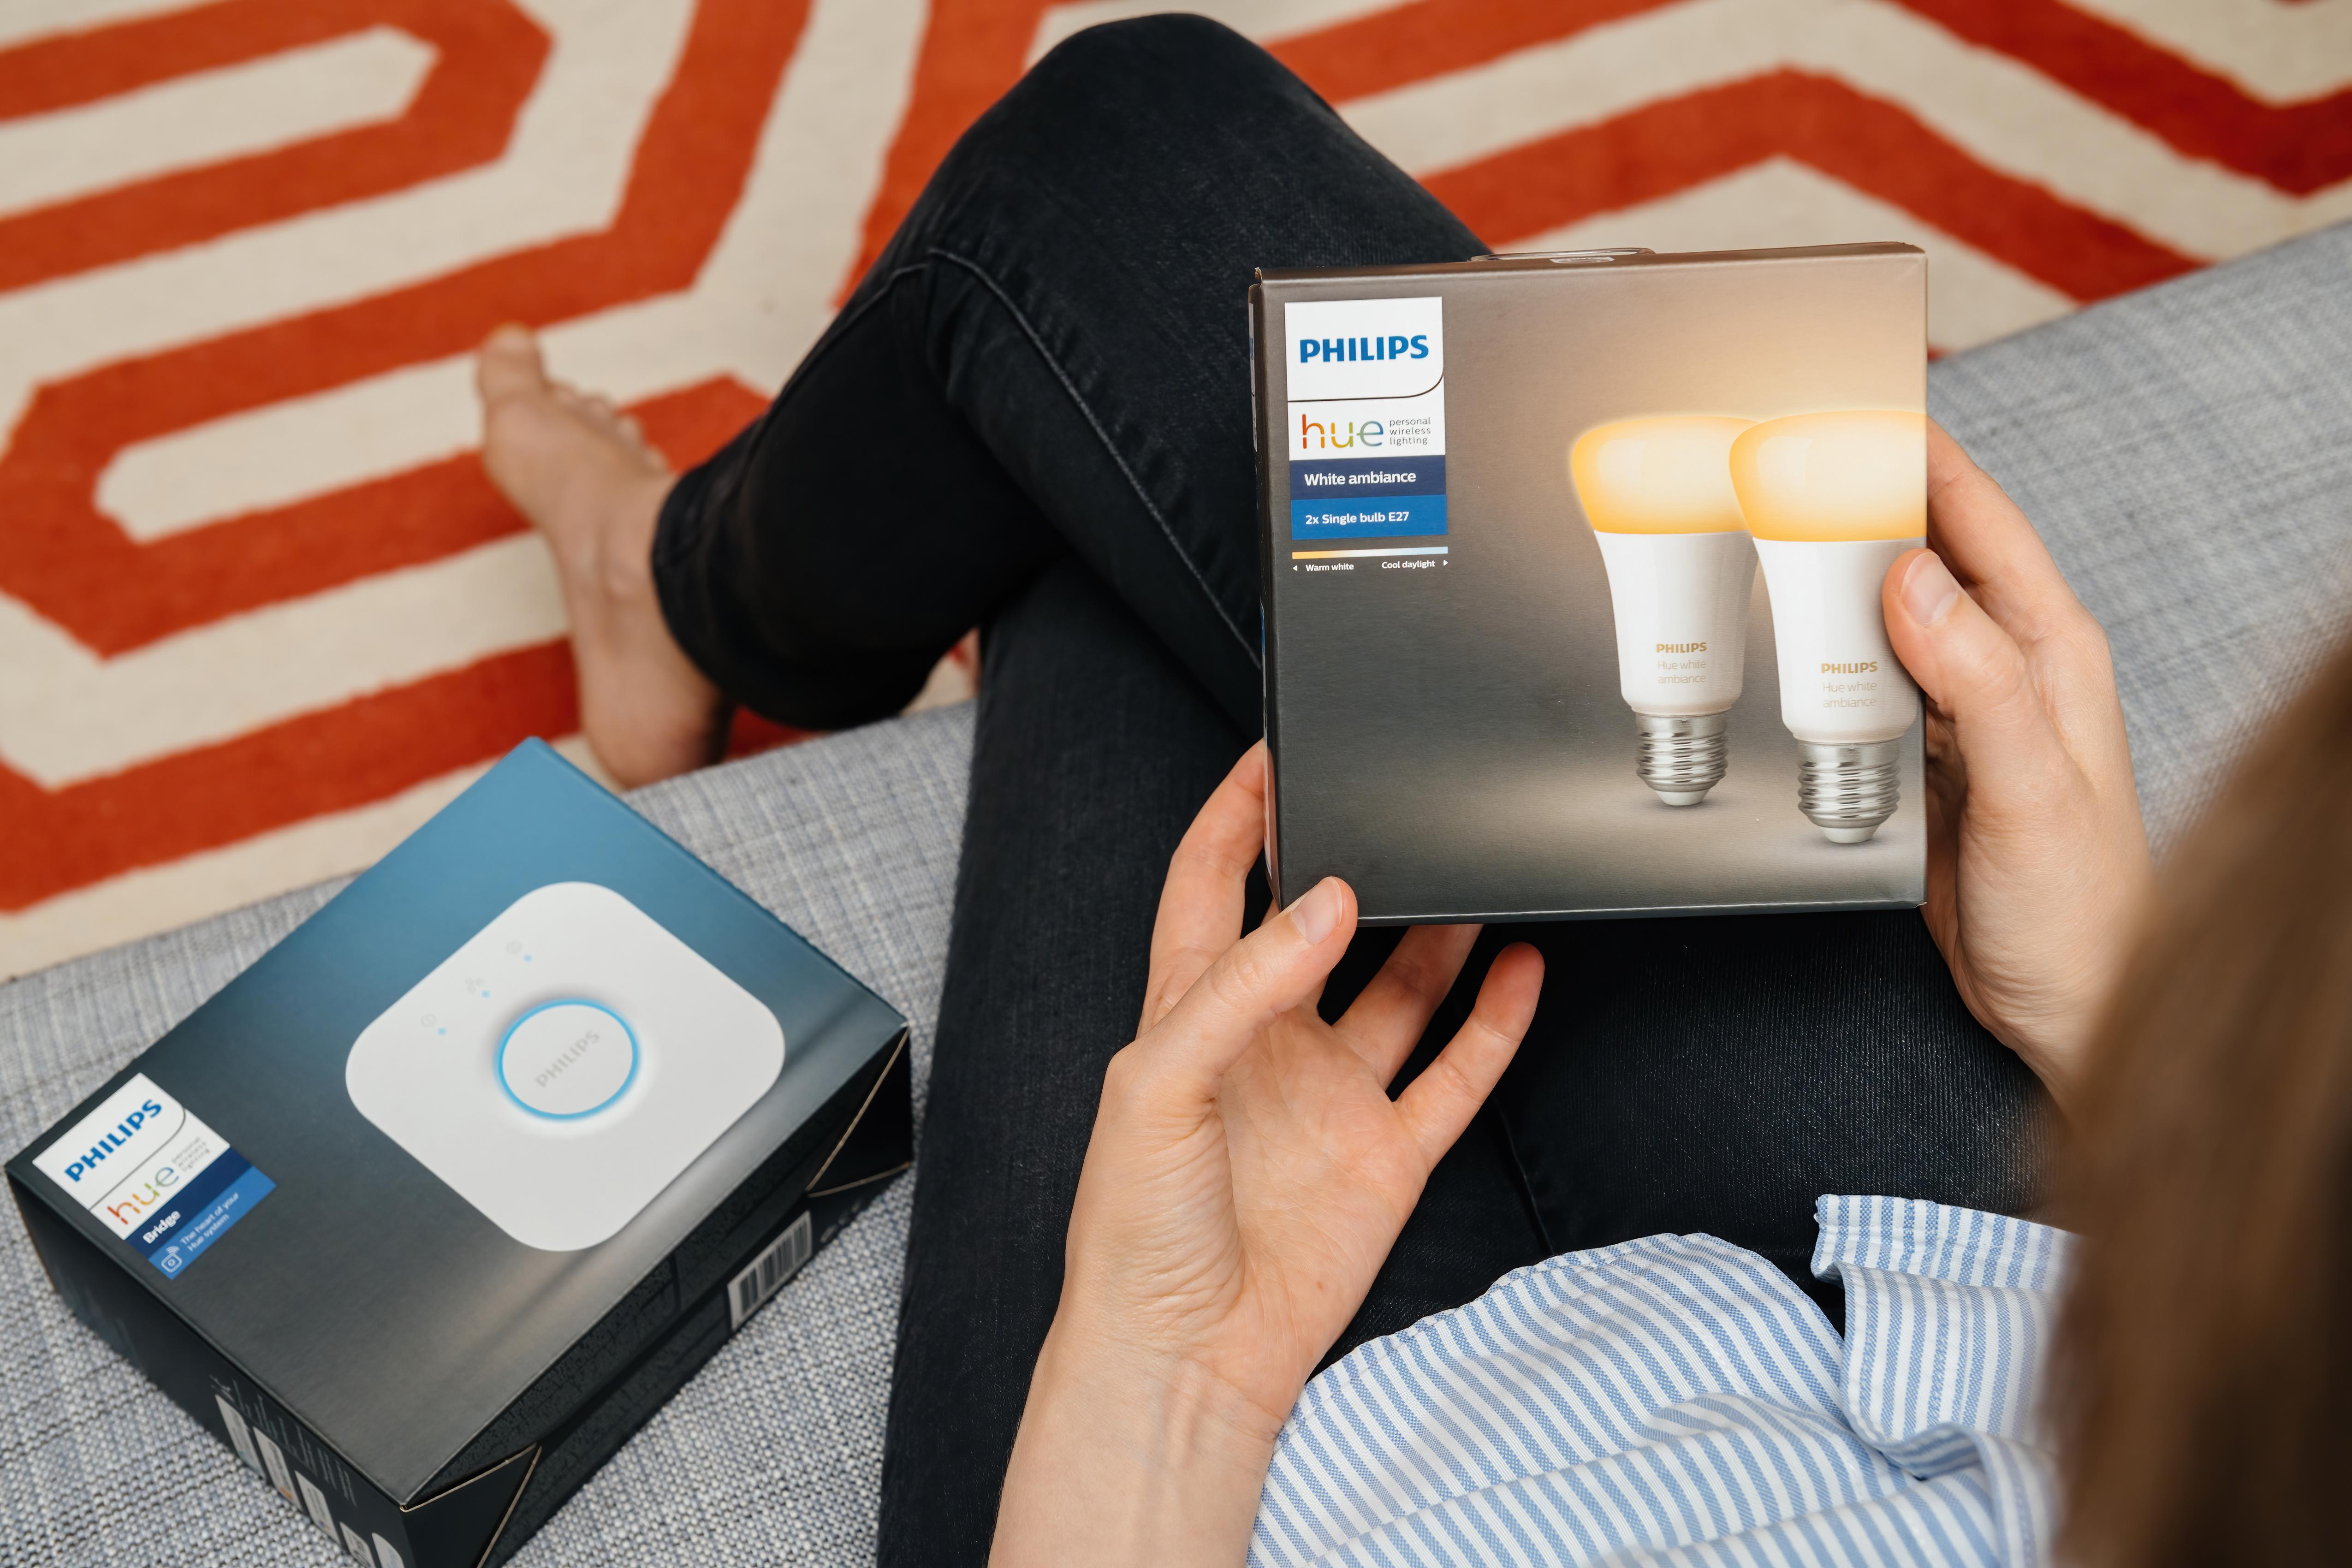
Right, you’ve got your Philips Hue lightbulbs. But how do you set them up? We’re here to shed some light on the situation. And luckily, it’s a lot easier than you might think. In short – screw in the bulbs, connect the Hue Bridge, download the app and start customising your lighting. And that’s pretty much it! Anyhow, let’s dive into some more of the key details…
How do Philips Hue bulbs work?
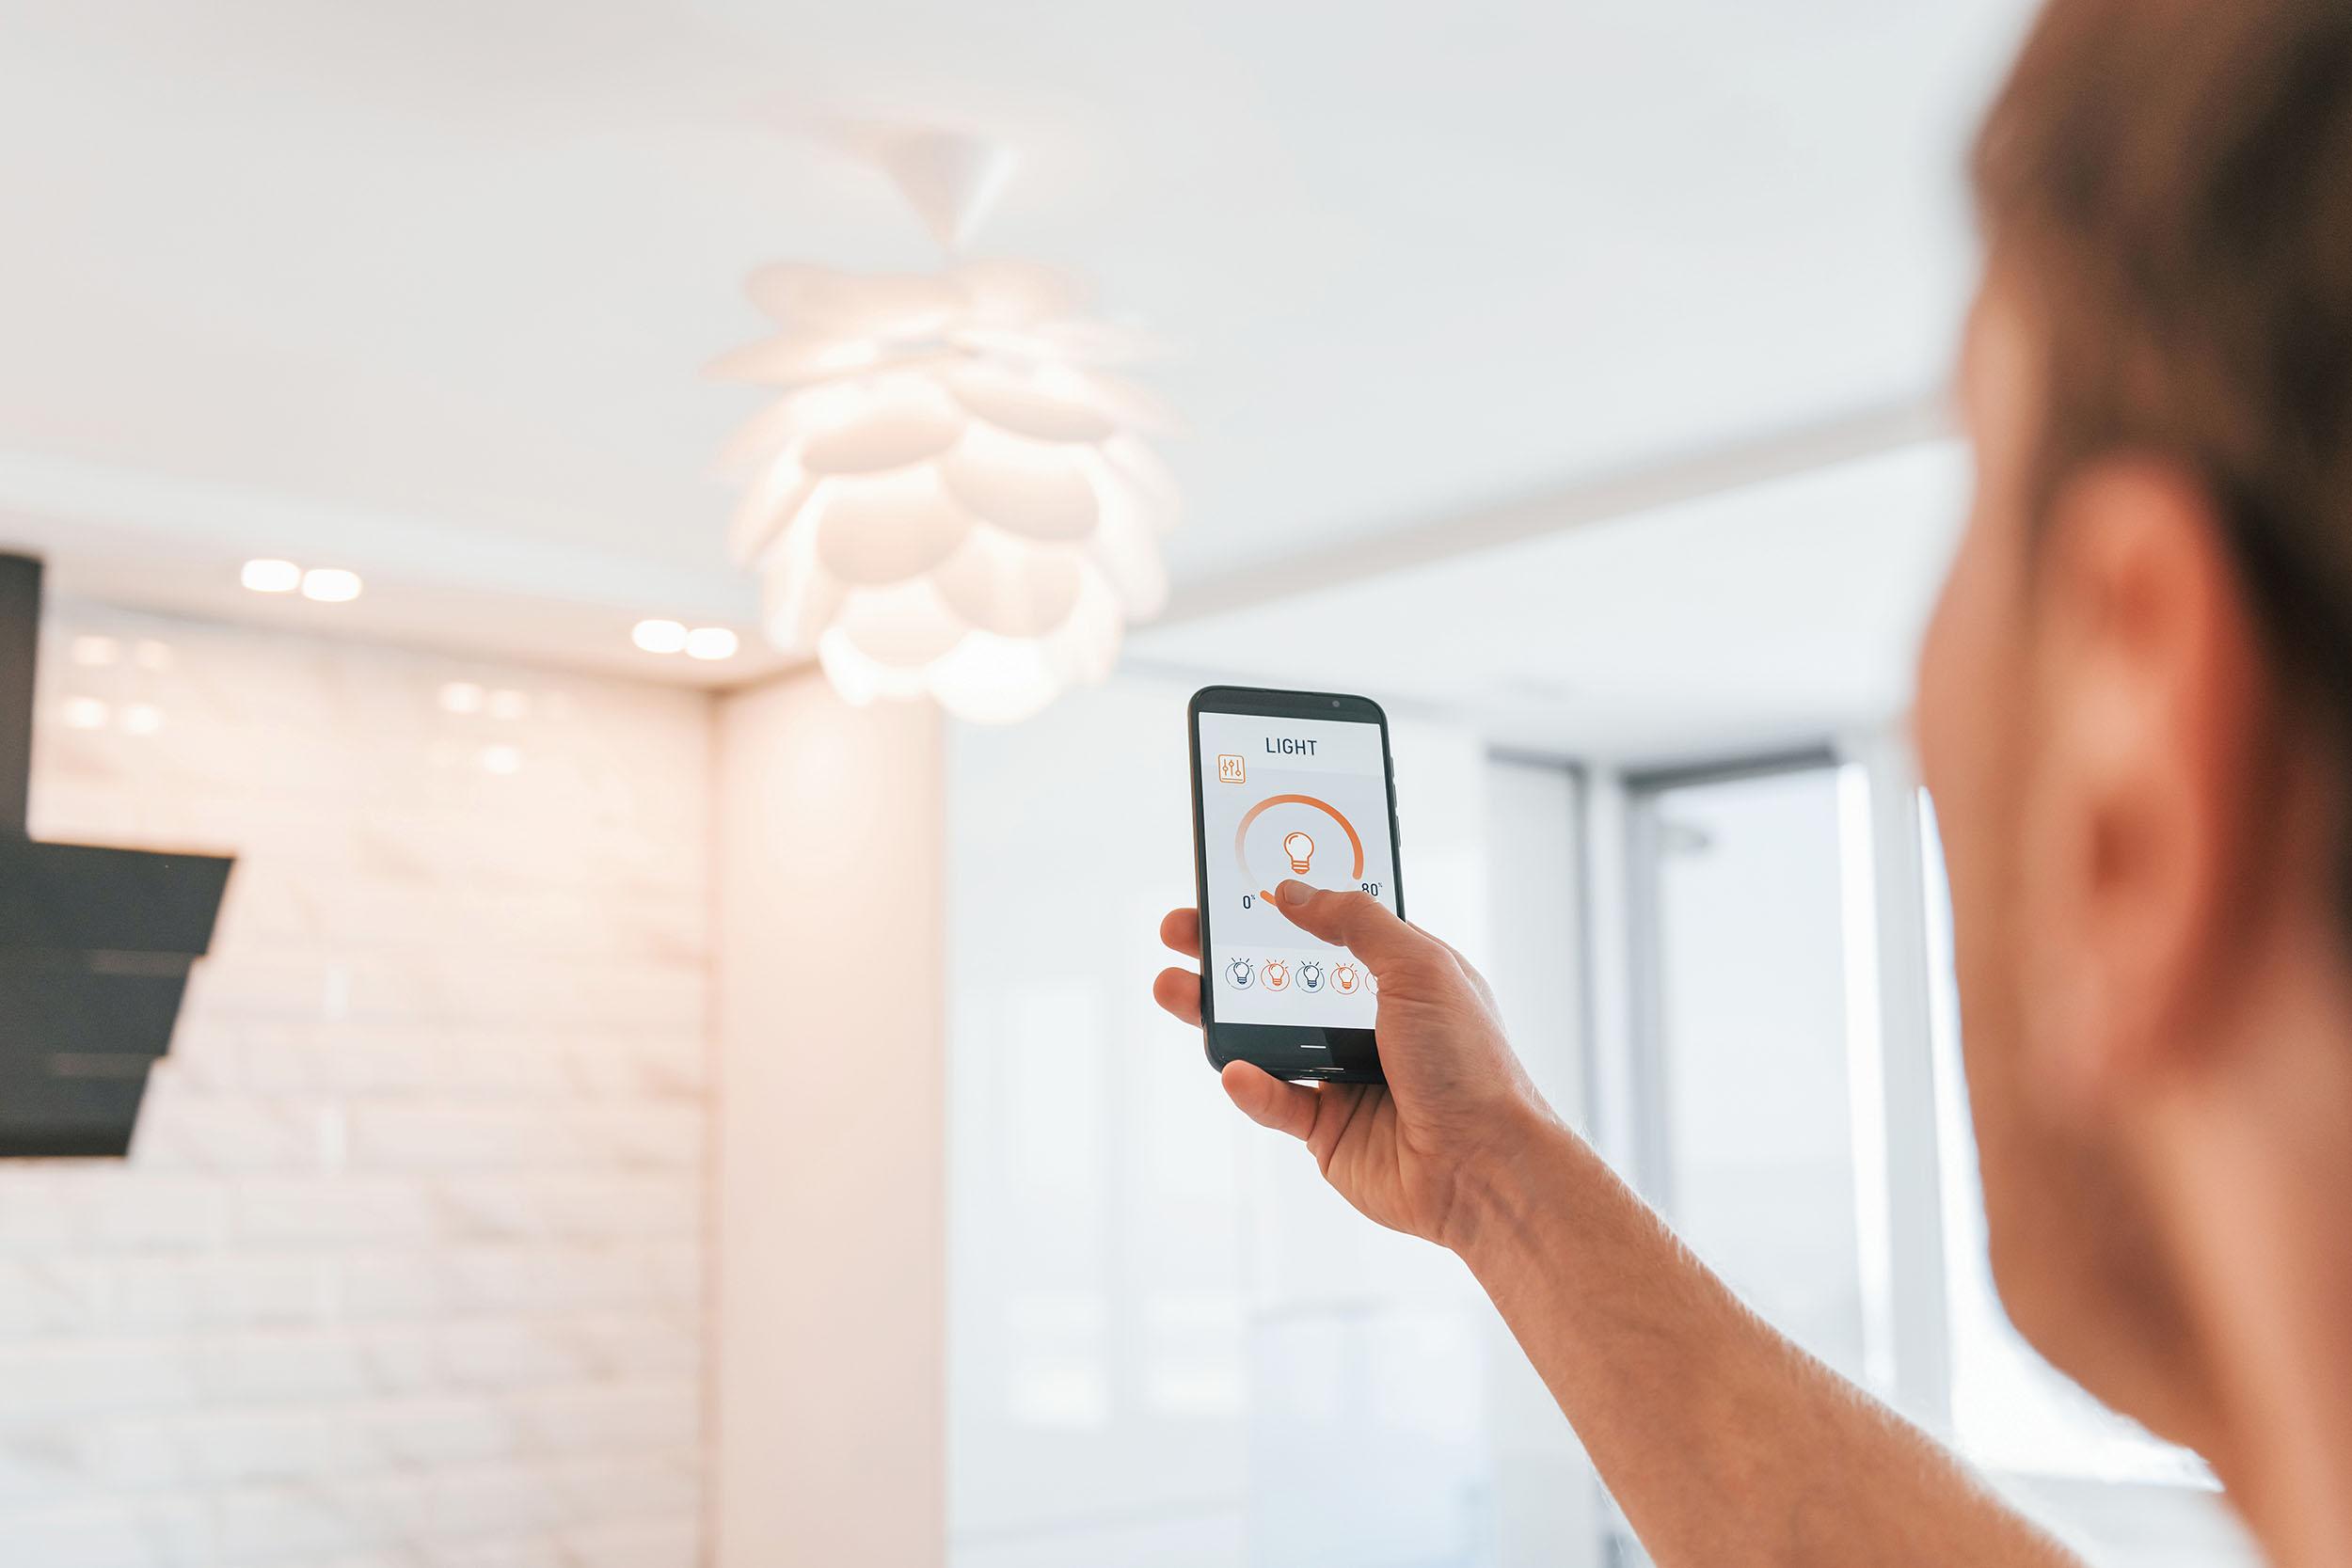
Philips Hue bulbs let you control your lighting from your phone, a tablet or a compatible smart speaker.
The system is made up of three main parts:
Philips Hue smart bulbs.
The Philips Hue Bridge.
The Philips Hue app.
Once everything’s connected, you’ll use the app to switch things up. That could be changing the brightness. Or you might want to change the colour of the lights to something really jazzy. It’s all up to you.
The Bridge is the hub of your setup. When you make a change in the app, the Bridge sends that instruction to your bulbs pretty much instantly. That means you can tweak your lighting in real time (without waiting about) until it looks just right.
Plus, even if your internet decides to throw a wobbly, your phone will still work with the Hue Bridge through your home network. So, you won’t suddenly be left in the dark.

What are the benefits of Philips Hue bulbs?
1. Connect up to 50 bulbs around the house
One of the biggest benefits is how easy it is to flesh out your setup. One Hue Bridge can support up to 50 bulbs – yes really! – letting you kit out your entire home with them if you want. Group your lights together by room, and you’ll be able to change the mood across a whole space with one tap of the app.
It’s easy to get creative as well. Leave your bulbs ungrouped, then set different colours around the same room. It’s one way to make your place look even cooler and 100% you.
2. Set timers for your convenience (and security)
It’s possible to schedule your lights to dim gradually at bedtime and brighten gently in the morning. It feels far more natural than waking up to a sudden alarm – not to mention being a lot nicer.
Heading away for a few days? Schedule your lights to switch on and off at different times so it looks like someone’s home, even when you’re not there. It’s a simple way to add some extra security to your place without spending a huge stack of cash.
3. Integrate your lighting with an Amazon Echo or Nest Learning thermostat
Philips Hue is compatible with lots of other smart home tech. If you hook yours up to an Amazon Echo device, you won’t need to keep picking up your phone to control the lights. Just ask Alexa to switch them on or change up the colours without lifting a finger. You’ll feel like you’re in a sci-fi film!
You can also link Hue with your Nest Learning Thermostat. They’ll help to automate your place by adjusting the lighting based on whether you’re in or out. Now you shouldn’t be wasting money on your electricity bill if you accidentally leave the lights on.
What’s in your Philips Hue starter kit?
Most Philips Hue starter kits include:
Three Philips Hue LED smart bulbs.
A Philips Hue Bridge.
A power adapter for the Bridge.
An Ethernet cable for connecting the Bridge to your router.
Setup instructions.
Once you’ve got these essentials connected, you’ll be ready to start building your smart lighting system.

Philips Hue setup: Your step-by-step guide
Step 1: Screw in your Philips Hue bulbs
Before you buy, make sure you’ve picked the right fitting type – whether that’s an Edison Screw (E27) or Bayonet Cap (B22).
Start by fitting your Philips Hue bulbs into your light fittings. The process is exactly the same as putting in a standard bulb.
Once they’re installed, turn the lights on.
Step 2: Set up your bridge
Next connect your Hue Bridge.
Plug the power cable into the Bridge and connect it to your Wi-Fi router using the supplied Ethernet cable. After a few seconds, you’ll see three blue lights appear on the Bridge.
Once all three lights are solid, you’re ready for the next step.
Step 3: Download the Philips Hue app
Download the Philips Hue app from the Apple App Store or Google Play Store.
Open the app and follow the setup instructions. It should automatically detect your Bridge.
When you’re prompted, press the Link button on the Bridge to pair everything together.
The app will then search for your bulbs and add them to your system.
Step 4: Customise it
Now for the fun part. Use the app to name rooms, organise your bulbs, create routines or switch up the brightness.
It’s also easy to make groups and set up automatic schedules. If you want to connect any compatible smart home devices, you can do that now too.

Top tips for Philips Hue setup
Can’t pick a colour? Choose a pre-made theme
If you’re not sure where to start, try one of Philips Hue’s built-in scenes. You’ve got more than 30 presets to pick from here. And each one is designed for a different mood or activity. Whether you’re kicking back with a book, or taking on your mates at a multiplayer game, there’s a scene to match.
Go hands free
Voice control makes Philips Hue bulbs even more convenient. Once they’re connected to your smart speaker, you won’t have to lift a finger. With a few words, now you can turn lights on and off and activate scenes whenever you like. When it’s too bright – or not bright enough – you can also use your voice to lower or bump up the brightness.
Add in accessories
Grab a Hue Dimmer Switch, and you’ll have some physical controls whenever you lose your phone down the side of the sofa. Or, if you don’t want to have to do a thing to turn lights on and off, set up some motion sensors. They’ll automatically trigger your lights whenever you enter a room.
Bring your media to life with Hue Sync
Want your lights to react to what you’re watching, listening to or playing? Of course you do!
Hue Sync lets compatible Hue lights match the colours and action that’s happening on screen. It’ll make movies (especially horror flicks) feel a lot more immersive, while games become so much more dramatic. If you’re just listening to some tunes, your music gets a whole extra visual layer too.
To get started:
Make sure your bulbs and Bridge are already set up.
Create an Entertainment Area in the Hue app.
Follow the setup instructions to link everything together.
Once they’re all connected, your room will become another part of the experience.

FAQs
Does Philips Hue work without internet?
Yes. If your bulbs are connected through a Hue Bridge, they’ll still work on your home Wi-Fi network, even if your internet connection goes down. You’ll still be able to control lights and routines in the house as normal. Some features might not be available until you get your internet back up and running though.
Why isn’t my Philips Hue bulb turning on?
First, check the bulb is fitted securely and that the wall switch is turned on. Sometimes the fix is one of the simplest things. If it’s still not working, make sure the bulb shows up in the Hue app and that your Bridge is connected properly. Restarting the bulb and the app can usually solve any connection issues you’re having.
How do I get voice commands to work?
You’ll need to link your Philips Hue account with a compatible voice assistant. That could be Amazon Alexa or Google Assistant, it’s entirely your choice. Once they’re linked, find your devices through the voice assistant’s app and assign them to rooms so you can control them with voice commands.
Which products work with Philips Hue?
A whole boatload of tech! Philips Hue will work with all sorts of smart lighting products, whether that’s light strips, bulbs, lamps, outdoor lights, switches or motion sensors. It also supports the biggest smart home platforms and voice assistants (like Alexa), letting you build out a full-on connected setup in your house.
Need more advice?
Now you’ve got your Philips Hue setup sorted, what else is there? We’ll show you how to set up a smart home in our handy explainer right here. And if you want to bump up your security, here’s how to keep your smart home safe.