Editing photos on an iPhone is quick and easy - and it can give you some spectacular results. If you want to brighten up a dark shot, tweak colours, or remove an unwanted background object, you can do it all in just a few taps. The built-in Photos app has a great set of tools for everyday edits, and if you need more advanced options there are lots of great third-party apps out there.
In this article, we’ll take you through everything from basic edits to using more advanced tools like ‘Photographic Styles’ and the ‘Clean Up’ feature. We’ll also recommend some of the best third-party apps if you want to take things further. But first, let’s kick things off with iPhone’s very own app…
How to get started with the iPhone Photos app

Apple’s Photos app is where all your photos live. And it’s also where you can edit them, in a few simple steps:
Open the Photos app and find the photo you want to edit.
Tap on the photo to open it, then tap Edit in the top-right corner.
You’ll now see a range of editing options at the bottom of the screen, including Auto-Enhance, cropping, filters, and adjustments.
When you’re inside the editor, you can swipe between different tools and make quick changes with just a few taps. It’s user-friendly, so even if you're new to photo editing, you’ll get the hang of it in no time.
How to use basic editing tools in the Photos app
If you’re just looking to make quick fixes and edits, these built-in tools will do the job nicely:
Cropping & rotating: Tap the Crop icon to straighten your image, adjust its aspect ratio, or zoom in on a specific subject.
Exposure & brightness: Use the Adjust tool to tweak exposure, brightness, contrast, and highlights to make details pop.
Colour correction: Fine-tune your photo’s warmth, saturation, and vibrancy to get the perfect look.
Auto-Enhance: If you’re in a hurry, tap the Auto button to let your iPhone adjust lighting, colour, and contrast instantly.
A guide to using ‘Photographic Styles’

Photographic Styles are like supercharged filters, where you give your photos unique looks without changing natural skin tones and other important details. Unlike regular filters, they aren’t just slapped on top of your photo - they intelligently adjust tone and colour at a deeper level. To apply a Photographic Style:
Open the Camera app and swipe up (or tap the arrow at the top of the screen).
Tap the Photographic Styles icon.
Choose from four default styles: Rich Contrast, Vibrant, Warm, and Cool.
Take a photo with your chosen style. Remember, you can tweak it after taking the shot.
To make a Photographic Style truly yours, you can fine-tune its tone and warmth:
Select a style in the Camera app.
Use the Tone slider to adjust contrast and shadows.
Use the Warmth slider to shift colours toward cooler or warmer hues.
This helps you get the exact look you want without overdoing things.
How to use the 'Clean Up' tool
One of the most exciting editing features on the iPhone is the Clean Up tool, powered by Ai. It’s a great way to clean up your photos without needing advanced Photoshop skills.
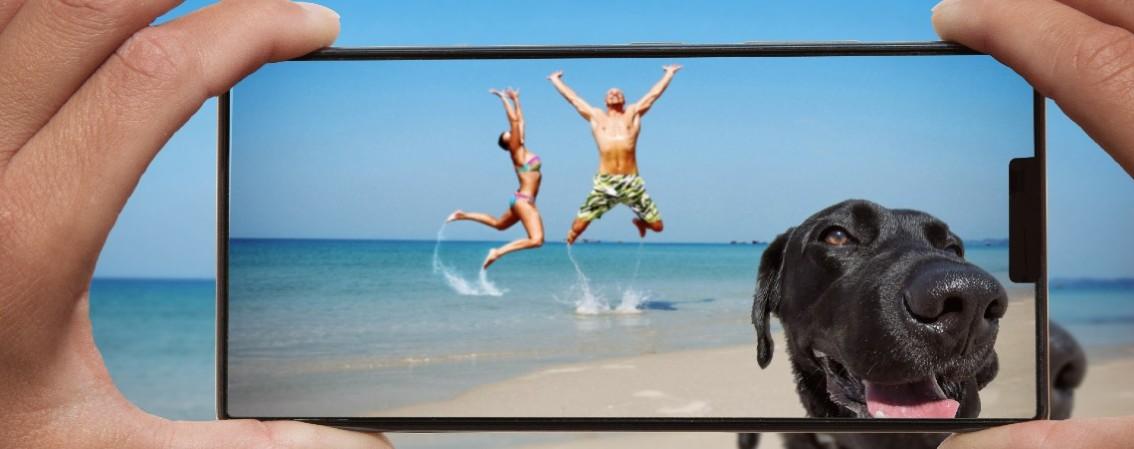
Clean Up gives you the power to remove unwanted distractions from your images. So, it’s perfect for ditching unruly photobombers, an innocent-yet-annoying passerby in a scenic shot, or getting rid of objects cluttering up the background. Here’s how to use it:
Open a photo in the Photos app and tap Edit.
Tap on the Clean Up tool.
Select the area you want to remove, and your iPhone will intelligently fill in the space based on the surrounding pixels. Easy.
The best third-party photo editing apps for iPhone
If you want even more control over your photo edits, third-party apps offer extra tools and creative options. Here are three of our favourites – if you like the sound of one, download it to your iPhone by clicking on the title:
Adobe Lightroom photo and video editor
If you like full creative control, this is a great app to try. Lightroom offers features like precise colour grading, RAW editing, and selective adjustments - meaning you can tweak individual areas of a photo rather than making wholesale changes. It also includes Ai-powered presets that adapt to different lighting conditions.
Snapseed
A free all-in-one editor with powerful tools. Selective Adjust lets you brighten or sharpen specific parts of an image. The Healing tool removes small blemishes, and Tune Image lets you finely adjust things like brightness, contrast, and saturation.
VSCO photo and video editor
This app is famous for its stylish filters that look like classic film stocks. You can tweak loads of settings to give your photos an artistic look, including grain, fade, and texture. grain, fade, and texture. If you want your Instagram feed to have a consistent style, this is a great choice.
Tips for professional-looking edits
Okay, so we’ve told you about some great editing tools. Now let us share some top tips for making your iPhone photos look like they were shot by a pro:
Use the ‘rule of thirds’. This is a neat trick where you divide your photo into a 3x3 grid (which you can enable in your iPhone camera settings). The idea is to place the key parts of your image along these lines or at their intersections. It makes your photos more balanced and interesting to look at.
Be selective. Less is more. When sharpening up your pictures, be subtle. Overdoing it can make everything look fake and too harsh. Just a little sharpening can be enough to bring out enough detail.
Keep it natural. It’s tempting to crank up the saturation and contrast, but sometimes less is more. Too much of it can make your photo look unrealistic. Aim for a natural look that enhances the true colours and details.
Experiment with depth. Give Portrait mode a go. It helps create a nice blurry background (known as bokeh) that really makes your subject stand out.
Be consistent. Stick with a editing style, especially if you’re posting on social media. It’ll give your feed a distinct look, and make your photos recognisable as your own.
FAQs
Can I revert edits back to the original photo?
Yes you can. The Photos app is non-destructive, which means you can always go back to your original image. To do this:
1. Open the edited photo in the Photos app.
2. Tap Edit, then select Revert at the bottom right.
3. Confirm, and your image will return to its original state.
How do I copy edits from one photo to another?
If you think you’ve nailed an edit and want to apply it to multiple images, you don’t have to start from scratch each time. Do this instead:
1. Open the edited photo and tap the More Options button (three dots).
2. Select Copy Edits.
3. Open another photo, tap Edit, then choose Paste Edits.
Are third-party editing apps better than the built-in editor?
It depends on what you need. The Photos app is great for quick and easy edits, while third-party apps like Lightroom and Snapseed give you more advanced controls. If you just want basic enhancements, stick with Photos. If you want more creative freedom, explore your third-party options.
Need more help?
Need more iPhone advice? Our How to set up your new iPhone article is a good place to start. For more photography tips, check out how to delete duplicate photos on iPhone, how to take photos at night, and how to take great outdoor photos on your phone.
If you’re looking for a new iPhone, check out our best iPhones article, and you might want to take a look at the new iPhone 16.