We love our kitchen appliances! In 2023 alone, air fryer sales were up 1,175% on the year before. More of us are buying coffee machines than ever before. And what kitchen doesn’t have a toaster?
And while we rely on these machines every day, cleaning out all their nooks and crannies can be quite the challenge. But it’s vital that we do. With frequent use, kitchen appliances can quickly accumulate grime and grease, becoming breeding grounds for bacteria and bad smells. Yuck!
So in this guide, we’ll show you how to freshen up your air fryer, give your toaster some TLC and make the inside of your microwave sparkle. Sounds like a chore but it can be super satisfying!
Click on one of the links below to jump to the relevant section:
Before you start:
Before you don your marigolds, always check your appliance’s manual (whether that’s the booklet that came with it or by finding it online) to make sure you’re doing it safely and in a way that won’t damage your tech.
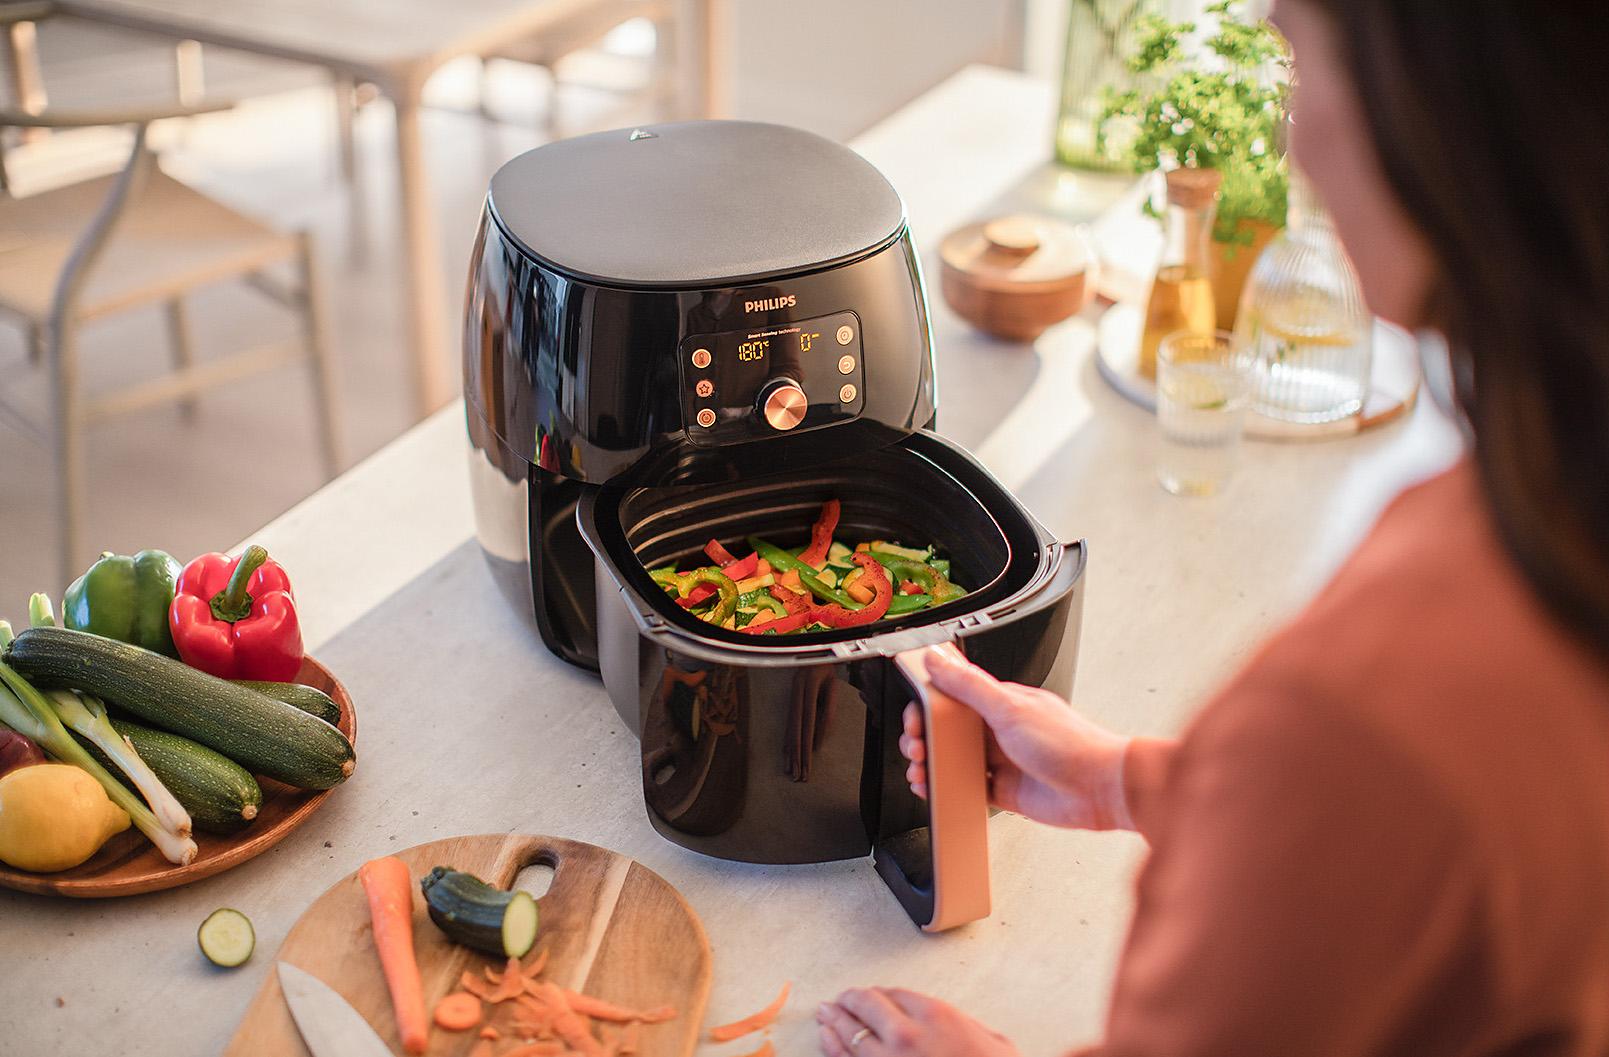
Deep cleaning an air fryer
Air fryer recipes make midweek meals quick, but all that free-flowing hot air can lead to splatters. And fried food always leaves a residue. To keep your air fryer in top condition here’s what to do:
1. Start by unplugging your air fryer and letting it to cool down completely.
2. Remove the basket and tray and wash them with warm, soapy water. (Some of these parts might be dishwasher safe but check manufacturer guidelines first.)
3. For stubborn stains, soak the basket and tray in a mixture of baking soda and water. You can also mix distilled vinegar (or lemon juice) and baking soda into a paste.
4. Wipe down the interior and exterior of the air fryer with a damp cloth. Make sure the air vents are clear of any debris.
5. Pay special attention to the heating element, as any buildup can affect its performance. Ideally you don’t want to use cleaning products or anything that can leave a residue on your heating element. Turn your air fryer upside down to make it easier to clean. Wipe it carefully with a soft sponge and a little hot water or a soft bristle brush. Never use steel or a brush with a hard bristle or you can damage it. Make sure it’s dry before you finish.
6. Finally, dry everything thoroughly before reassembling. You can then put your air fryer on for a few minutes to take care of any loose residue.
Cleaning hack:
If your air fryer allows steaming, this can be a huge help – since you can make it do the work for you. Take an oven safe dish and add a little distilled vinegar or lemon juice to some water. Then run your air fryer at 200°C for 10 minutes. This will not only remove grease, but also leave your fryer smelling fresh. Once cool and unplugged, give everything a wipe with a clean cloth.
Keeping your air fryer clean
Use small squares of baking paper for messy food. (You don’t want to use it on frozen food, as allowing free air flow is important to cook everything evenly).
Run your trays through the dishwasher after every use (if dishwasher safe) or give them a wipe.
Don’t air fry anything with too much liquid. Creating baked eggs in an air fryer is fine, but soup is a splattery no-go!
Give the heating element a light wipe with a damp cloth. (Make sure it’s cool first.)


How to deep clean a toaster
Toasters get a lot of use, so they certainly can become messy over time. Crumbs! If you’re just toasting bread, it shouldn’t be too tough to clean. But if you’re adding in tea cakes, Pop tarts, waffles and all those other fabulous toasted treats, you could have a job on your hands.
1. Unplug the toaster and remove the crumb tray.
2. Dispose of any crumbs and wash the tray (and anything else removable) with warm, soapy water.
3. Gently shake the toaster over a sink or bin to dislodge any remaining crumbs. If there’s anything stuck in there, a thin chopstick can be super handy.
4. Use a soft brush or toothbrush to clean the interior slots, being careful not to damage the heating elements or wire grill. To give yourself extra space between the grill and heating elements, push the toaster lever down.
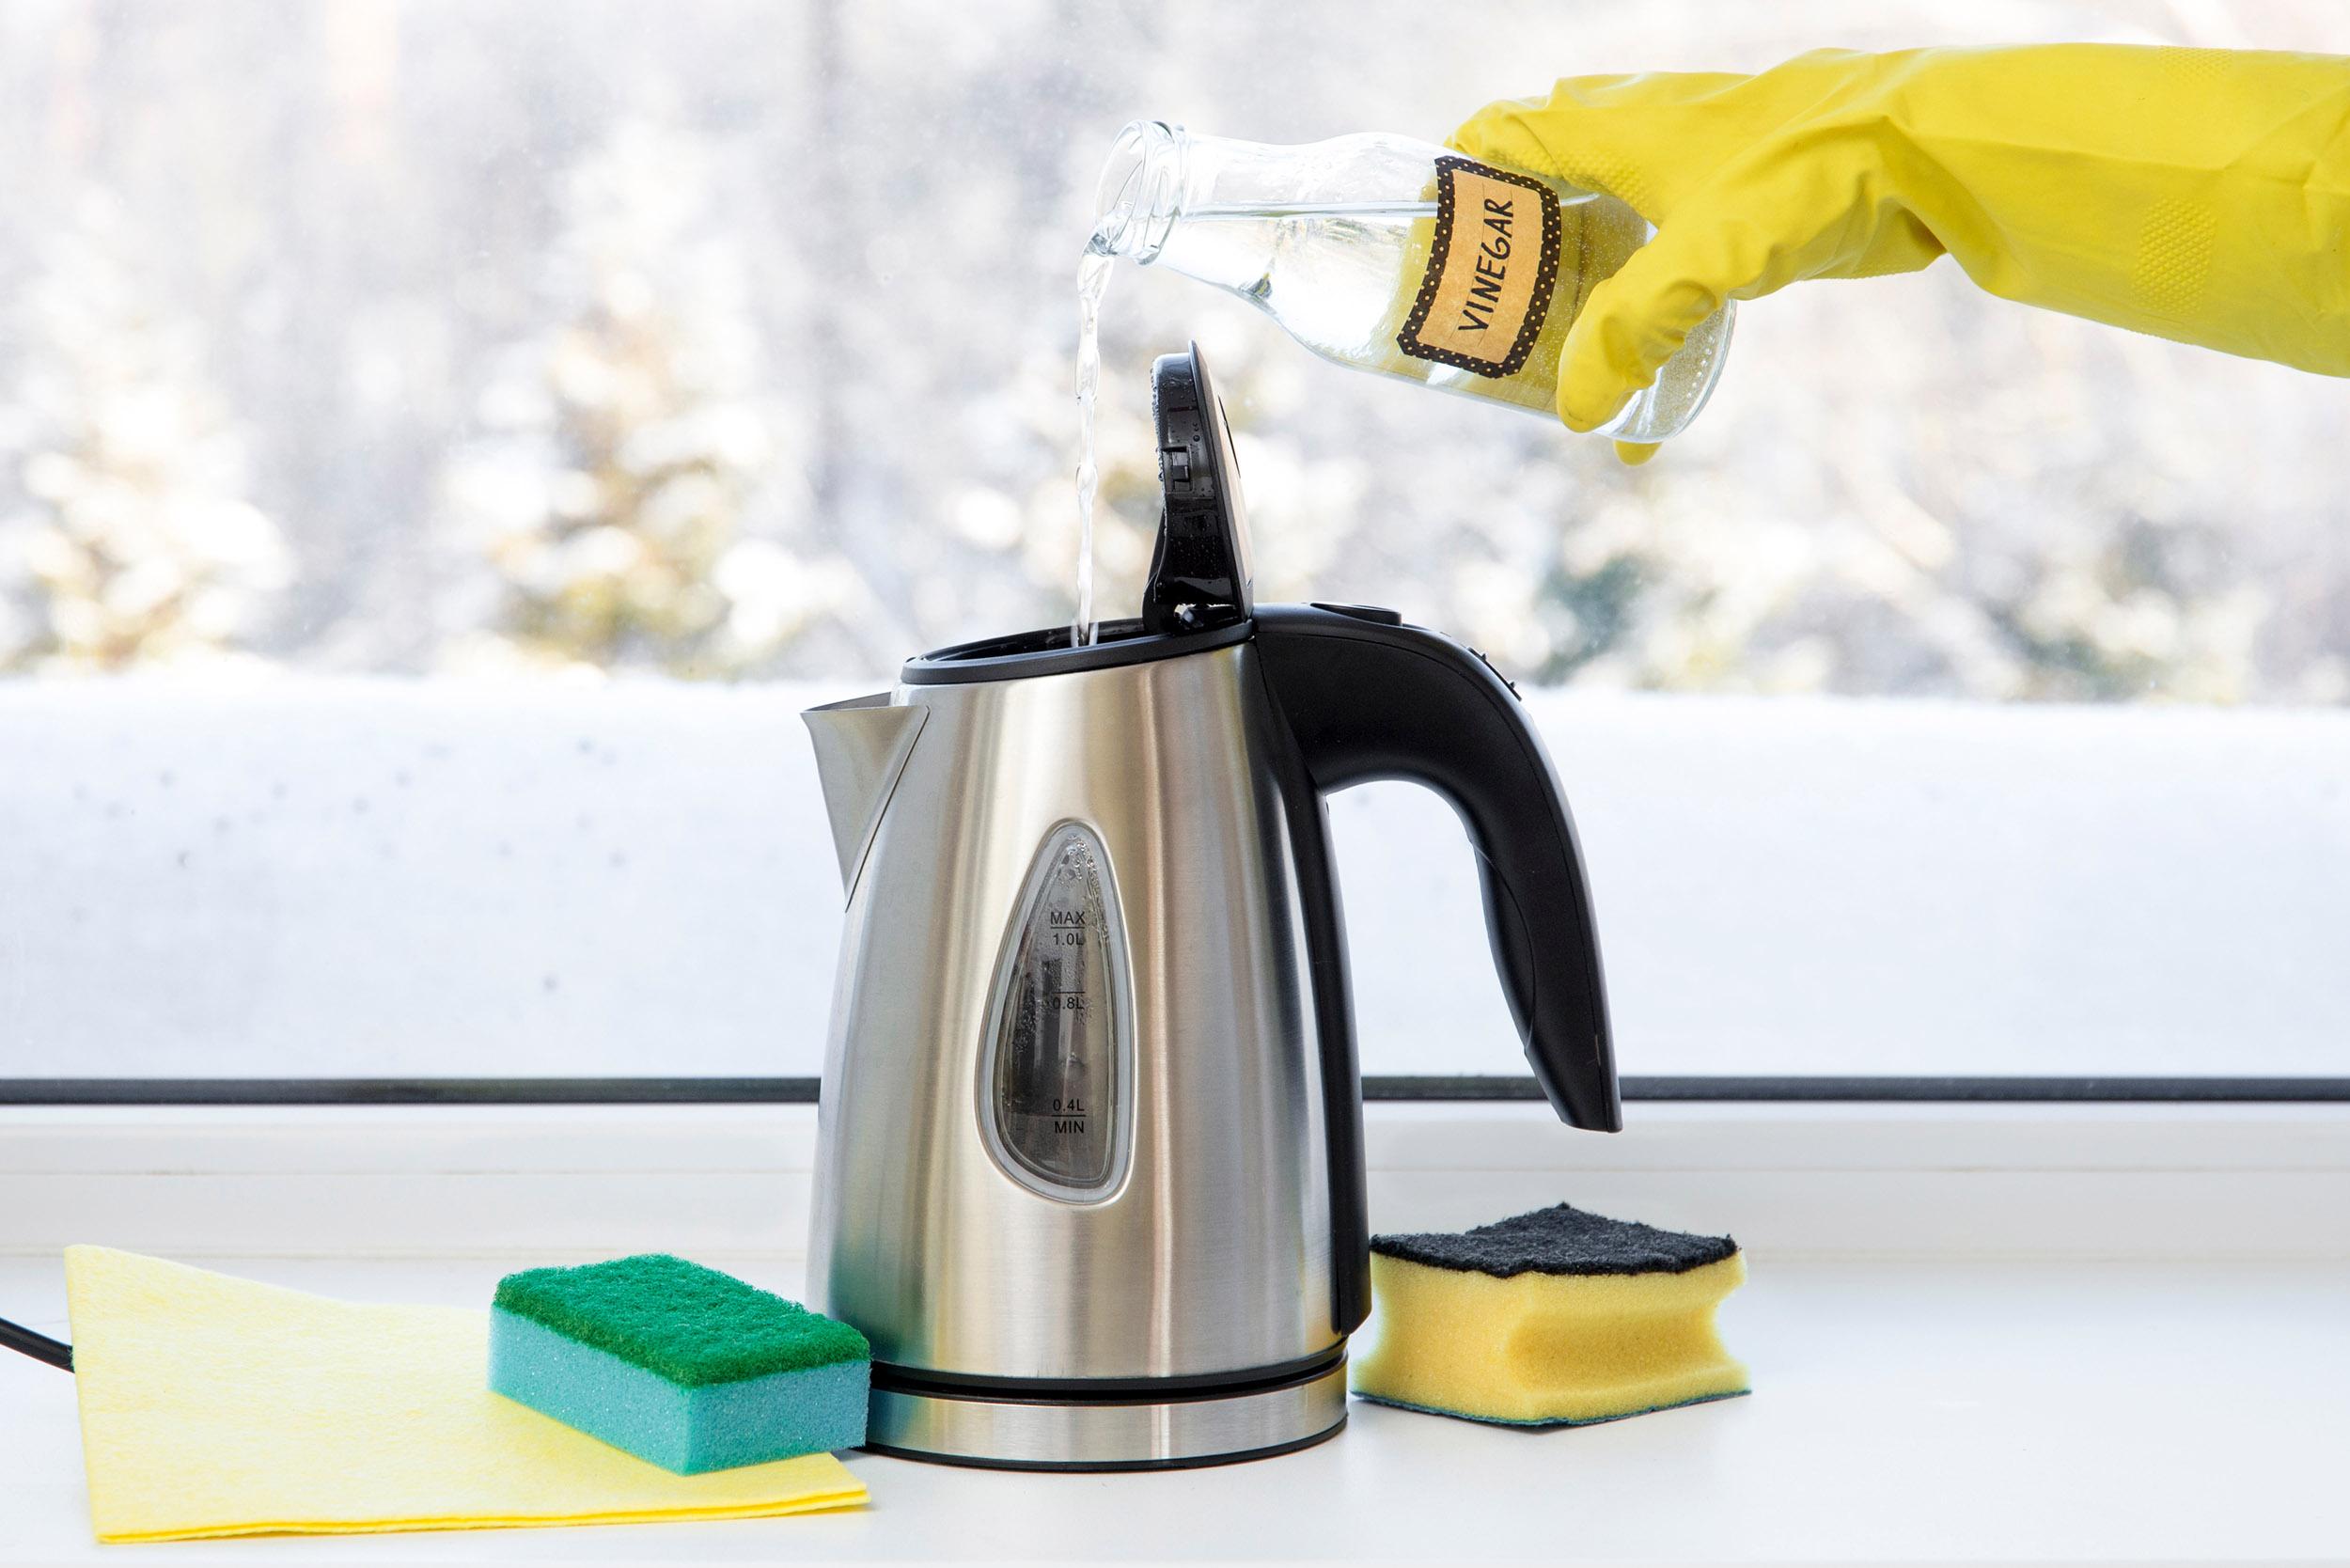
5. If there’s any sticky build up, you can mix some distilled vinegar and water to target anything that won’t shift. Just apply it directly and use very sparingly.
6. Wipe down the exterior with a damp cloth and let the whole toaster dry thoroughly and air out before plugging it back in.
Cleaning hack: A toaster’s heating elements and wire grill can be ridiculously fragile. Don’t use anything abrasive to tackle the inside of the toaster or any cleaning product that can leave a residue.
Keeping your toaster clean
After every use, wipe the exterior of your toaster and empty out the crumb trays.
While social media might claim you can make a cheese toastie in a conventional toaster, don’t be tempted to try! Cleaning a toaster can be an awkward, fiddly process, and you don’t want any food residue on those heating elements.

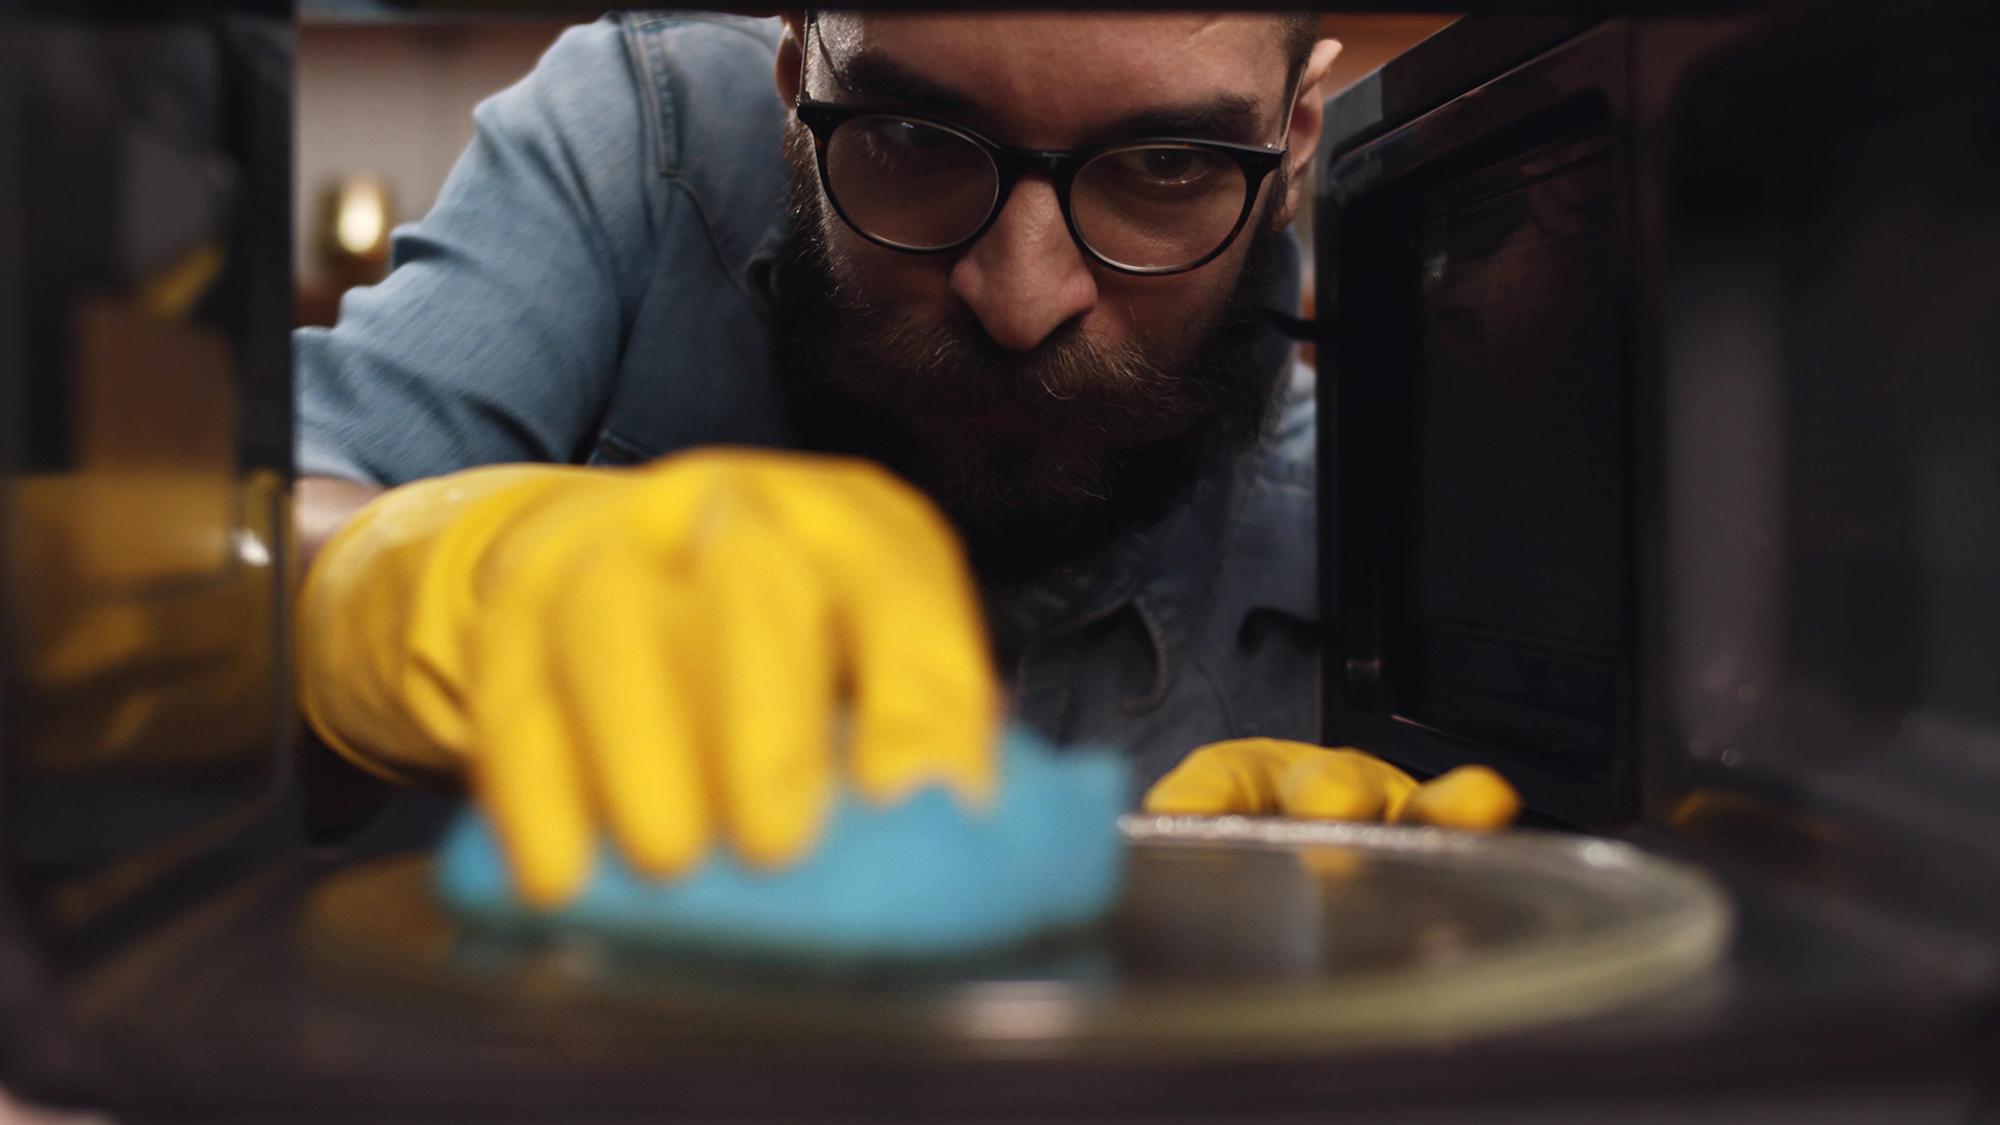
How to deep clean inside a microwave oven
We put microwaves through a lot. From leftovers to ready meals, your microwave interior can quickly become splattered with food residue. And because you close the door once you’re finished with them, it can easy to forget to keep microwaves clean. But leave a microwave dirty too long and stains get tougher to shift. So, time to take action:
1. Fill a microwave-safe bowl with water and add a few slices of lemon or a tablespoon of vinegar.
2. Place the bowl in the microwave and heat it on high for a few minutes until steam forms. The steam will help loosen any dried-on food particles. Once the time is up, leave the door closed for a few minutes so the steam can go to work.
3. Carefully remove the bowl (it will be hot) and wipe down the interior with a sponge or cloth.
4. Pay special attention to the ceiling and walls, where food splatters are most likely to build up.
5. For stubborn stains, use a mild detergent or baking soda paste.
6. Remove the turntable and wash up as usual.
7. Wipe down the exterior of the microwave and dry thoroughly.
Cleaning hack: Food can get everywhere, even into your microwave’s door seals. Carefully rub a little bicarb of soda in and then wash out with warm water.
Keeping your microwave clean
- To prevent food splatters, cover dishes with a microwave-safe lid or paper towel when heating them.
- Wipe down the microwave interior after every use.

How to deep clean a coffee machine
There’s nothing like grinding your own beans every morning for a fresh brew, but coffee grounds tend to get everywhere and can quickly build up. To make sure your coffee machine keeps creating quality coffee, you’ll want to keep it clean. Here’s how:
1. Start by emptying the coffee grounds and rinsing the carafe with warm water.
2. Take off any removable parts, such as the filter basket and water reservoir, and wash them with soapy water.
3. Use a brush or sponge to clean the inside of the coffee machine, paying attention to the brewing chamber and spout.
4. For built-up mineral deposits, run a mixture of equal parts water and vinegar through the machine's brewing cycle. Once done, run a cycle with clean water to rinse out any remaining vinegar.
5. Wipe down the exterior of the coffee machine with a damp cloth and dry thoroughly.
Cleaning hack: Clean the coffee machine's grinder regularly to prevent the buildup of oils and residue, which can affect the taste of your coffee.
Keeping your coffee machine clean
- Only fill your coffee machine with filtered water, which means you’ll have to descale your machine less often.
How to clean Nespresso Vertuo
- Remove the water tank, lid and other parts with mild detergent, wash as normal. Then replace.
- To rinse your machine through, remove the cup support and place a bowl under the coffee outlet.
- Fill the water tank with clean water and press the on button. Wait for 40 seconds.
- Once the light stops flashing, press the button 3 times to start the cleaning programme.
- During cleaning the light will flash orange. Once it becomes steady green, cleaning is complete.
How to descale Nespresso
You’ll know when your machine needs descaling, as you’ll see a half green, half red light. Descaling is similar to flushing your machine (as above) but descaling will take longer. It’s best to use an official Nespresso descaling product and follow instructions on the packet.
- Fill the water tank with 800ml of water and then add the descaler sachet. Pop a large bowl under the outlet.
- Push the lever down and press the button for 3 seconds until the light turns orange. That means the machine is in menu mode.
- Push the lever down once to enter descaling mode – you’ll see the light blink orange.
- Once descaling is complete, you’ll need to rinse your machine following the previous steps.
- Once everything is complete, push the button and lever down together to exit descaling mode.
If you find it easier to follow steps visually, here’s Nespresso’s official guide for the Nespresso Vertuo Plus:
How to deep clean a blender
From smoothies to soups, blenders are versatile kitchen appliances. But cleaning them can be a hassle, especially if food gets stuck under the blades. The longer food gets stuck on the blades, the harder it is to shift – and the less sanitary your blender becomes. Yuck! So here’s how to get your blender or food processor sparkling:
1. Start by disassembling the blender and rinsing the removable parts with warm, soapy water.
2. For stubborn residue, fill the blender jar halfway with warm water and add a drop of dish soap. You can also use lemon juice/ bicarb or vinegar.
3. Run the blender on high speed for a minute to dislodge any food particles.
4. Rinse thoroughly and allow the parts to air dry.
5. To clean the base of the blender, wipe it down with a damp cloth, being careful not to get any water near the electrical components.
Cleaning hack: If you’re putting your blender away for a bit, always make sure that the jug is absolutely dry. If there’s any liquid in there at all, it can actually seep into the jug base and create mold which you won’t be able to tackle unless you take your blender jug to pieces – which usually isn’t easy.

How to deep clean a toasted sandwich maker
The best thing about a toastie is usually the cheese. But if you overfill your sandwich, that molten dairy can make its way into everything. It’s time for an overdue de-cheesing:
1. Start by unplugging the sandwich maker and allowing it to cool down completely.
2. Once cool, wipe down the plates with a damp cloth to remove any loose debris. Don’t use anything rough – because you’ll damage the non-stick coating.
3. For stubborn residue, apply a small amount of cooking oil to the plates and let it sit for a few minutes to soften the food.
4. Use a soft brush or sponge to gently scrub the plates, then wipe them clean with a damp cloth.
5. Dry the plates thoroughly before storing the sandwich maker away.
6. If your toastie maker has been sat dirty in a cupboard for ages, you can still save it. Mix a little water, distilled vinegar, lemon juice and bicarb of soda in a bowl. Switch your sandwich maker on for 30 seconds and switch it off, removing the plug. Now pour a shallow amount into the grill indents. Now close your sandwich maker and leave it for 5 minutes. Let it cool before wiping away the solution (plus all the dislodged grease and food) with a strong paper towel or cloth. Satisfying!
Cleaning hack: A toothpick or toothbrush can be super helpful for dislodging little morsels of food if they’ve got into the nooks and crannies.
Keeping your toasted sandwich maker clean
- Once you’ve had your toastie, wipe the grill plates with a cloth or paper towel while the plates are still warm. Grease, crumbs and cheese will come off much more easily than leaving it for later.
- Always grease your plates before use with a little oil, butter or cooking spray to prevent anything sticking.
What’s next?
Now your appliances are spotless, we’ve got some cleaning tips for your large kitchen appliances too. For more tips and tricks for your appliances, check out our kitchen appliances buying guide.