Drills are one of the most useful power tools you can own. Whether you’re putting up a shelf or fixing bits and bobs around the house, learning how to use a drill properly will make every job so much quicker. And easier! Follow our mini guide and you’ll have that flat pack furniture built in literally no time.

Key considerations before using a drill
Using a drill safely isn’t just about the tool itself. It’s about knowing what you’re working with and choosing the right setup from the get-go. A little prep goes a long way…
Understanding what drill you’re using
Not all drills are the same. Picking the right one for the job will make whatever task you’re dealing with so much smoother. Here are the most common types out there:
Drill drivers – Great all-rounders for putting together furniture or drilling straight into wood.
Combi drills – These can drill into metal, wood and masonry with its hammer setting. They’re ideal for most bits of DIY.
Hammer drills – Designed for tougher materials like brick or concrete. They add a rapid tapping motion as they drill.
Impact drivers – Best for driving screws quickly and with more power.
Cordless drills are popular because they’re easy to carry and can be used anywhere. Corded ones will give you more power – and they’re handy for bigger jobs, yes – but you won’t be able to move far from the plug socket. Think about where you’ll be drilling before you buy.
Each drill comes with its own settings too, letting you switch up everything from the speed to the amount of torque it uses. Grab the manual and learn a bit about what each one does. It’ll help you stay safe and you’ll get better results on your next project.
How to know what size drill bit to use
Picking the right drill bit before you do anything is crucial. Choose the wrong one, and you might damage your wall, your tool or both. Oh, and you’ll end up with an expensive repair bill on top. Here’s a simple rule to follow – your drill bit should match the size of the screw or wall plug you’re using. Keep this in mind and you shouldn’t go wrong.
These are the drill bits you’ll come across the most:
Twist bits – For wood, plastic and light metal.
Masonry bits – For brick, stone and concrete.
Spade bits – For making larger holes in wood.
Tile bits – For glass, ceramic and tiles.
If you’re using a wall plug, check the size that’s printed on the pack. It’ll tell you exactly what drill bit to use with it. When in doubt though, start small. You can always make a hole bigger, but you can’t make it smaller!

Mastering the surface: how to drill into tile, walls and brick
Different materials require different techniques. The key is to adjust your speed, pressure and the drill setting to get the job done.
Masonry and concrete – Use a masonry bit and a hammer setting. Start slowly, then increase the speed. Don’t press heavily and let the drill handle it.
Brick – It’s pretty similar to masonry, but a lot easier to crack. So, try not to drill too close to the edges and use a steady amount of pressure.
Walls (plasterboard or drywall) – Attach a standard drill bit and drill gently to avoid punching through too fast. Always check for pipes and wires first before you do anything too.
Tile – You’ll need a tile or glass drill bit. Turn off the hammer setting. Then start very slowly to stop the bit from slipping. A bit of masking tape over the spot will help to keep the drill steady.
Steel or metal – Grab a metal drill bit. Drill slowly and use light pressure. Adding a drop of oil can help to reduce heat and friction.
Whatever surface you’re drilling, patience is key. Rushing will lead to cracks, slips or completely uneven holes. DIY can be stressful at the best of times. And you don’t need to make things any worse!
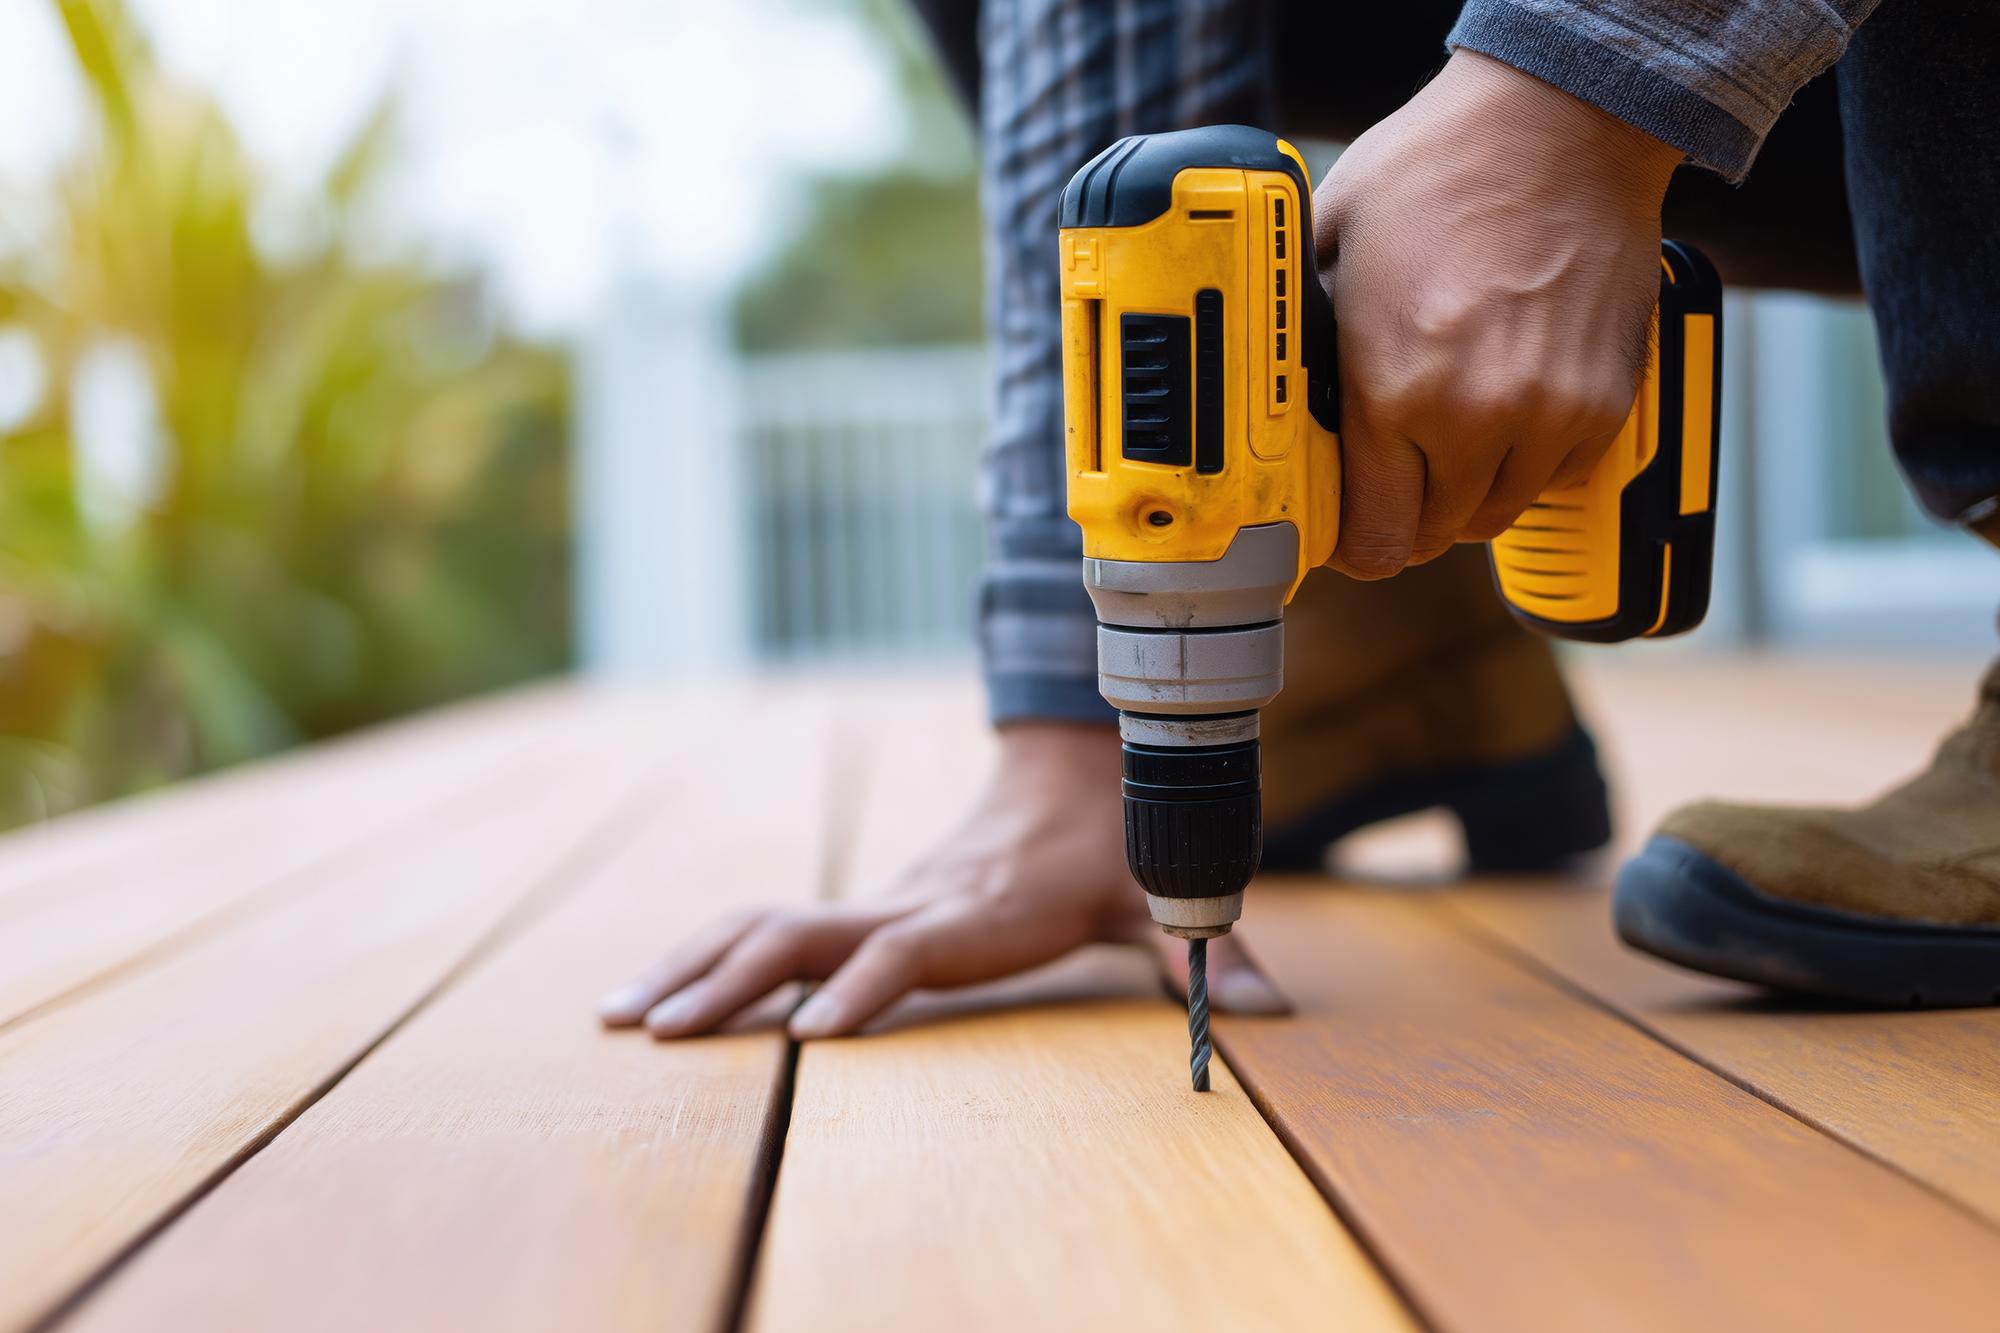
How to use a drill properly: step-by-step guide
Ready to get going? Here’s a simple step-by-step guide that works for almost any drill…
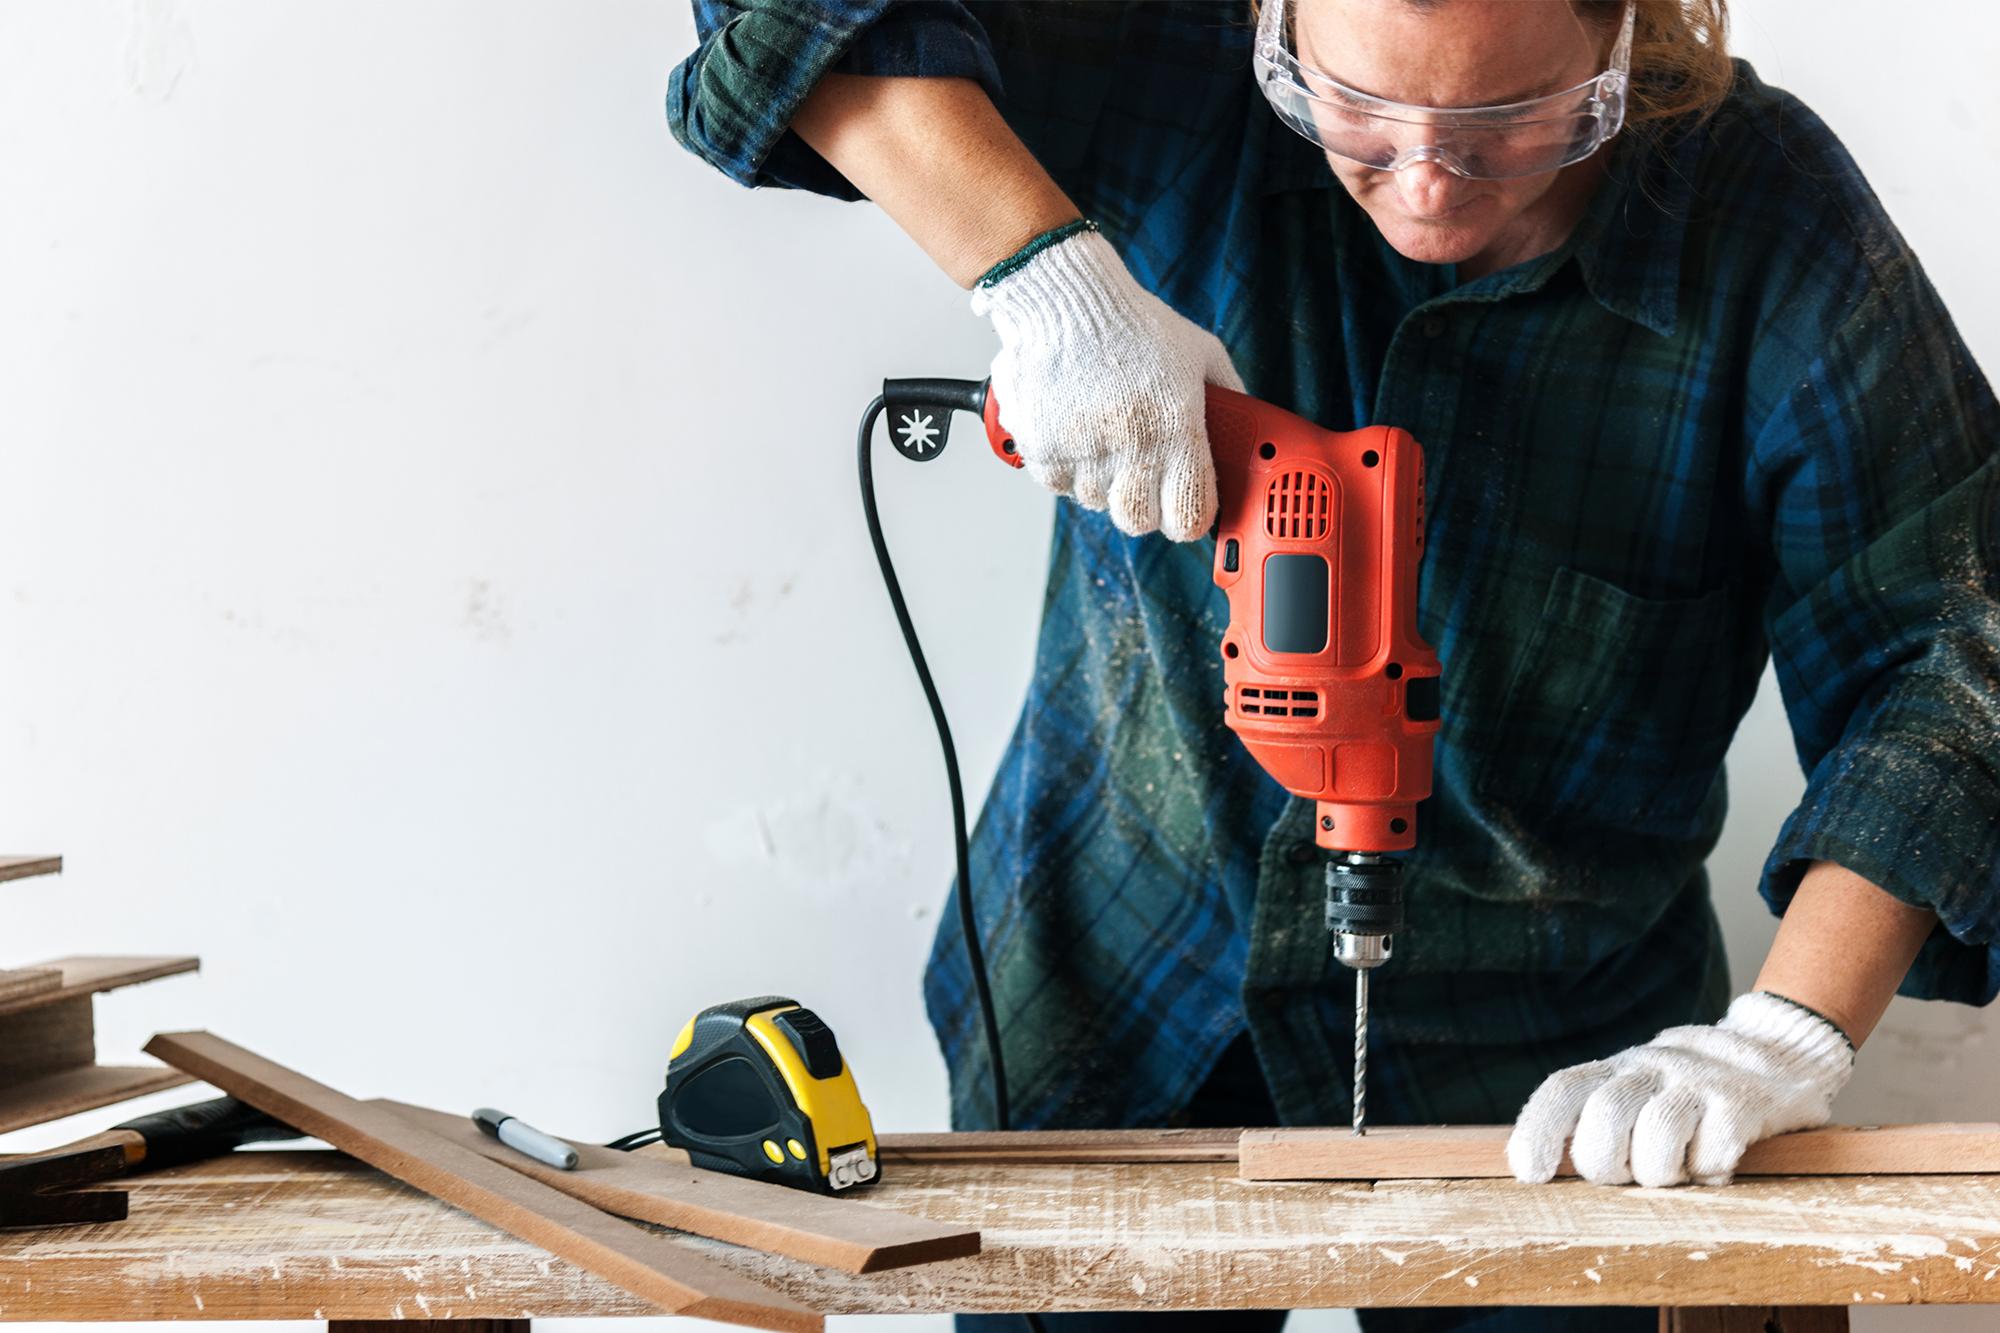
Put safety first – Wear some safety goggles to protect your eyes from dust and debris. A dust mask is also a good idea for any particularly messy jobs.
Check for hazards – Before drilling into walls, make sure there are no hidden wires or pipes. Using a detector tool can help to spot any you might have missed.
Mark your spot – Grab a pencil and mark exactly where you want to drill. This keeps things neat and accurate.
Choose and insert the drill bit – Pick the right bit for the material and size. Tighten it securely in the chuck so it doesn’t slip.
Set the drill correctly – Adjust the speed and mode (standard or hammer) based on your material.
Position the drill – Hold it straight and steady. Keep both hands on the drill if you can for more control.
Start slowly – Don’t go fast from the off. Gently press the trigger to start drilling. Then, once the bit is in place, you can ramp up the speed.
Apply light pressure – Let the drill do the work. Using too much force can completely damage the bit or the surface.
Pull out smoothly – Once the hole is deep enough, slowly pull the drill out while it’s still spinning.
Clean up – Brush away any dust and check your hole before putting in any screws or wall plugs.
And that’s it! Practice makes perfect – so don’t worry if it feels a bit awkward at first.

FAQs
What drill bit should I use for brick?
Use a masonry drill bit when you’re working with brick. These bits are designed to handle tough materials and will give you the best results with a hammer drill setting. Match the bit size to your wall plug or screw for a snug, secure fit.
Can you drill through tile?
Yes, you can drill through tile using a tile or glass drill bit. Turn off the hammer setting and go slowly to avoid cracking anything. Adding masking tape helps stop the drill bit from slipping on smooth surfaces.
How do you put a drill bit into a drill?
To put a drill bit into a drill, loosen the chuck by turning it anticlockwise, insert the bit, then tighten it firmly by turning it clockwise. Make sure the bit is straight and secure before you start drilling. Otherwise it could go flying!
How do you remove a chuck from a drill?
You’ll need to unplug or remove the battery first. Then, open the chuck fully and find the screw inside, unscrew it and twist the chuck off the drill body. Check your drill manual for any model-specific steps.

Need more advice?
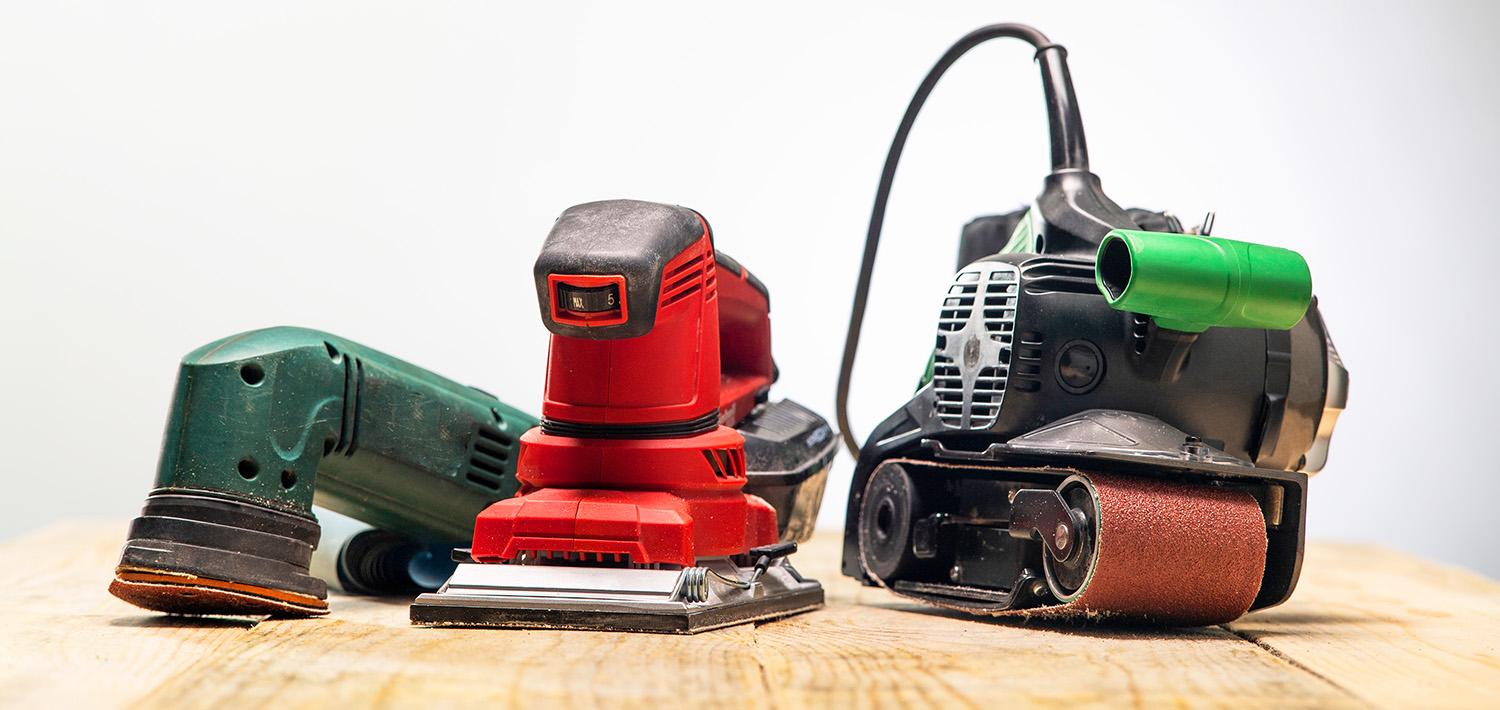
These aren’t the only tips in our DIY toolbox. We check out the big differences in our piece impact driver vs drill: which power tool do you need? Or, if you’re after a sander, have a read of belt sander vs orbital sander: which one should I use?