The Central Processing Unit (CPU) is the brains of your computer. It’s responsible for executing instructions, running apps and lots more. So, it’s crucial to keep it working properly.
To make sure that your CPU works its best and stays cool under heavy loads, you’ve got to apply thermal paste – especially when building or upgrading your PC. Thermal paste, also known as thermal compound or thermal grease, helps keep heat away from the CPU.
In this guide, we’ll explore why thermal paste is so important, when and how to apply it and other vital tips to keep your CPU running efficiently. So, grab your paste and let’s get to work!
What does thermal paste do?
Thermal paste is a high-conductivity material designed to fill the microscopic gaps between the CPU and the heat sink. Without it, these gaps can trap air, blocking the transfer of heat from the CPU to the heat sink.
Thermal paste fills these gaps, allowing for better heat transfer and making sure that the CPU remains at a perfect temperature. This will keep heat flowing efficiently between the CPU and the heat sink, preventing overheating and potential damage.

When do you apply thermal paste?
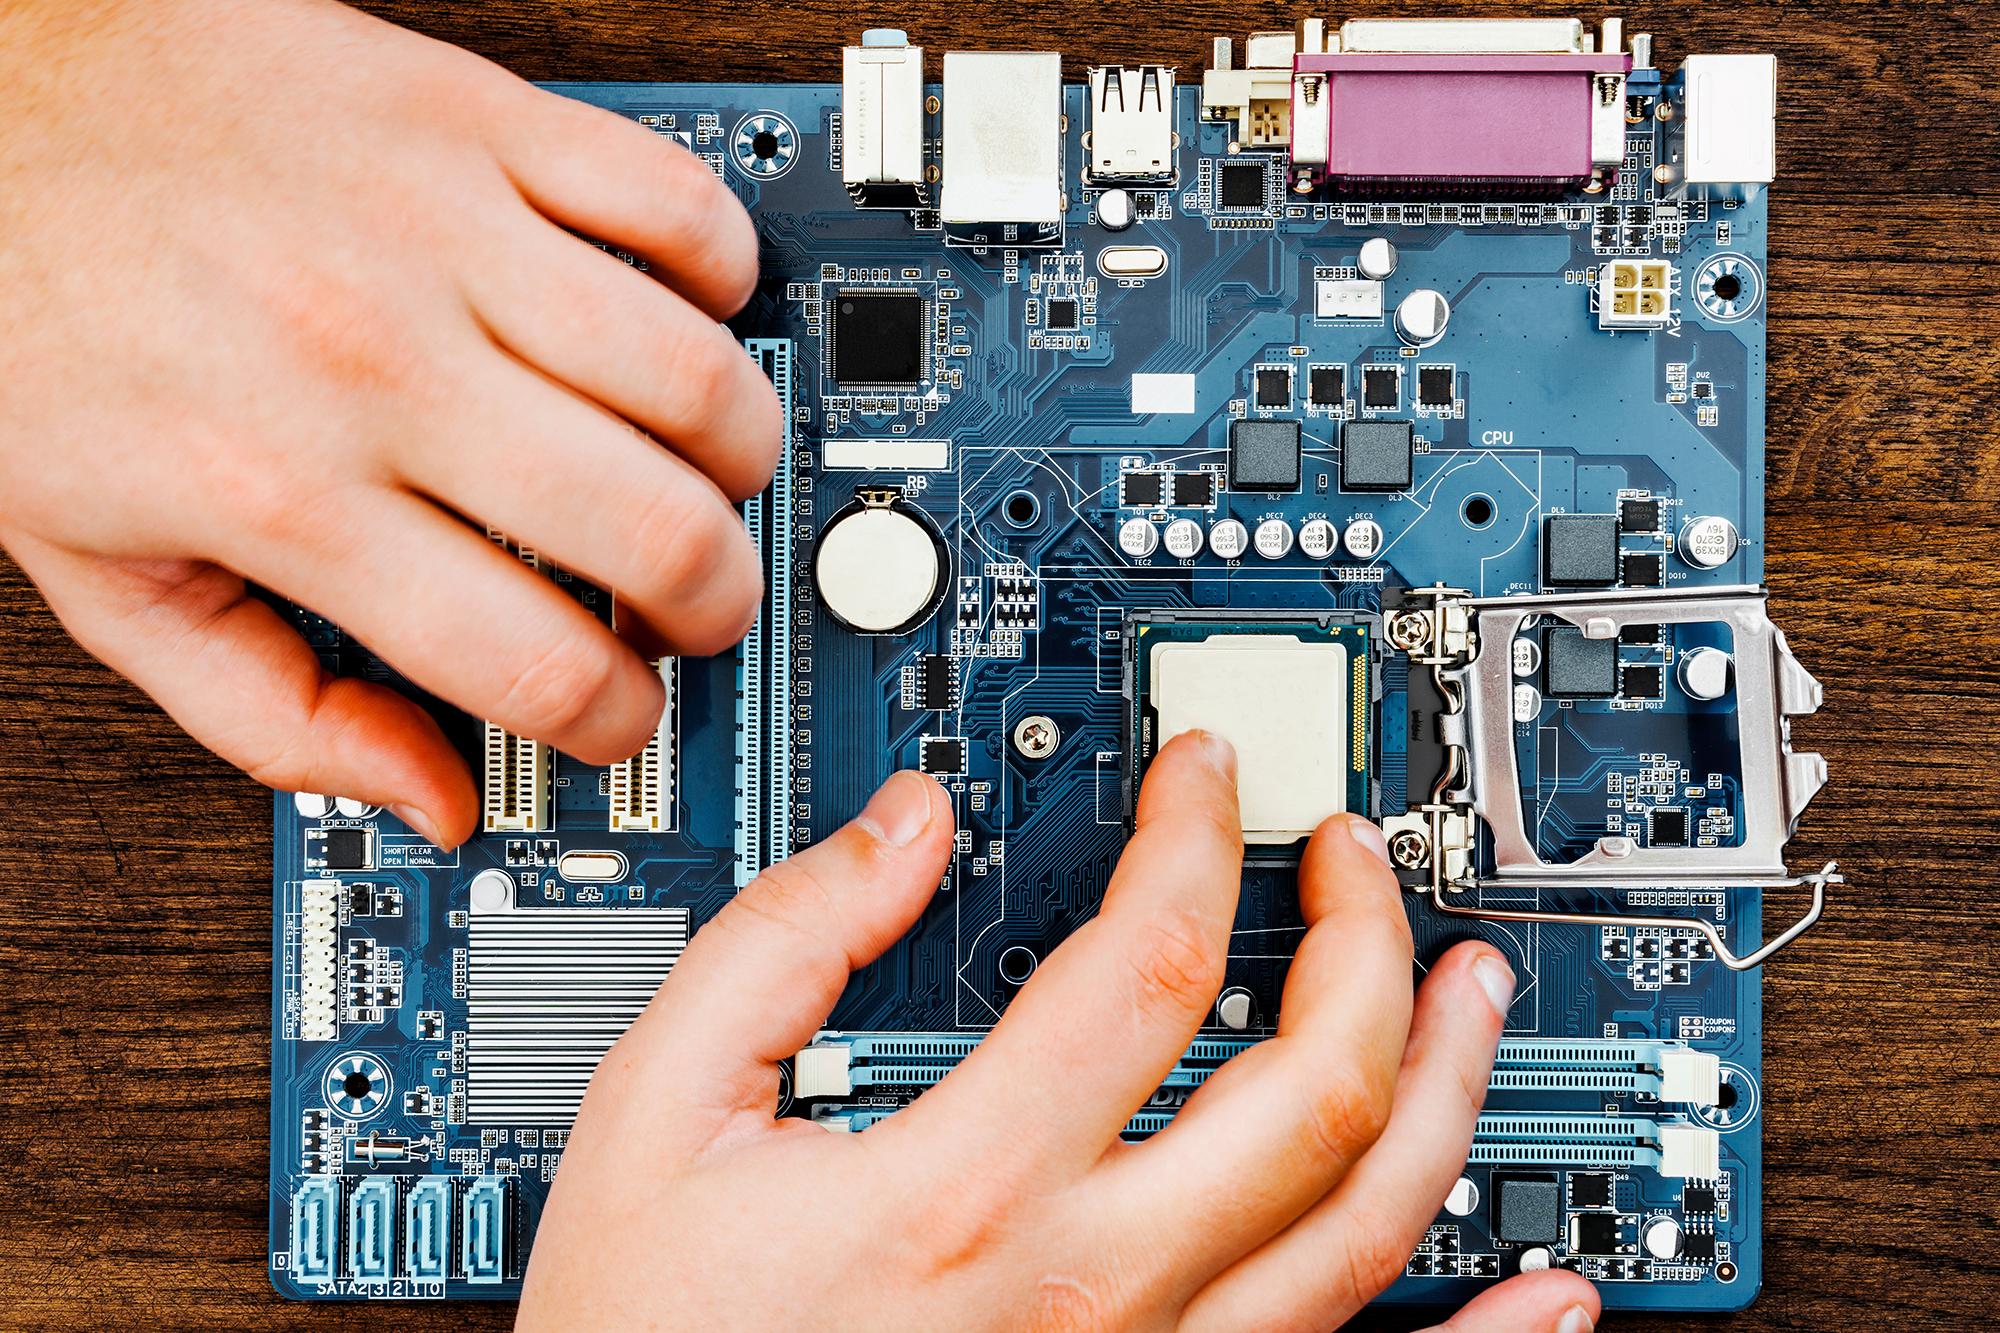
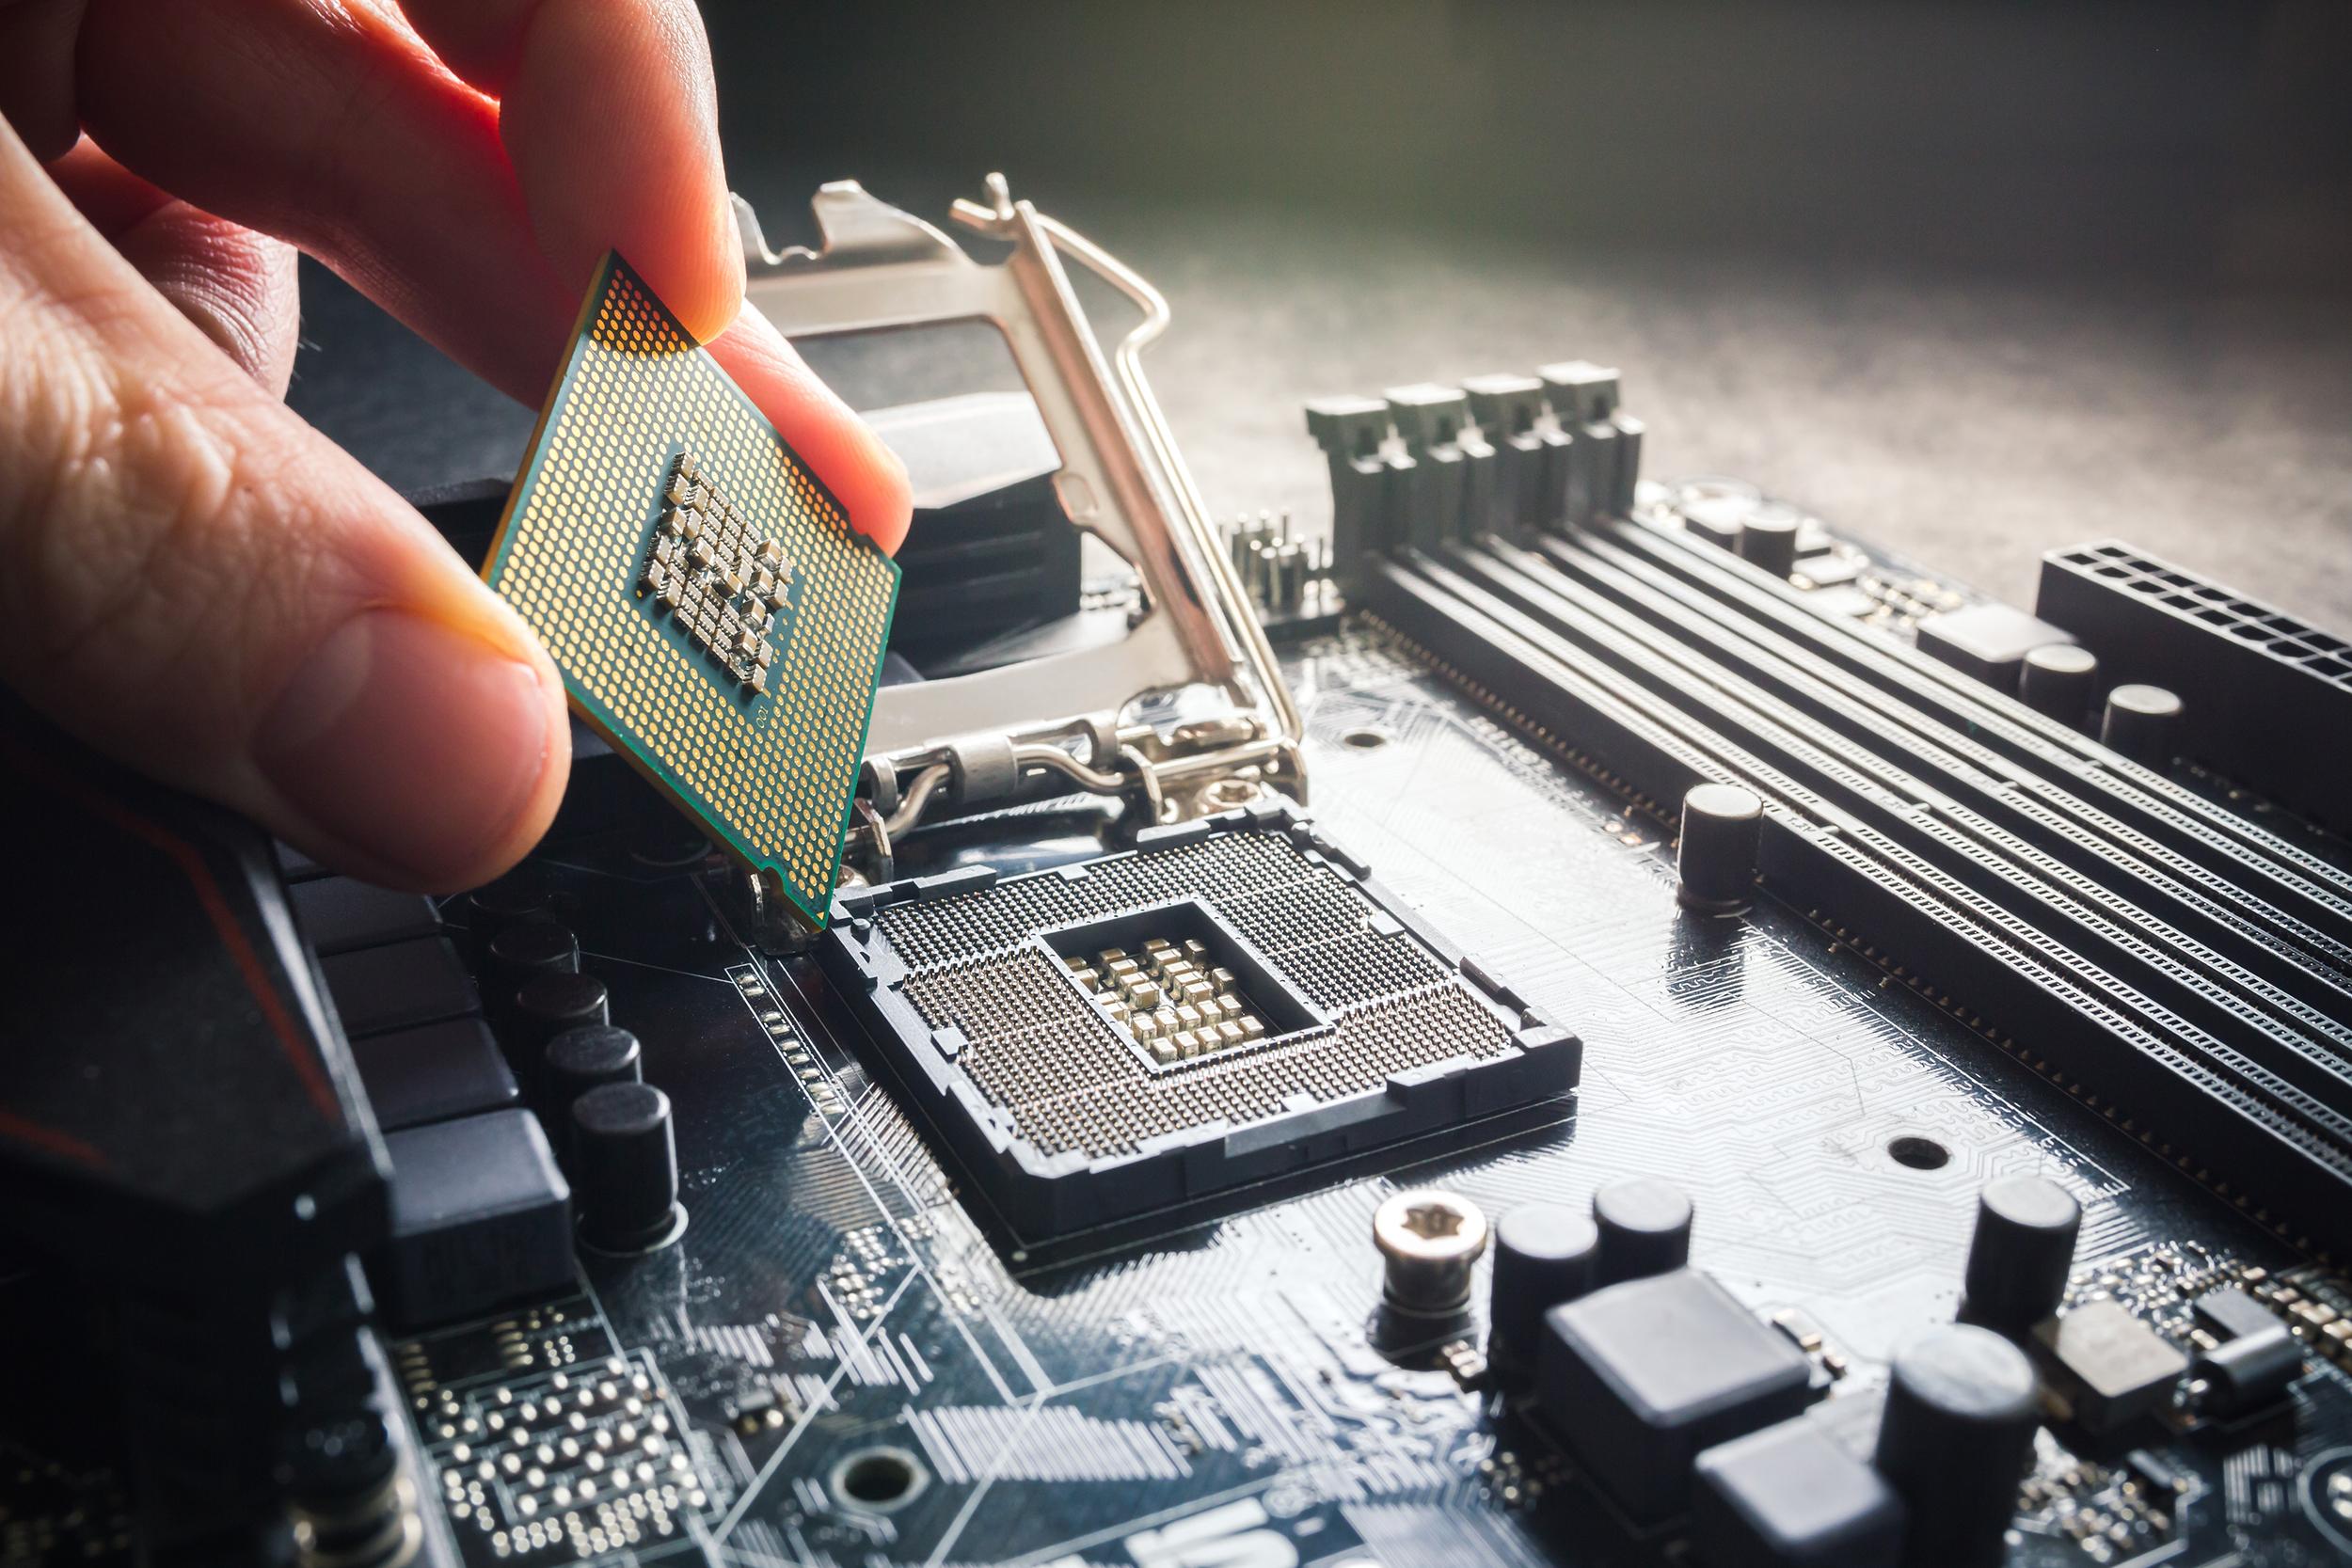
You should apply thermal paste whenever you are installing a new CPU (you’ve just bought one of the new Intel processors for example), when replacing your existing one or reseating your current CPU. If you're using a stock cooler that comes with pre-applied thermal paste, there’s probably no need to add more.
But if you're upgrading your cooler or removing the heatsink for any reason, it's essential to clean off the old thermal paste and apply a fresh layer to keep your computer working at its best.
Why do you need thermal paste?
So, we’ve talked about how thermal paste helps keep your CPU cool, but without it processors can overheat or even fail completely. By using thermal paste, you’ll ensure that your CPU runs efficiently and stays within safe temperature limits, improving its lifespan and overall performance. That means your computer will keep working its hardest to do everything you want it to do – whether that’s video editing, online shopping or gaming.
Best way to apply thermal paste
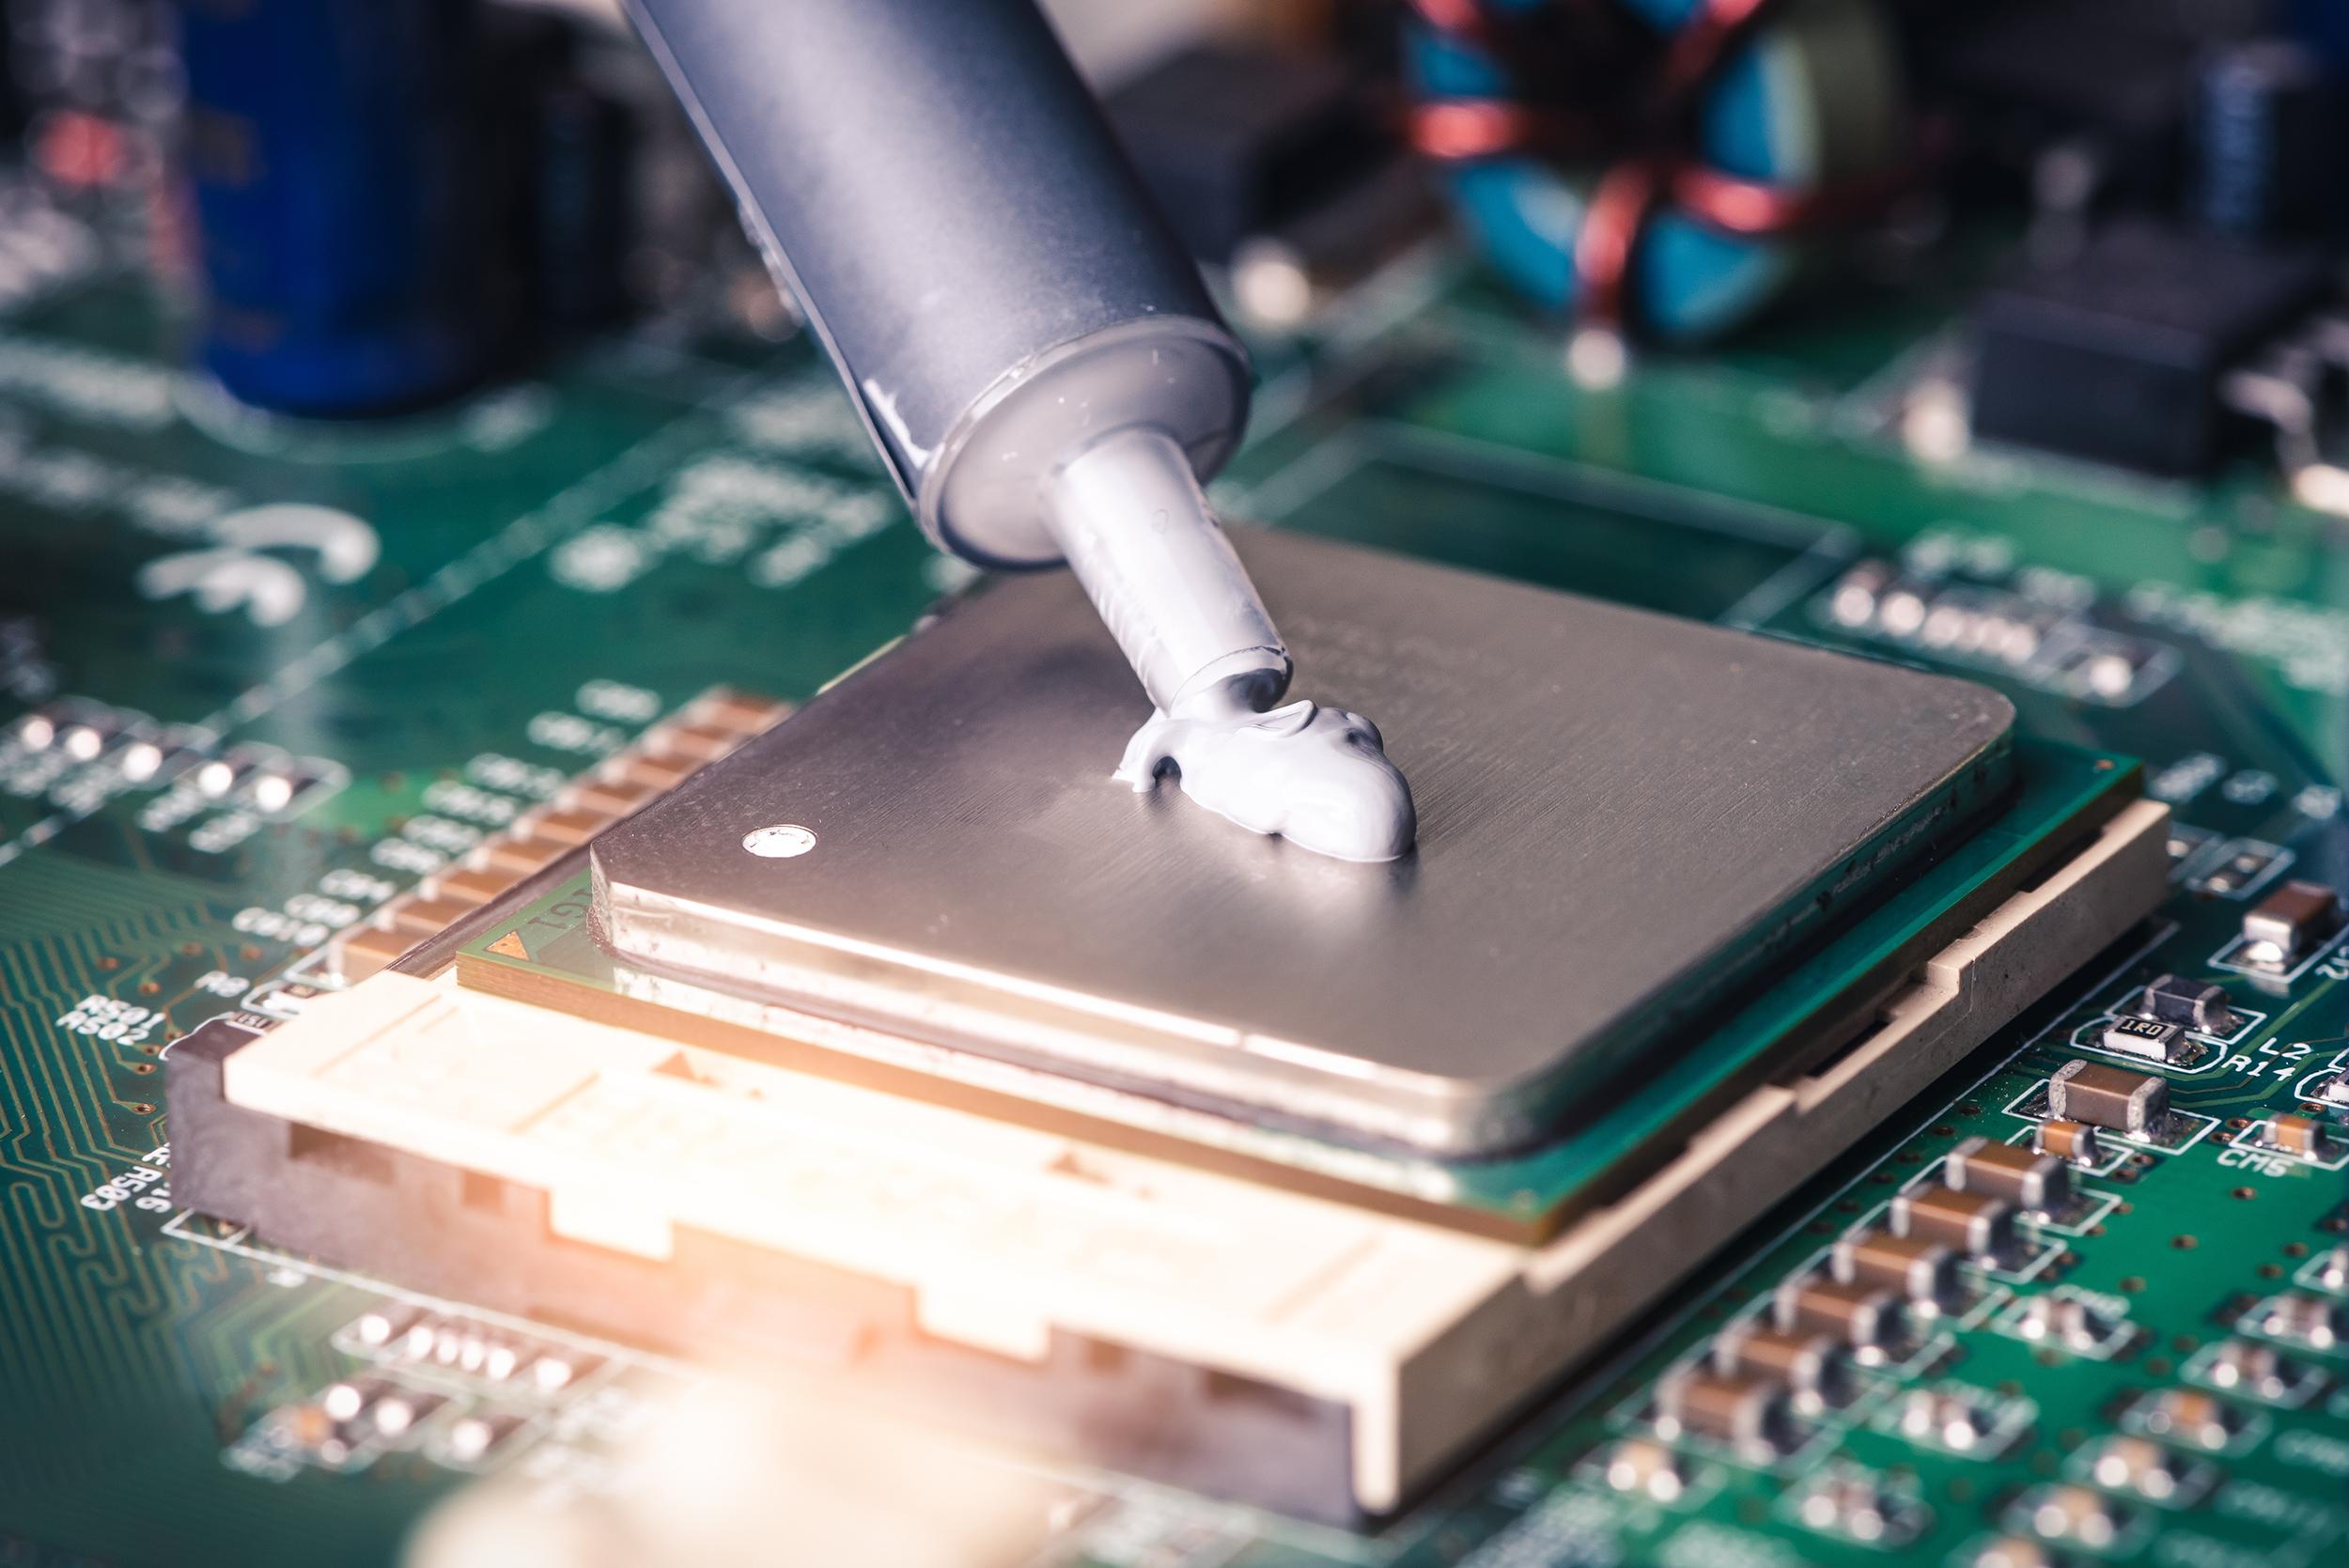
One of the most popular ways to apply thermal paste is the pea-sized dot technique. Just squeeze a small, pea-sized amount of thermal paste at the centre of the CPU.
There’s no need to rub it in either. When you install the heatsink, the pressure applied will spread the thermal paste evenly across the CPU's surface. That will mean a smooth, even coverage and prevents too much thermal paste from being used - which can cause its own problems. You’re only aiming to fill the microscopic gaps, not to create a thick layer of thermal paste.
Best thermal paste pattern
The pea-sized dot method is regarded as the best thermal paste pattern. It means consistent coverage and prevents the risk of air bubbles or over-application.
That said, some thermal pastes come with specific instructions. Some high-performance CPUs may be better suited to alternate patterns – like a vertical line or X-shaped pattern. When you buy the thermal paste, always check the manufacturer's guidelines or the CPU cooler's instructions. That way you’ll know you’re working with your hardware to help it perform at its best.

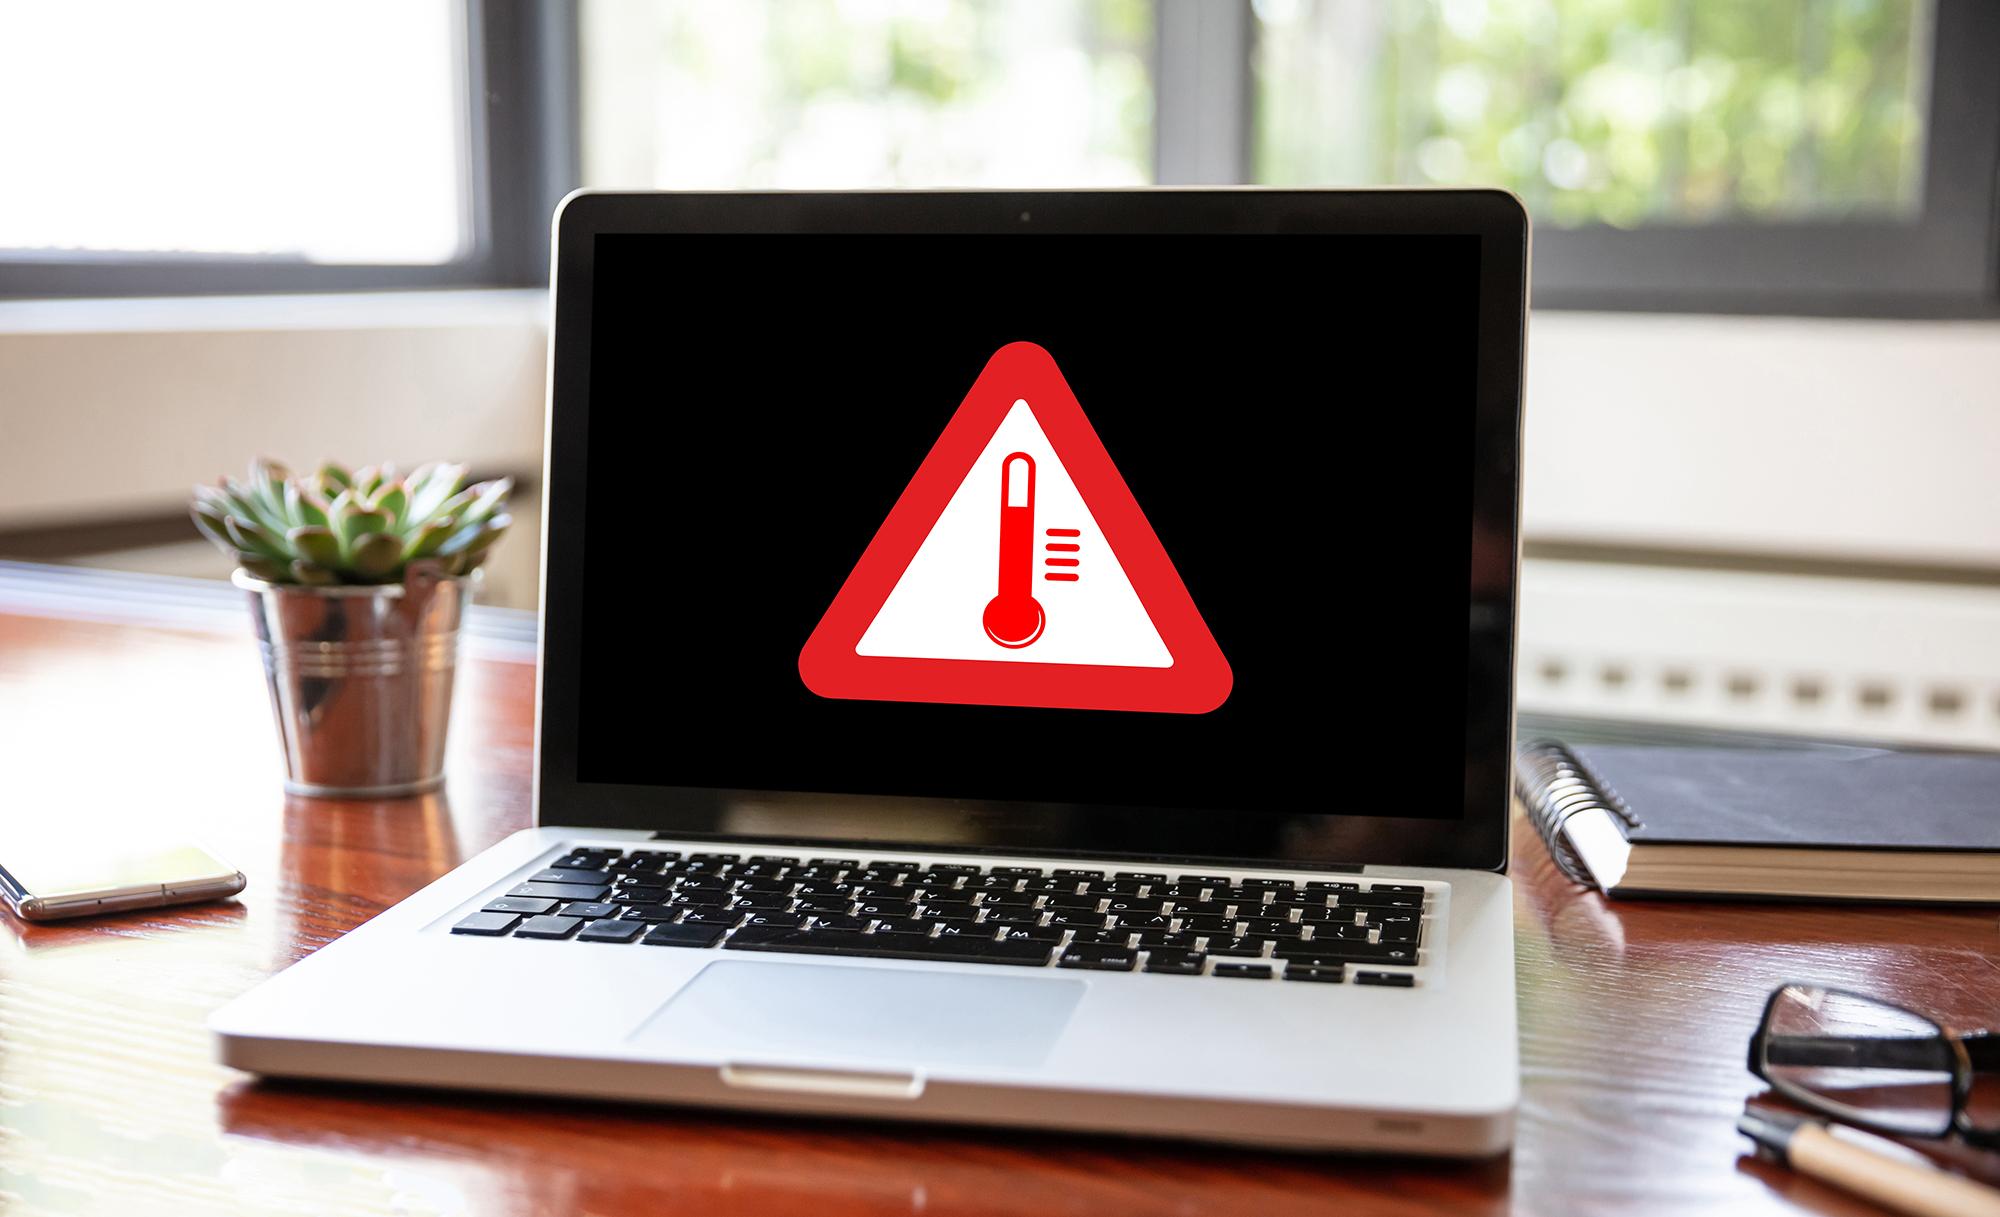
How often should you replace thermal paste?
There’s not one answer that fits all cases. Some thermal pastes are higher quality than others, meaning it won’t have to be replaced very often. Other factors might include how intensely the CPU is being made to work and how hot it can get in your PC.
(By the way, if your PC is getting too hot consistently, take a look at some of our PC fans and coolers and liquid cooling accessories too.)
As a rule of thumb, you should replace the thermal paste every two to three years, or whenever you remove the heatsink for maintenance or upgrades. If you notice that your CPU is getting hotter (you’ll want it running at about 60°C) or your computer is starting to struggle, it might be time to replace the thermal paste - even if it hasn't been two years since the last application.
Tip:
There’s a lot of software out there which can give you a temperature readout of your CPU. But you can also check it yourself in BIOS. Just restart your PC and hit the key to enter BIOS when prompted – this will happen before your operating system loads. This will vary from computer to computer, but common buttons to press include F2, F10, F12, Del, or Esc.
How to remove the thermal paste from the CPU
Before applying new thermal paste, it's essential to remove the old paste properly. Here’s a step-by-step guide to help:
1. Turning off your computer and disconnect the power supply.
2. Open up your PC and gently remove the heat sink from the CPU.
3. With a clean cloth or coffee filter, gently wipe off the old thermal paste from both the CPU and the heat sink.
4. If you find there’s lots of residue that isn’t shifting, you can use a small amount of isopropyl alcohol to aid in cleaning. Just use a small amount and it’ll take the old paste right off.
5. Once both surfaces are clean, apply the new thermal paste following the recommended method mentioned above.
Who would have thought that a small tube of thermal paste could be so important? So now you know how important thermal paste is to your CPU and whole computer. By understanding what thermal paste does, when and how to apply it and when to replace it, you can keep your CPU running efficiently and protect it from overheating. Remember, a well-applied thermal paste keeps that CPU cool even during intense tasks – meaning getting more from your computer for you and a happier PC too!

FAQs
Do I need to replace thermal paste if I’m upgrading my CPU cooler?
Yes, it’s definitely a good idea. Old thermal paste will eventually dry out and lose its effectiveness. Cleaning it off and applying some fresh paste will keep your CPU cool and running smoothly.
Can I use my PC right away after applying thermal paste?
Absolutely. Once everything’s reassembled, you’re good to go. Just make sure the CPU cooler is firmly attached before powering on.
Can I use thermal paste on a laptop CPU?
You can, but we’d only recommend doing it if you’re comfortable opening up your laptop. It’s a bit trickier than with desktops, so be careful and check your warranty first.
Are there different types of thermal paste?
You’ve got a few to choose from. Some are metal based, some are ceramic, and others are silicone. The metal ones usually perform the best, but they can be conductive – so make sure you’re extra careful while applying them.
Is it okay to use too much thermal paste?
It’s not a great idea. With thermal paste, a little goes a long way. Too much of it can spill over, and that could affect other parts of your motherboard.
What happens if I don’t use thermal paste at all?
Without any thermal paste, heat won’t transfer properly from the CPU to the cooler. That can lead to overheating, crashes or even damage over time.
Does thermal paste expire?
It can. If it’s been sitting around for years or looks dried out, it’s sensible to get yourself a fresh tube.
Need more advice?
Make sure to check back it with TechTalk for regular info and updates on PC hardware, including finding out what is a motherboard and a whole lot more.