So you’ve taken the plunge and decided to build your own gaming PC. You’ve picked your components, they’ve arrived and you’re ready to go… but now what?
If this is your first time building a PC and you’re a bit stuck with where to start, that’s okay. It’s one thing to have done your research and read the reviews. It’s another thing entirely to have everything sat there in front of you. It might look daunting, but don’t worry. It’s nothing more than a very high tech Lego set. And you don’t need to understand all the PC ins and outs to put it together…
How to build a PC
What you’ll need:
You – you’re the most important part of this build!
Screwdriver – you might be tackling a variety of screw sizes, so a Philips screwdriver with a couple of different sized heads should do the trick.
Anti-static strap – wearing this will stop any static damage to your PC’s components.
Bowl – just handy for keeping all your screws in one place.
Flat non-carpeted surface – to work on.
USB stick with at least 8GB storage – for installing your operating system (OS).
Another computer – also for installing your OS.
All the manuals – this may sound over the top but trust us. They contain loads of information that’ll help you with the specific parts you’ve chosen.
Prepare the motherboard
The motherboard can be a little bit fiddly, so sorting it out before it goes in your PC case will make everything a lot easier. It’s true that you can screw it into the case and start attaching components BUT you’ll want to do everything you can to stop it from bending. So adding key parts to it - like the CPU, CPU fan and RAM - at the start is generally sensible.
And our other very important tip is to read your motherboard’s manual before you start. This might seem like a bit of a cop out from us, but different motherboards have their own quirks – so making sure you understand yours could save you a headache in the future!
And an extra tip – while you’re working with your motherboard, it’s a good to place it on the anti-static bag it comes in. That’ll help protect anyhing from shorting before it goes in the case.
Install the CPU
Always be careful when you hold your CPU. It’s super easy to bend one of its many pins, so always hold it at the edges.
Look for the CPU socket on your motherboard. It’ll be a square-ish block or tray protected by a piece of plastic. Remove the plastic and this should reveal all the metal hardware underneath. You’ll also see it has a little metal arm or lever – gently pushing down on the arm and pulling it slightly to the side will open up the tray.
If you’ve got an Intel CPU, gently place the CPU so that all the indents on your CPU line up with those on the socket. Or, if you’ve got an AMD CPU, line up the triangles on the corner of the socket and the CPU.
Once you’ve placed your CPU in the socket, close the tray by locking the metal arm back into its original position. Don’t force the arm. If you’re trying to force it in, it’s quite likely you haven’t got it lined up properly. To get the CPU socket arm down into its final spot, it will involve a little gentle pressure.

Install your M.2 SSDs
If you’re using M.2 SSDs, this is the point where we add them to your motherboard. Why? Often M.2 slots are found near the CPU socket (so you might as well). But in some motherboard form factors, M.2 slots can actually be found under the GPU. If that’s your mobo, it’s a no-brainer to get the M.2s in place.
First thing’s first – check the motherboard’s manual. Which M.2 slots does it say to use first? Follow their advice to keep your PC working at its best.
If your M.2 slots have protective thermal guards on them, remove them and put them to one side. Now you can slot in your M.2 SSDs – they should slide in with a little gentle pressure. Make sure that they’re in the right position and then screw each M.2 SSD down with the screws included with your motherboard.
Those thermal guards we set aside? Place them back on top of each M.2 SSD and screw them back into place.

Add your RAM
Back to the motherboard manual! Have a double check where your RAM needs to go and how spaced apart it should be if you’re not filling all the RAM slots. If you’re using two sticks of matching RAM (which you generally should) they should usually go in slots 2 and 4.
Now you know where things are being placed, it’s time to install. Flip down the plastic clips on either side of the slot(s) you’re using. The RAM slots on some motherboards only flip down on one side.
Line the notch on the bottom of the memory with the notch in the slot and then push in the RAM with a little pressure until you hear it click into place. At this point, if the plastic clips have flipped up to encase your RAM, you’re good to go. If not, you’ll need to try inserting it again.
Take some time to get this right. One of the main culprits for a PC that won’t start is poorly seated RAM.

Install your CPU cooling system
Time to dig out your CPU cooler manual! This will let you know if you need to attach a backplate to your motherboard.
When it’s time to fit your CPU cooler to the motherboard, there are two main kinds of mounting bracket - those that are Intel-compatible and those that are AMD-compatible. Check the manual so you use the right mounting bracket for your CPU socket. Most third-party CPU cooler brands will have both.
Liquid cooling system
If you’ve got a liquid-based cooling system, there are a few different parts to it. First, you’ll have the radiator and its fans – you may have to screw these onto the radiator yourself. Second, you have the pump that attaches to the CPU itself.
Before you start attaching anything to the case, decide where you want the radiator to go. You’ll need to have the fans blowing air out, away from your PC’s interior. So it’s best to find a space for it with maximum airflow, like the top grill or the back of the case. Once you’ve picked your place and checked it will fit, go ahead and screw the radiator in.
A quick warning though – make sure you’ve got the right screws, because the last thing you want is a leaky radiator!
Next thing – does your CPU need to have thermal paste added to it? If so, you’ll need to squeeze a tiny blob (less than pea-sized) onto the middle of the CPU. There’s no need to spread it around, it’ll do that itself once your cooler’s mounted.
If there are any extra cables that need to be plugged into the pump, go ahead and connect them. Now press your cooler’s pump into its position on the CPU’s thermal paste and screw it into the motherboard.
Air cooling system
Installing an air cooler? The process is similar to a liquid-based cooling system, but without the extra radiator block, since it’s already built into your cooler. Take a look at your manual again if you need a little more guidance on how to install it.
And don’t worry if you have to lift your cooling system back up and reseat it to get it right. The thermal paste will move around once you properly apply pressure, so you don’t have to get it perfect first time!
Get your case ready
Our next step is going to be adding the motherboard to the case, but before we can do that, we have to get the case ready. If your case has already has pre-installed standoffs for your motherboard to be screwed onto, then just double check these match your motherboard.
If not, your motherboard should have come with some standoff screws. Screw these into the corresponding holes in your case (your trusty motherboard manual should give you some help here).
The reason you’ve been given this job is because motherboards come in different form factors - ATX, Micro-ATX, Mini-ITX tec. Therefore the standoffs can be put into different configurations depending on what type of motherboard you have.
Install your motherboard
Lay the case on its side and gently place your motherboard down onto the standoffs. The I/O panel on your case and your motherboard should neatly align. This is so you can easily access all the ports when your PC’s up and running.
If everything’s lining up right, start screwing the motherboard onto the standoffs with the screws included with your motherboard. Don’t force any of the screws or twist them too tightly – just enough so everything’s secured.
Now is a good time to make sure any cables you need to route around the motherboard are done. This includes all your fan cables and power cables. It’s best to spend as much time as possible doing this as having cables running across your motherboard doesn’t look all that great.

Install the power supply (PSU)
This part’s pretty exciting, since now everything’s coming together and looking more… well, computer-y.
Does your PC case come with a special bracket for your power supply? If so, you’ll want to screw it onto the back of the PSU.
Next, decide where you need your power supply’s fan to point. Every case will have its own specific ventilation areas built into it. The screw holes on your PSU will usually give you a hint about what the best cooling direction is. So most of the time we’d suggest lining up the screw holes with the case as intended. Otherwise, make sure the fan’s aligned to one of your case’s ventilation areas – preferably pointing to the side, away from the inside of your PC.
Now you know where it’s going, slide your PSU into the case and screw it in.
Some PSUs are known as modular PSUs. If you’ve got a modular PSU, you can attach or detach the cables as you need them. So you'll need to fit the cables into the PSU and into the other parts separately. But this is a good thing, since it’ll give you a bit more flexibility over where and what you use. Just make sure to keep hold of anything you don’t need right now for the future.
And if you’ve got a modular PSU, you’ll also need to attach all the connectors and cables for your PSU before you screw it in, since otherwise they can be pretty hard to reach!

Connect up your hard drive
Your case should have a specific bay area dedicated to holding your SSD or SATA hard drives. Once you’ve found them, check for two metal clasps on either side of the bay. Squeezing these clasps will allow you to pull the bay out. From there you can screw in your SATA drive. Once you’re done, slot the bay back into place.
Other configuations will have your SSD drives lying flat against a case partition. These are pretty simple to just screw in. Just line up your SSD with the matching holes.
Your motherboard should’ve come with a SATA cable and your PSU will have its PSU cable. Plug one end of each of these into your hard drive. Then plug the other end of the SATA cable into the correct slot on your motherboard – again, check your manual. Take the other end of the PSU cable and plug it into – you guessed it – your PSU.
That’s the hard drive installed!
Connecting up your motherboard
This is where things can seem a little more complicated… and you might need to check your motherboard manual a lot. Just make a list of all your components and hook them up to you rmotherboard one by one.
The slot for your PSU is large and prominent. The slots for your F-panel (the lights on the front of your PC, the on button etc) are generally really fiddly.
You’ll need to connect all the cables from your case onto your motherboard. They’re small, sometimes delicate and different motherboards will have different set-ups. So make sure to follow your manual carefully while plugging everything in.
Get those cables tied up
This step isn’t totally necessary, but you will thank yourself later if you take the time to do it now. Tidying your cables not only improves the airflow in your PC (stopping it from overheating), but it’ll also make it easier to see what you’re doing if you ever open up your case again.
Use the Velcro straps or zip ties that come with your case to tie your cables together. Be careful not to tug too much and ruin your hard work!
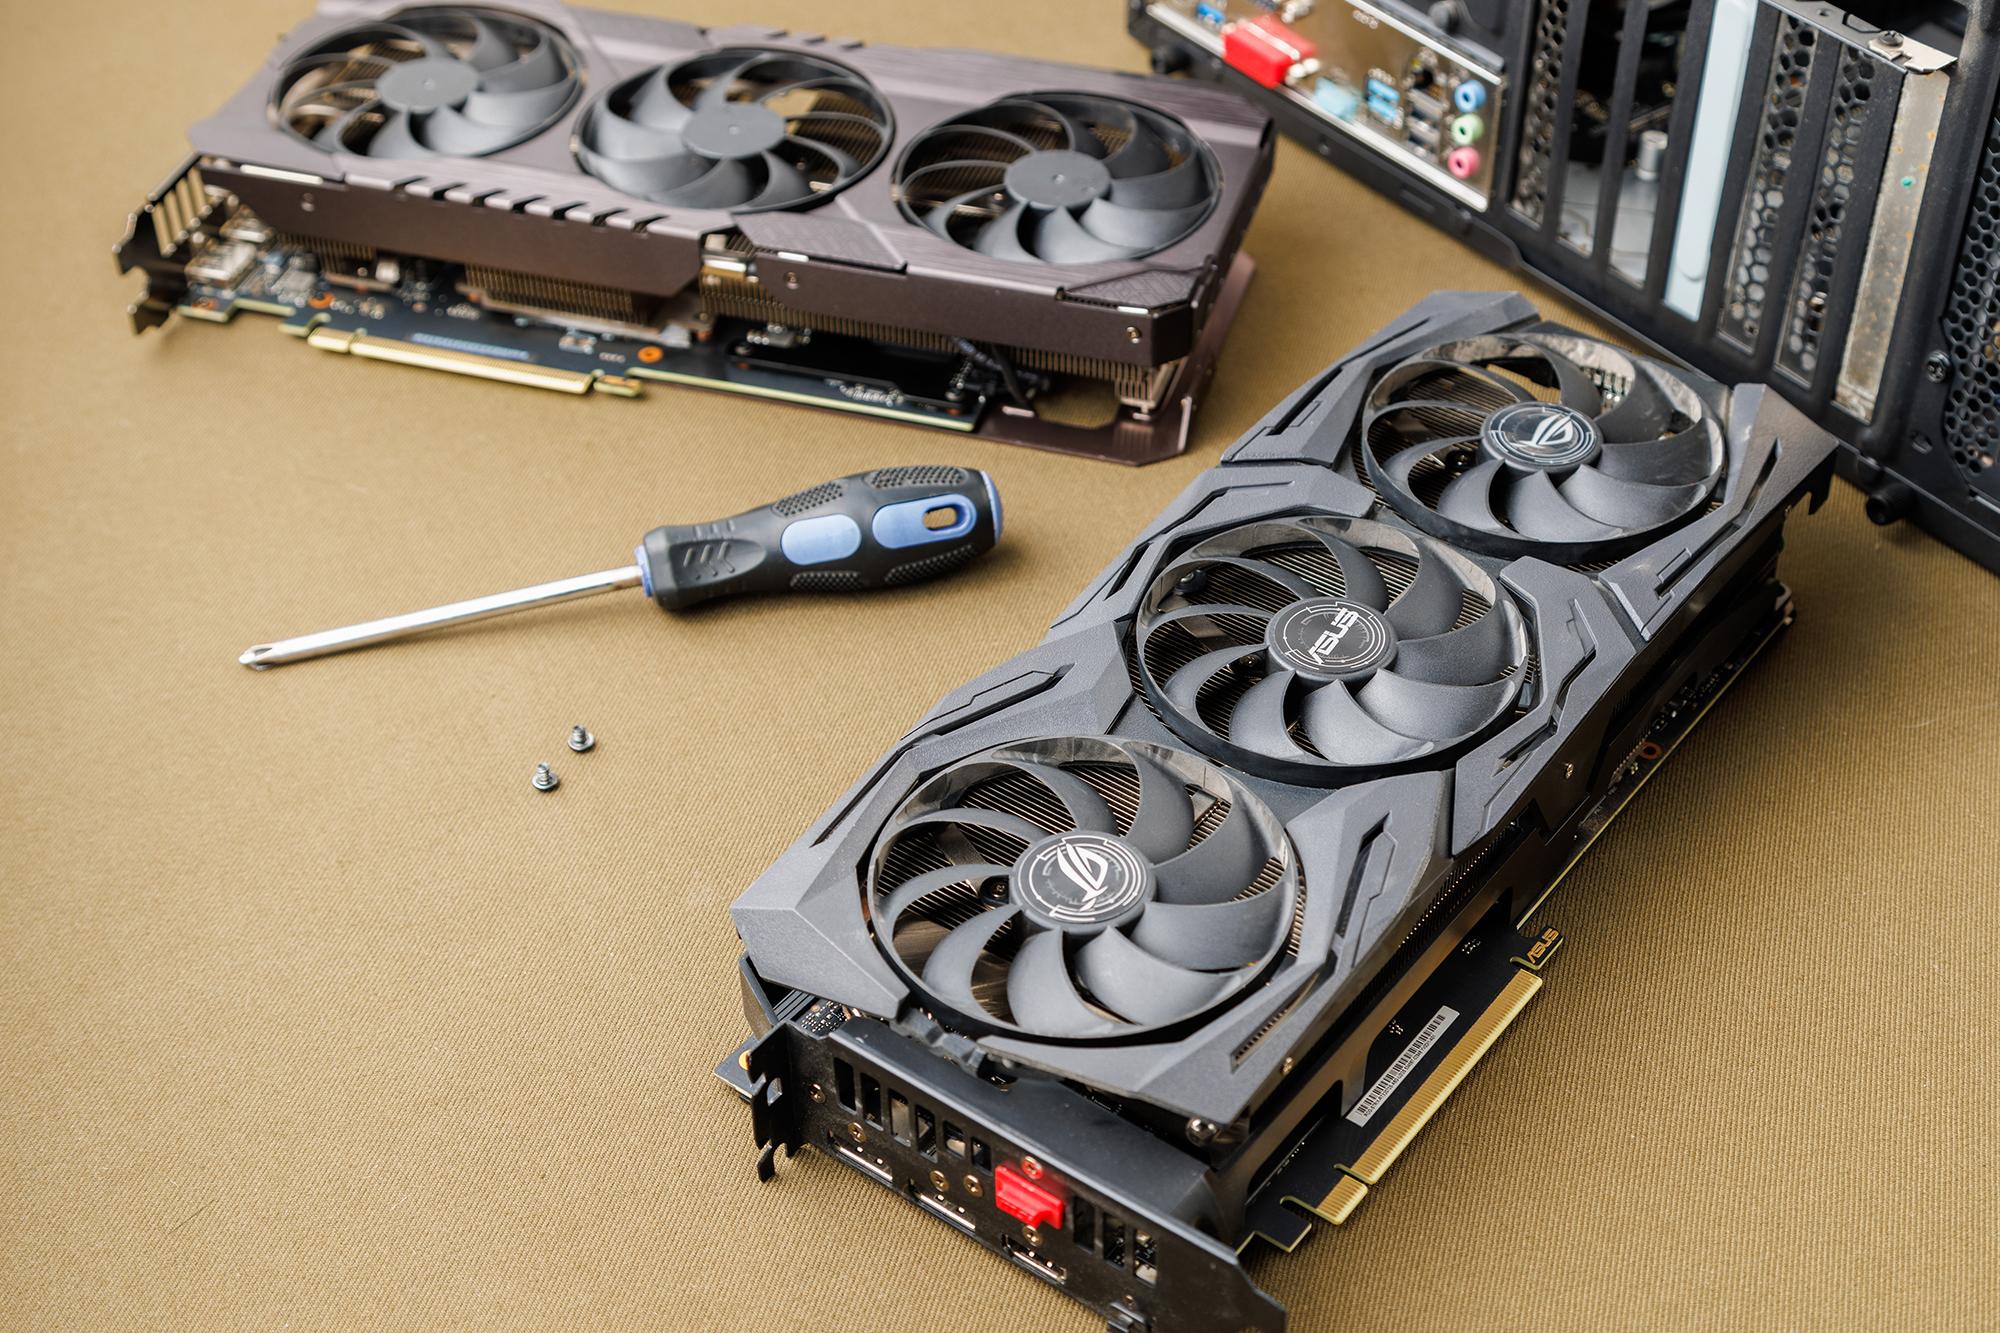
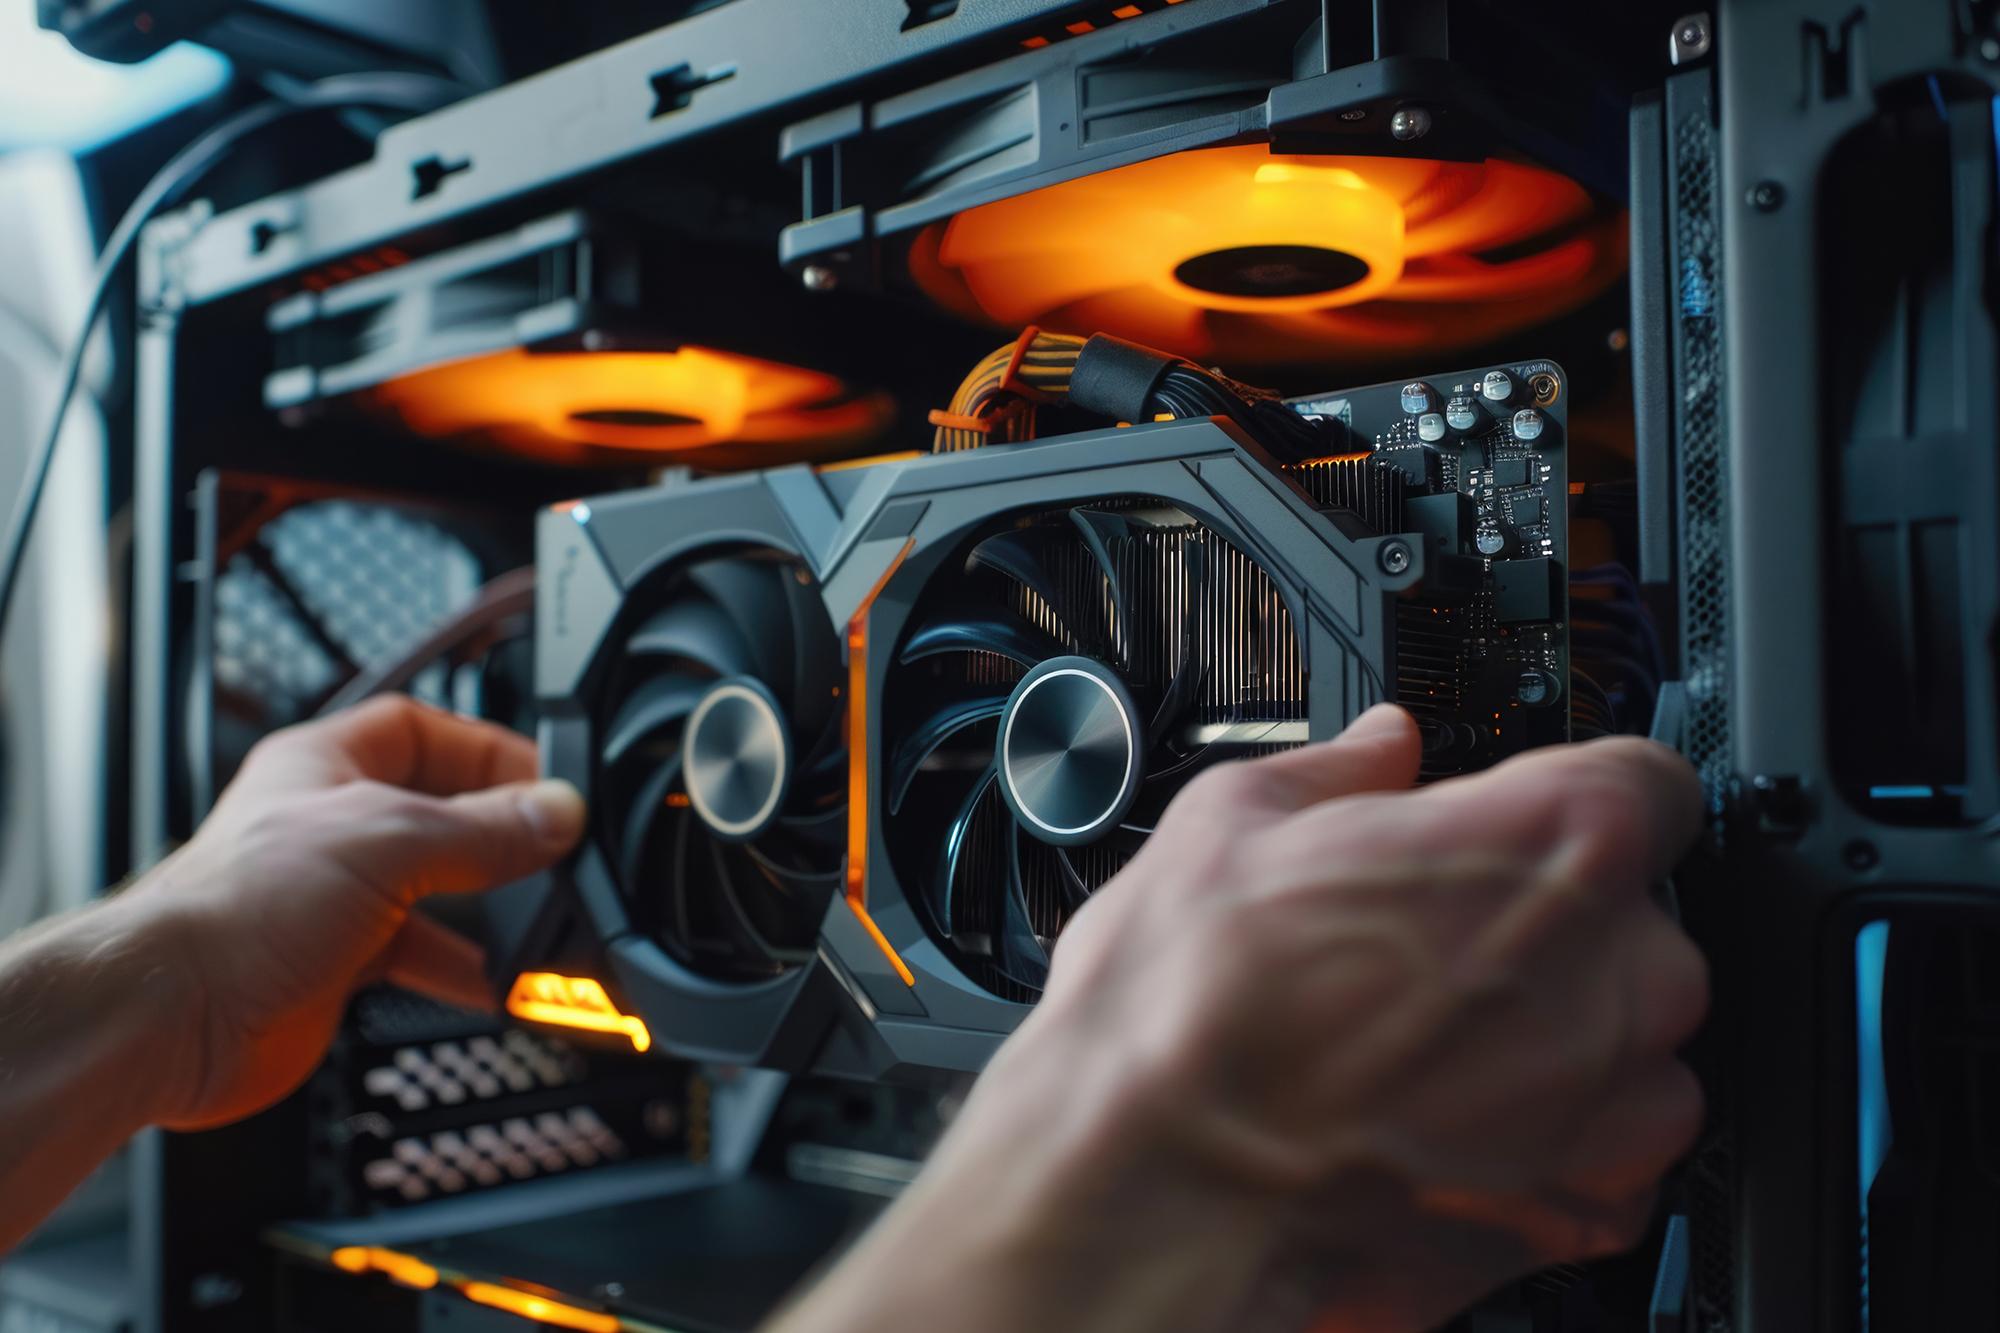
Install your graphics card
This is it – the moment we’ve all been waiting for. It’s time for the GPU.
Your GPU will need to fit into one or more PCIe Express slots. Find the slot in the back of your case that’s nearest to your CPU and the top PCIe slot and remove them. You might need to remove a couple or even 3 if you have a really big GPU. Don’t worry if you remove too many – you can always reinstall them later!
Slot your GPU into the PCIe Express slot(s) and screw it in. The retaining clip should flick up to let you know it’s locked in.
Now all that’s left is to plug your GPU into your power supply. Find the right cable from your PSU and plug it into your graphics card. Et voila! Graphics card installed.

Finish up
Plug in your peripherals like your mouse, keyboard and monitor and power up your PC. Just make sure you’ve plugged your monitor into your graphics card and not your motherboard. If you plug it directly into your motherboard you probably won’t get the best performance!
Did it work? If so, then finish up and screw in the case’s final panels. And guess what-you’ve done all the actual building! You deserve a massive pat on the back. Go ahead and give yourself one. And switch your PC off while you’re at it.
Install your OS
It’s time to install your chosen OS – probably Windows. You’ll need another computer for this, other than the one you’ve just built. Head to the Microsoft website and follow their instructions to make your USB drive into a Windows installation device.
Once you’ve done that, insert the USB drive into your new PC and start it up. It should take you straight into the Windows 10 installation process – sorted!
Install your drivers
We know you’re itching to play by now but hold your horses. There are a few more bits of maintenance to get done. Check that all you’ve installed the drivers for all your PC’s components – a double check of the different manuals should help you there!
Common mistakes to avoid when building a PC
Forgetting thermal paste
Always apply a thin, even layer of thermal paste between the CPU and cooler. Skipping this can lead to overheating and performance issues.Poor cable management
Messy cables can block airflow and make troubleshooting harder. Use zip ties or Velcro straps to keep cables neat.Static damage
Static electricity can fry components. Ground yourself by using an anti-static wrist strap or touching a metal surface before handling parts.Forcing components
If something doesn’t fit, double-check compatibility. Forcing parts can damage connectors or slots.Skipping BIOS updates
Outdated BIOS can cause compatibility issues with newer CPUs or RAM.
How to choose compatible PC components
CPU and motherboard
Match the CPU socket type (e.g., AM5 for AMD, LGA1700 for Intel) with the motherboard.RAM
Check motherboard specs for supported RAM type (DDR4 vs DDR5) and maximum speed.GPU
Ensure your case has enough space and your PSU provides sufficient wattage and PCIe connectors.Storage
Decide between SSD (fast) and HDD (cheap, large capacity). Check for M.2 slots if using NVMe SSDs.Power supply
Calculate total wattage needs and choose a PSU with some headroom (usually 20–30% extra).
Budgeting your gaming PC build
Set a clear budget
Decide on a total spend and allocate roughly:
CPU: 25–30%
GPU: 35–40%
Remaining for motherboard, RAM, storage, PSU, case.
Entry-level vs High-end
Entry-level: Great for 1080p gaming, prioritise GPU over CPU.
High-end: For 1440p/4K gaming, invest in both CPU and GPU.
Other considerations
Avoid overpaying for aesthetics
RGB and fancy cases are nice, but performance should come first. Unless you really like RGB!Balance new vs second hand
New components will last you longer, perform better and be more reliable, but second hand or refurb parts are always an option if you’re on a tight budget.Plan for upgrades
Choose a motherboard and PSU that allow future component upgrades.
And that’s it! You’ve built your own PC from parts you picked yourself. Feels good doesn’t it?