Would you like to make your iPhone photos look more eye-catching and professional? Then start thinking of blurring as your new bestie…
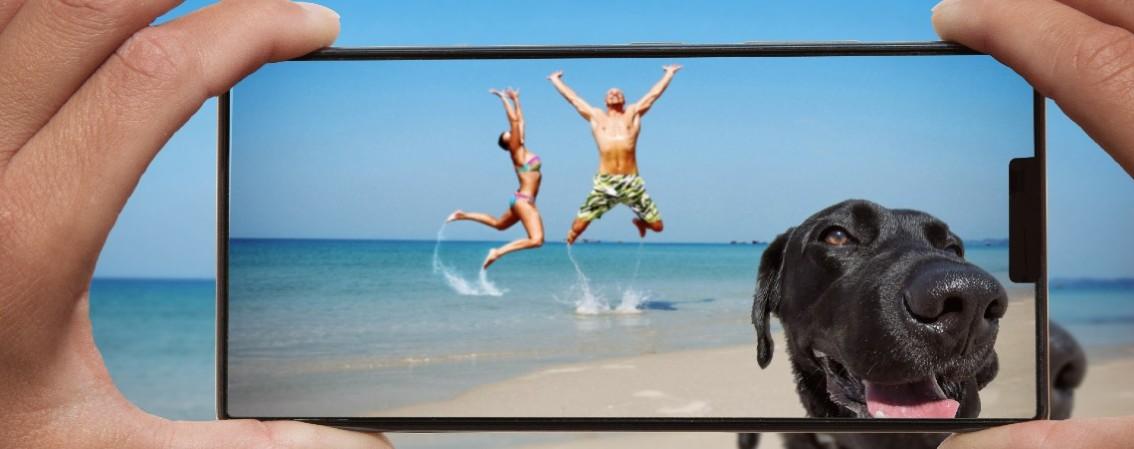
Blurring the background of your photos is a simple trick that can really make your subject stand out. Whether you're snapping a portrait or just capturing a fun moment, a blurred background – also known as bokeh – can give your photos that extra pop. And your iPhone can do it all.
In this article, we’ll show you how simple it is to blur the background of your iPhone photos. By the end of it, you’ll have lots of tips and options for creating instantly ‘grammable shots.
How to use Portrait mode to blur the background

Portrait mode is the easiest way to blur your backgrounds. It’s been on iPhones for years, first appearing back in 2016 with the release of the iPhone 7 Plus. So, if you’ve got one of the latest iPhones, you’ve got Portrait mode.
What does it do, exactly? Well, it uses the dual-lens camera and advanced software to create a shallow depth of field. This makes the person or object you’re focusing on look sharp and clear, while the background become smooth and out of focus. In a word, blurry.
Here’s how to use Portrait mode:
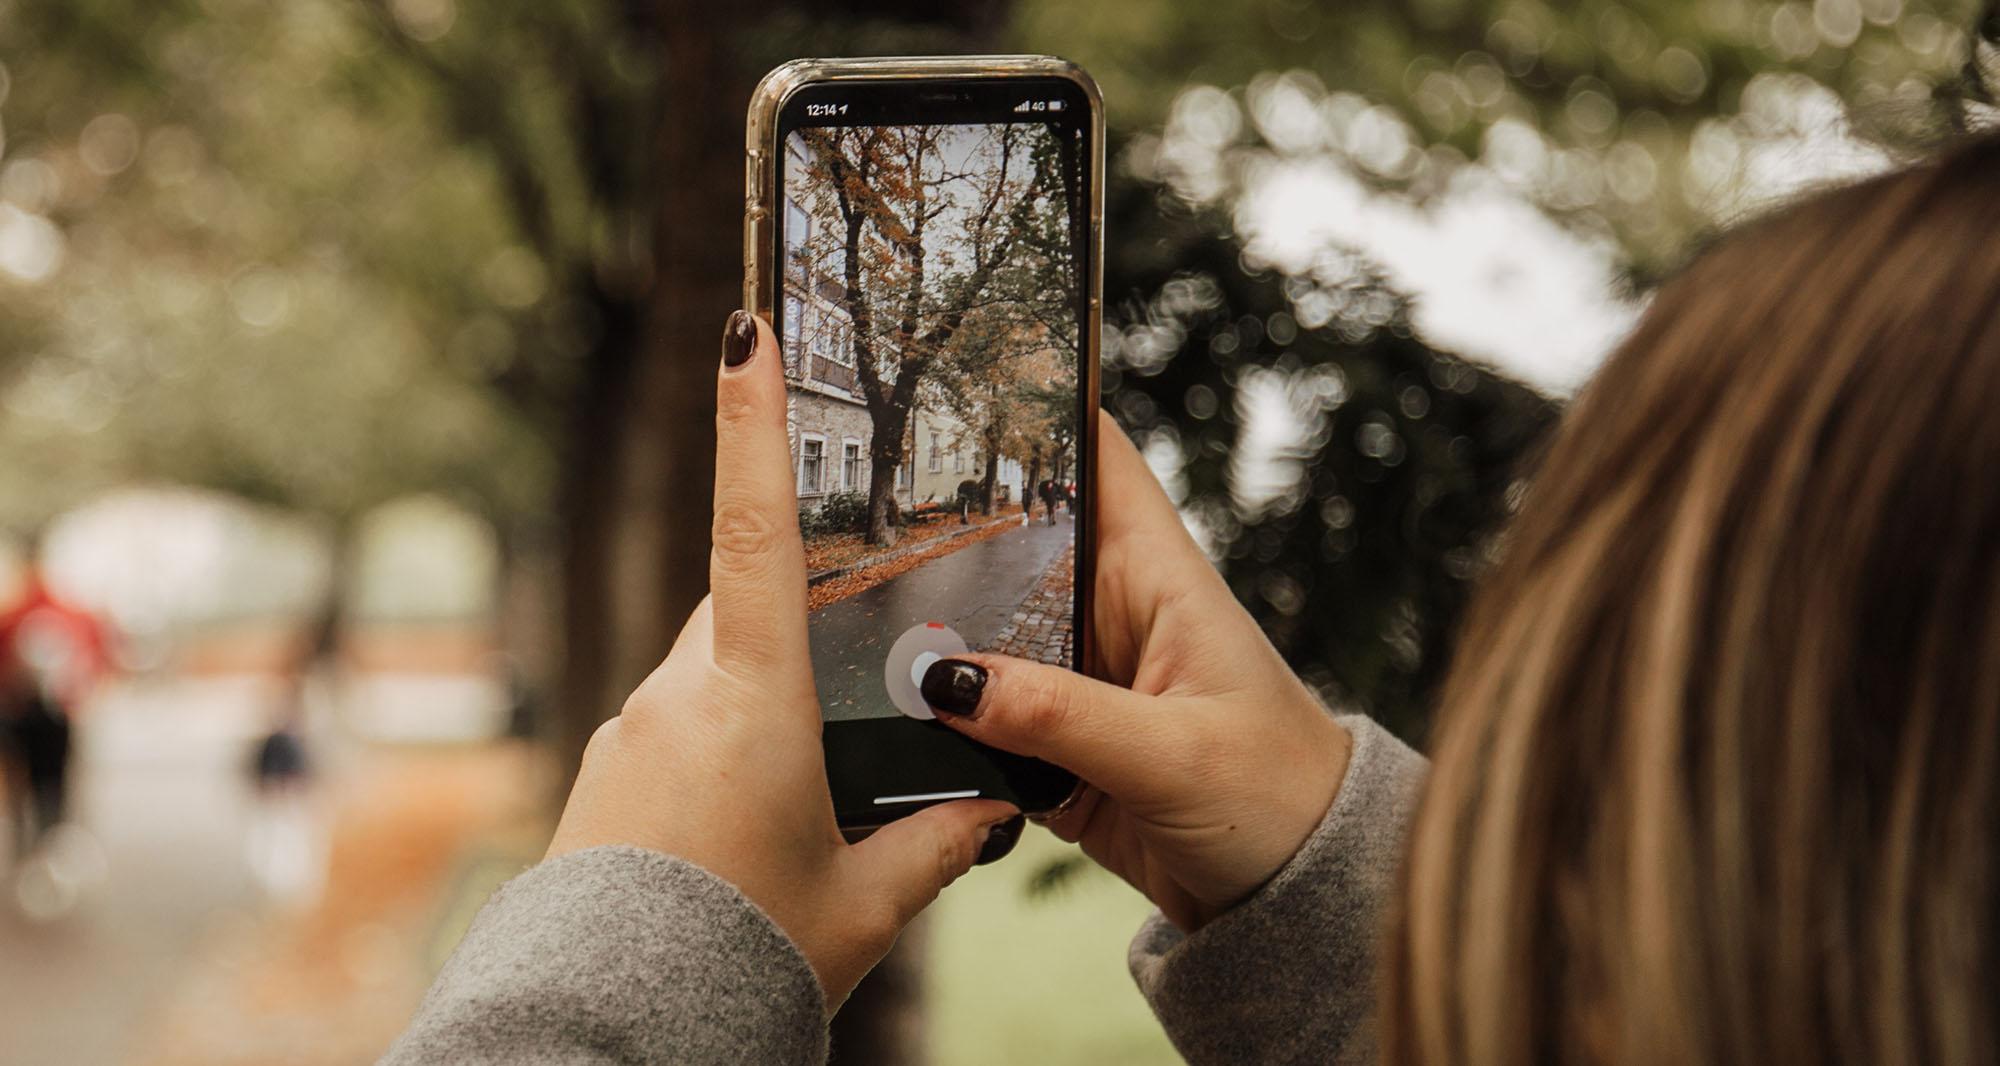
Open the Camera app on your iPhone.
Swipe to Portrait mode at the bottom of the screen.
Focus on your subject (person, pet, object) and make sure they're in the frame.
Tap to focus on the subject to make sure they’re sharp.
Once your subject is in focus, press the shutter button to take the photo.
That’s all there is to it! You’ll now have a photo where your subject stands out against a cool blurred background.
Adjusting depth control in Portrait mode

Not happy with just how blurry your background now is? No problem. If you want to adjust the intensity of your blur, you can easily do it with Depth Control:
After taking a Portrait mode photo, open the image in your gallery.
Tap Edit in the top-right corner of the screen.
Look for the Depth Control slider at the top of the screen.
Slide the slider to the left to reduce the blur or to the right to make it stronger.
Once you’re happy with the effect, tap Done to save your changes.
How to blur the background without Portrait mode

If you’re using an older iPhone model that doesn’t have Portrait mode, don’t worry. There are other ways of blurring the background in your photos…
Using third-party apps for background blur
There are some great apps that help you bring on the blur. They can give you more control over how the effect looks, and usually have tools to make it look more realistic. Here are a couple worth checking out:
AfterFocus
With AfterFocus, you can manually adjust the intensity of the blur and even choose the shape of the bokeh effect. You can also apply different effects to different parts of your image - such as motion blur or sharpness - which isn't possible in iPhone's Portrait mode.
Tadaa SLR
This is an app designed to mimic the background blur of DSLR cameras. It comes with some advanced editing tools like edge detection, which gives you a clear distinction between the focused area and the blurred background. You can also fine-tune the blur strength and even simulate different lens effects to get the look you want.
Tips for getting a natural background blur
There are a few techniques you can use to naturally blur the background in your photos without relying on any tools. These are all well worth knowing:
Get close to your subject. The closer you are to the subject, the blurrier the background will look. This happens because your lens focuses on the subject, and the background appears more out of focus the farther it is.
Use a wider aperture (lower f-stop). You can manually adjust this in your iPhone camera settings, or with some third-party camera app with manual controls. Lowering the f-stop creates a shallower depth of field and blur the background more.
Keep the background simple. If the background is too busy or cluttered, the blur effect might not look as smooth. A simple, clean background will make your blurred area look more natural and attractive.
Use the right lighting. Gentle lighting usually works best for portrait-style photos with background blur. Harsh lighting can sometimes create distracting shadows, making the blur less effective.
Need more help?
For more photography tips, check out how to delete duplicate photos on iPhone, how to take photos at night, and how to take great outdoor photos on your phone.
If you’re looking for a new iPhone, read about our best iPhones and the new iPhone 16.