Printer saying no? It can be super frustrating. Especially when you’re trying to print out travel tickets or an assignment at the last minute…
But there’s no need to get in a jam. That’s because our handy guide will walk you through some common troubleshooting steps to get your printer back up and running.
Check for error messages and printer status indicators
Most printers won’t leave you completely in the dark. They’ll usually display an error message or status indicator to give you a heads up about an issue.
Common alerts that can pop up on your printer include:
Paper jam: This is when paper gets stuck in the printer's feeding mechanism.
Low ink: If your printer’s ink cartridges have almost run dry and need replacing.
Printer offline: This means your printer can't communicate with your router or PC.
Out of paper: When there’s no paper loaded up in the tray.
Print queue error: Alerts you to an issue with the print job backlog on your computer.

It’s not always clear what those flashing lights or symbols mean though. So, just check your printer's manual to find out what it’s trying to tell you. Or head online and find it on your printer manufacturer's website. They should have a handy PDF of the manual which you can download.
Now that you know what might be wrong, scroll down to the appropriate section of our guide to dig deeper into the issue your printer has.
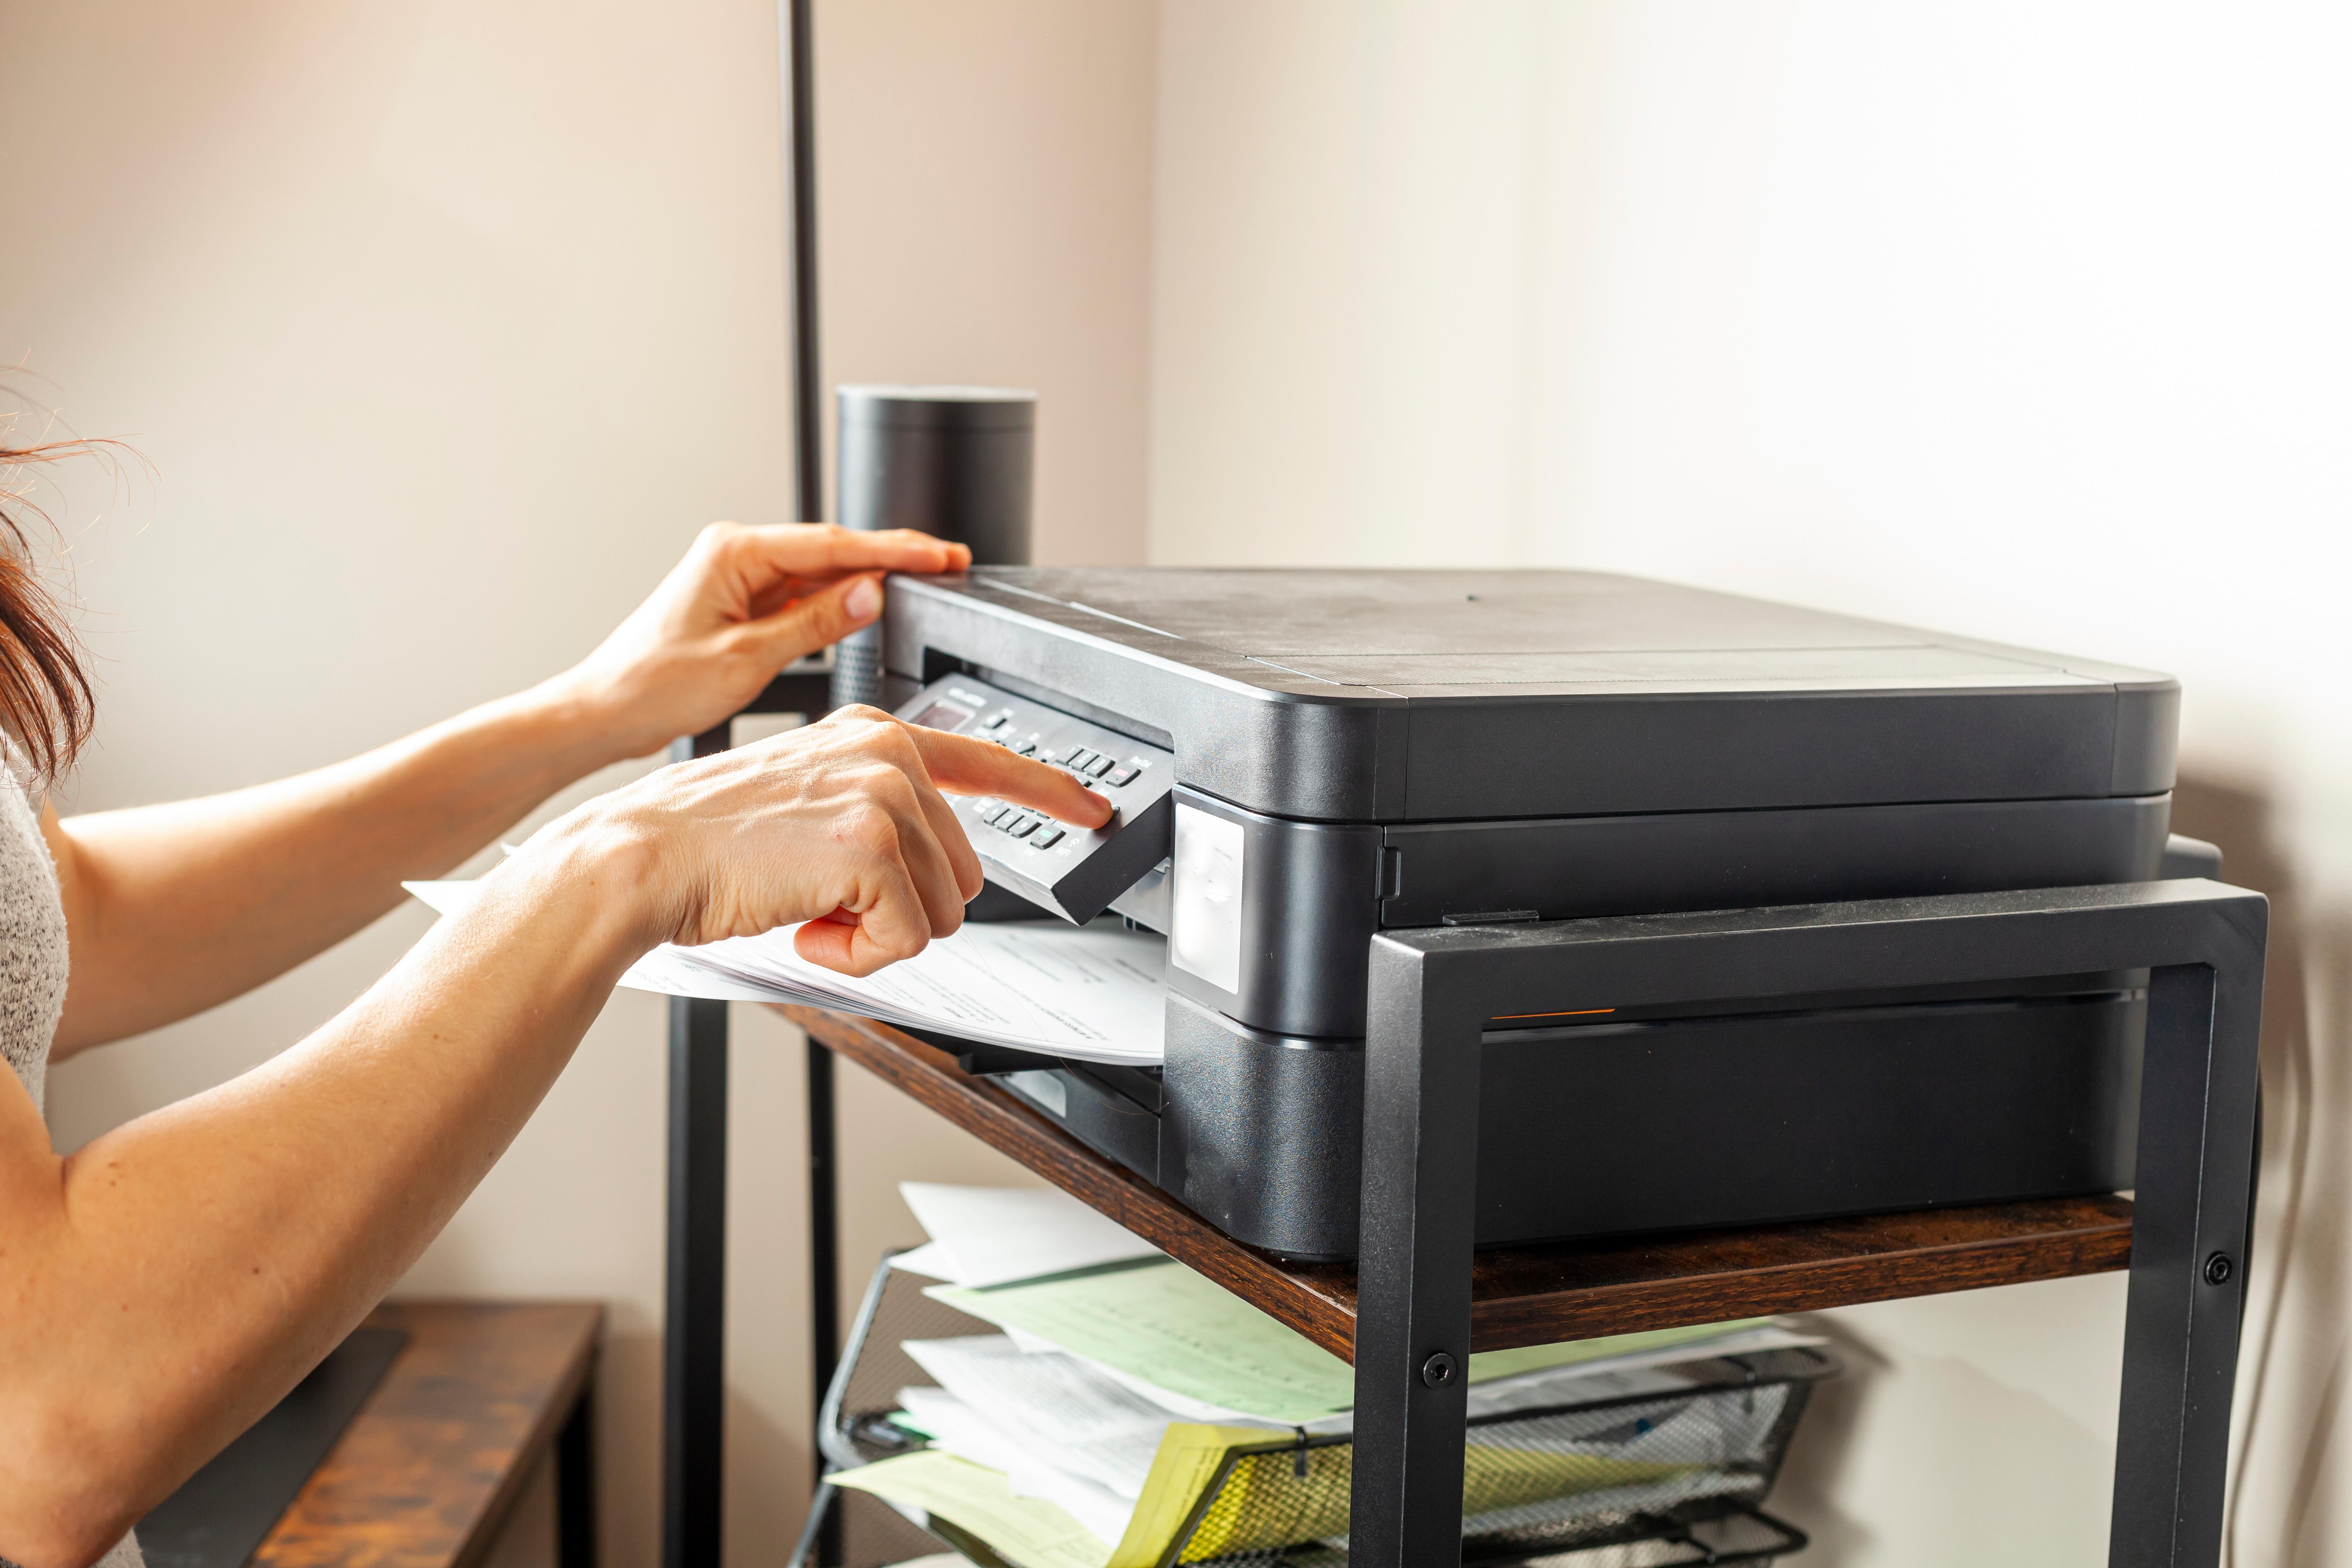
Clear paper jams and look for obstructions
A paper jam can make your printer grind to a sudden halt. This happens when paper hasn’t been loaded correctly and gets crumpled up inside. To clear it, follow these steps:
Turn off your printer and unplug it from the mains.
Open your printer's access panel or paper tray to find the jammed paper.
Gently remove the jammed paper. Make sure you don’t tear it!
Check for any other bits of paper or obstructions inside your printer.
Close the access panel or paper tray and plug your printer back in.
Turn on your printer and try printing again.
If you’ve cleared the jam and loaded the paper correctly — but still can’t print — try adding more paper. Yes, we know it sounds strange. But sometimes, printers can think the paper tray’s empty even when there’s a couple of sheets ready to go. Just slide in a few more and see if it works.

Check ink or toner levels
Low ink or toner levels can be a real showstopper for your printing jobs. Luckily, most modern printers will warn you when their ink cartridges are running low. Either on their displays or the printing software on your connected device.
But if your printer is saying it's out of ink when you know it isn't, there are a few things you can try:
Turn your printer off and on: If your printer had a small glitch and read the ink levels wrong, a reset might get it working smoothly again.
Run your printer's cleaning mode: It’s possible the printhead (which houses the ink cartridges) may be clogged or dirty — especially if you haven’t fired up your printer in a while. You should be able to access this setting from your printer’s control panel.
Clean the cartridge contacts: Take out the ink cartridges and use a soft, damp cloth to gently wipe the small copper strips where their ink comes out. If ink starts to freely flow onto the cloth, dab it with some dry tissue and reinsert the cartridges.
Check the cartridges are compatible: Some printers can be picky and might not work with third-party cartridges. It’s usually best to stick to cartridges made by your printer’s manufacturer to avoid any hassle.
Shake the toner cartridge: If you’ve got a laser printer, remove the toner cartridge and give it a shake from side to side. This could help you eke a bit more toner out of the cartridge, so you don’t have to fork out on a replacement as soon.

Make sure your printer's connected
One of the reasons you might be having trouble printing is because your computer isn’t talking to your printer. Here’s how to check for both wireless and wired printer connections:
Wireless connection: Confirm your printer is connected to the same Wi-Fi network as the device you’re trying to print from. The settings menu on your printer should let you know. If it can’t connect to your Wi-Fi network, try moving it closer to your router.
Wired connection: Check the USB or Ethernet cable you’re using is securely plugged into both your printer and computer.
If you need a hand hooking your printer up to Wi-Fi and your devices, check out our how to connect your wireless printer guide. It covers how to add printers to Windows and Apple Mac computers, plus smartphones and tablets.
Check the printer driver is installed
If you’ve connected your printer to your PC and it still won’t print, then there might be a driver problem. Printer driver software is basically what allows your computer to communicate with your printer. So, it’s important to install it correctly.
Follow these steps to check and fix driver issues on Windows and Mac computers:
Windows
Open the Control Panel and go to ‘Devices and printers’.
Find your printer in the list of devices and right-click on it.
Select ‘Properties’ and go to the ‘Driver’ tab.
Check if the driver is installed and up to date. If not, download and install the latest driver from your printer manufacturer's website.
Once installed, try printing again.
Mac
Click on the Apple icon in the top-left corner of your screen.
Select ‘System Settings’ from the dropdown menu that appears.
Choose the ‘Printers & Scanners’ option in the sidebar.
Find your printer from the list of available hardware.
Check the ‘Driver Version’ listed in the details for your printer.
If it’s out of date, head to your printer brand’s website to download and install the most recent driver.
Attempt printing out your document again.

Clear the printer queue
A backed-up print queue can make your printer stall. This is basically a list of print jobs waiting for their turn — usually made up of old documents that failed to print for some reason. If there are too many in the queue, they’ll hold up the doc you’re trying to print out now.
Here’s how to quickly clear the printer queue on Windows and Mac computers:
Windows
Type “printers” into your Windows search bar.
Select ‘Printers & scanners’ when it appears.
Choose your printer from the list.
Click the ‘Open queue’ button.
Select the job(s) you want to cancel in the window that appears.
Delete the job(s) and try printing again.
Mac
Open Print Centre in the Utilities folder to see your current print jobs.
If you see another job holding up the queue due to an error, select it.
Click the ‘X’ icon to delete it.
When the queue has cleared, try to print again.

Restart the print spooler
Instead of clearing out print jobs one by one, you could restart your computer’s print spooler. This is sort of like a mini reset for your PC’s print queue management system. And it’ll wipe any pesky glitches and errors so new print jobs can be processed without a hitch.
Follow these instructions to restart the print spooler on Windows and Mac:
Windows
Type “command prompt” into the Windows search bar.
Right-click on ‘Command Prompt’ when it appears and choose ‘Run as administrator’.
Paste “net stop spooler” into the window and press enter.
Paste in “del %systemroot%\System32\spool\PRINTERS\* /Q /F /S” and hit enter.
And finally, paste “net start spooler” and press enter.
Mac
Select the Apple icon in the top-left corner of your screen.
Choose ‘System Settings’ from list that appears.
Click on ‘Printers & Scanners’ in the sidebar.
Control-click on the printer you want to reset in the list.
Select ‘Reset Printing System’. This will essentially restart your Mac’s print spooler.

Check printer settings and configurations
Incorrect printer settings and configurations can cause a few printing hiccups too. Here’s how to make sure your printer is set up the right way on Windows and Mac computers:
Windows
Open the Control Panel on your PC and head to ‘Devices and printers’.
Locate your printer in the list of devices and right-click on it.
Select ‘Set as default printer’ to make it the default printer.
Right-click on your printer again and choose ‘Printer properties’.
Check the settings for paper size, print quality, and other options.
Adjust the settings as needed and click ‘OK’ to save your changes.
Mac
Open 'System Settings' from the Apple menu in the top-left corner of your screen.
Navigate to ‘Printers & Scanners’.
Choose the printer you want to use in the ‘Default printer’ box.
Select the paper size you have loaded in your printer in the ‘Default paper size’ box.
Consider hardware faults and seek professional help
Tried all our troubleshooting steps and your printer still won't print? It might be something more serious like a hardware malfunction. This can include problems with your printer's components such as its printhead, rollers, or sensors.
If you think it’s something to do with the hardware, it's best to seek professional help. Either by contacting your printer manufacturer's customer support service if it’s under warranty. Or by taking your printer to a certified repair centre.
Currys Care & Repair
If you want to buy a new printer from Currys, you can add a Care & Repair plan for extra peace of mind. This basically means that if something goes wrong, we’ll offer advice and breakdown support whenever you need it. Plus, we’ll get it repaired and back to you fast with our 7 Day Fix Promise. And if it takes longer than that, you can request a replacement. Easy!